
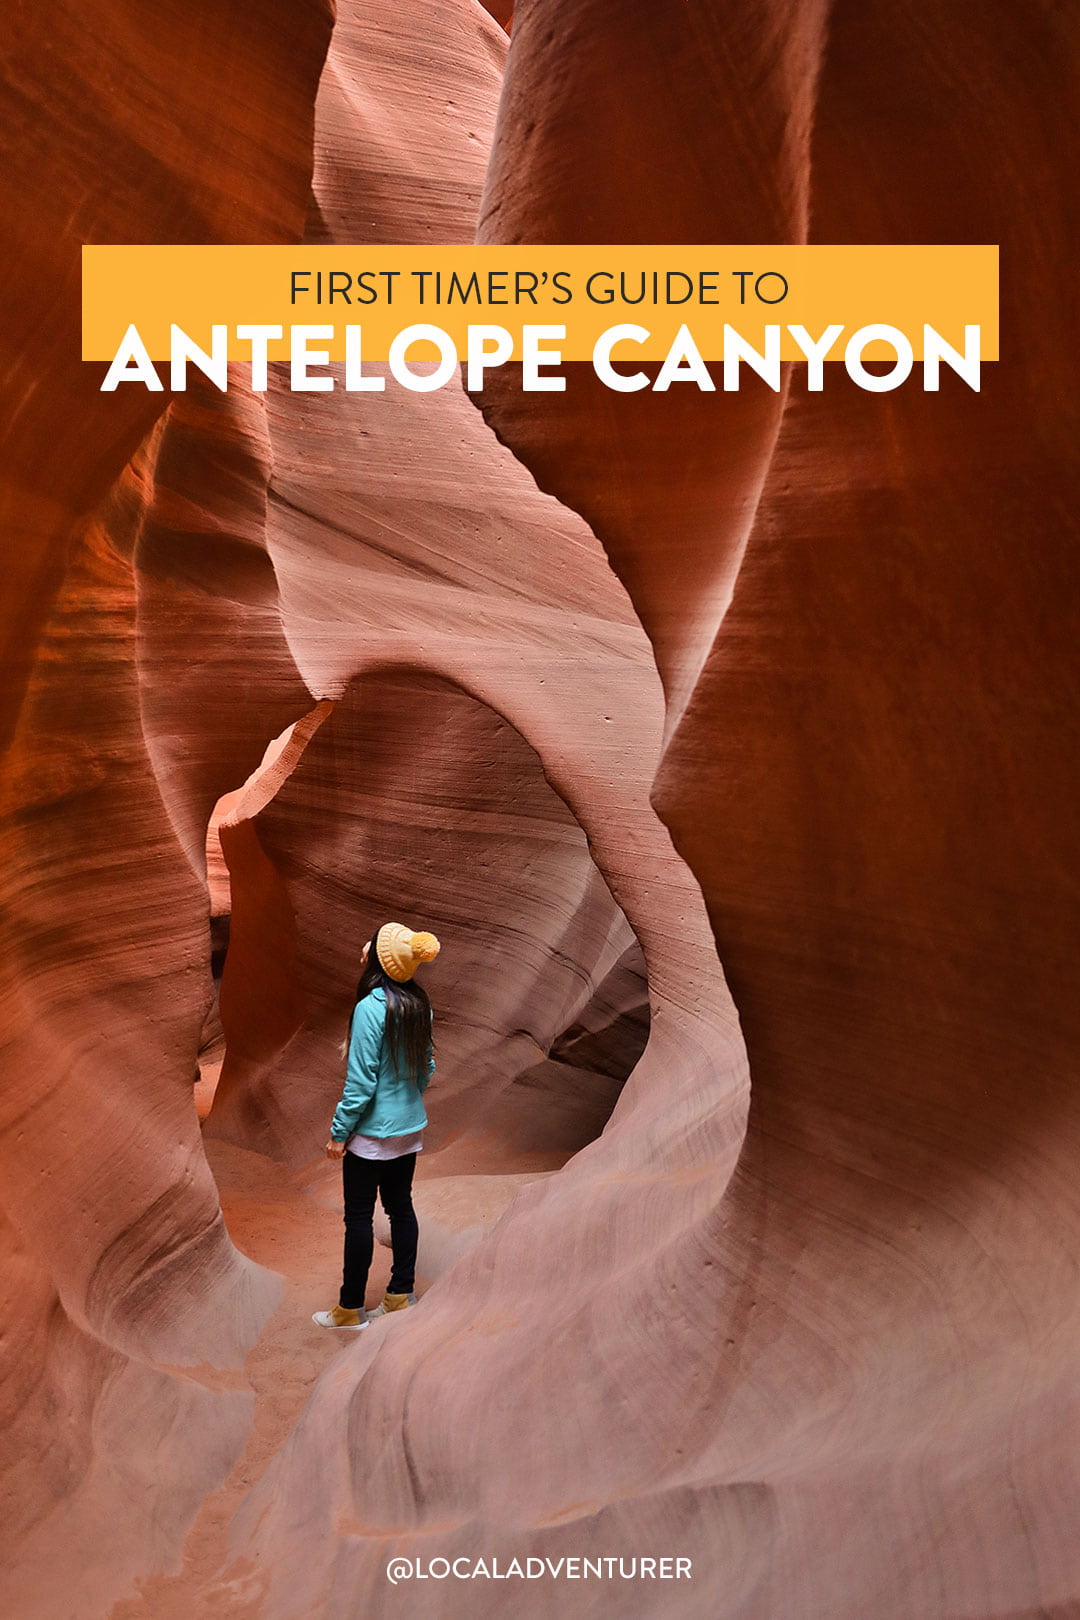
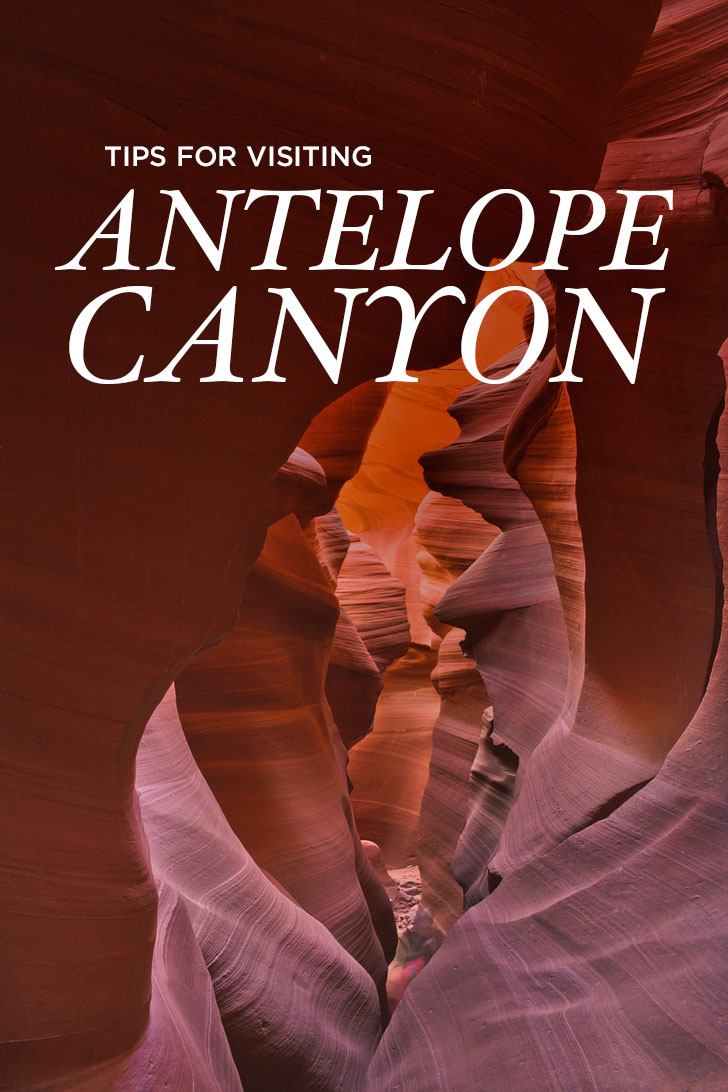
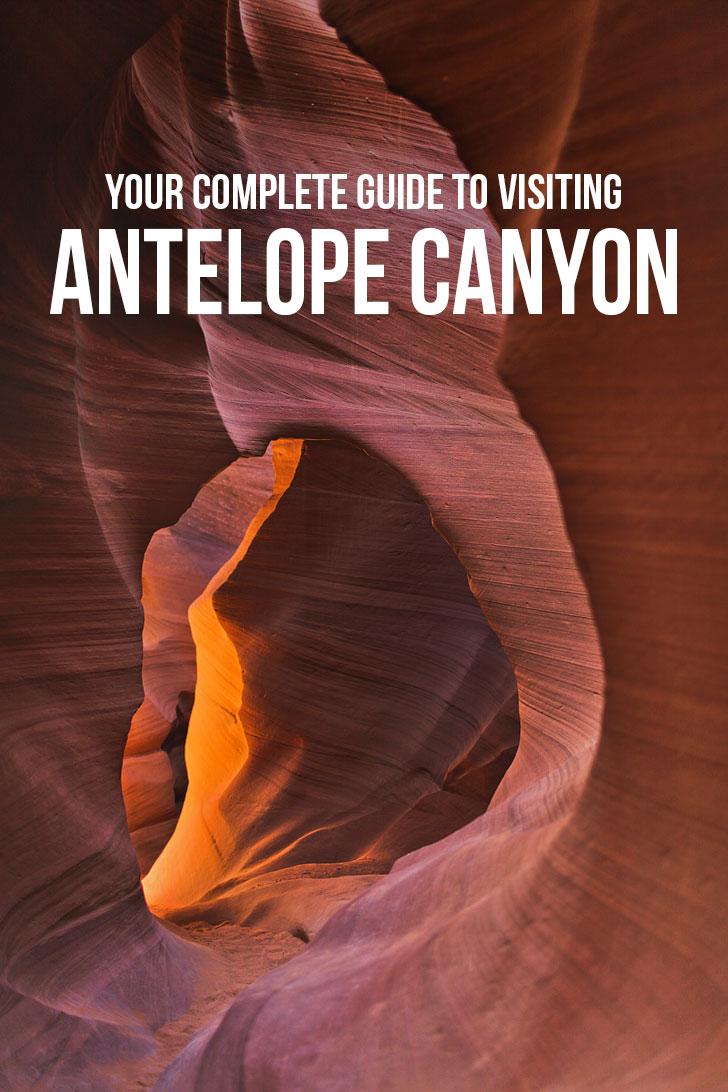
Visiting Antelope Canyon? This is what you need to know before you visit.
More likely than not, you’ve seen photos of Antelope Canyon. Even before it blew up on Instagram, it was a popular spot amongst photographers and tourists alike. It’s now the most popular slot canyon in the world.
We’ve been to Antelope Canyon three times now. The first time we visited was back in 2011 on our first cross country road trip. The second time was by boat to see a different side of the canyon. And the most recent visit was a few weeks ago when we took Jacob’s dad.
I was honestly dreading it, because everywhere I read said the crowds had gotten out of control. Here’s what we discovered and plenty of travel tips to make your visit as pleasant as possible.
A big thank you to Max Tours for hosting our most recent trip. All opinions are always our own. This post may contain affiliate links, where we receive a small commission on sales of the products that are linked at no additional cost to you. Read our full disclosure for more info. Thank you for supporting the brands that make Local Adventurer possible.
Last Updated: March 9, 2026
About Antelope Canyon
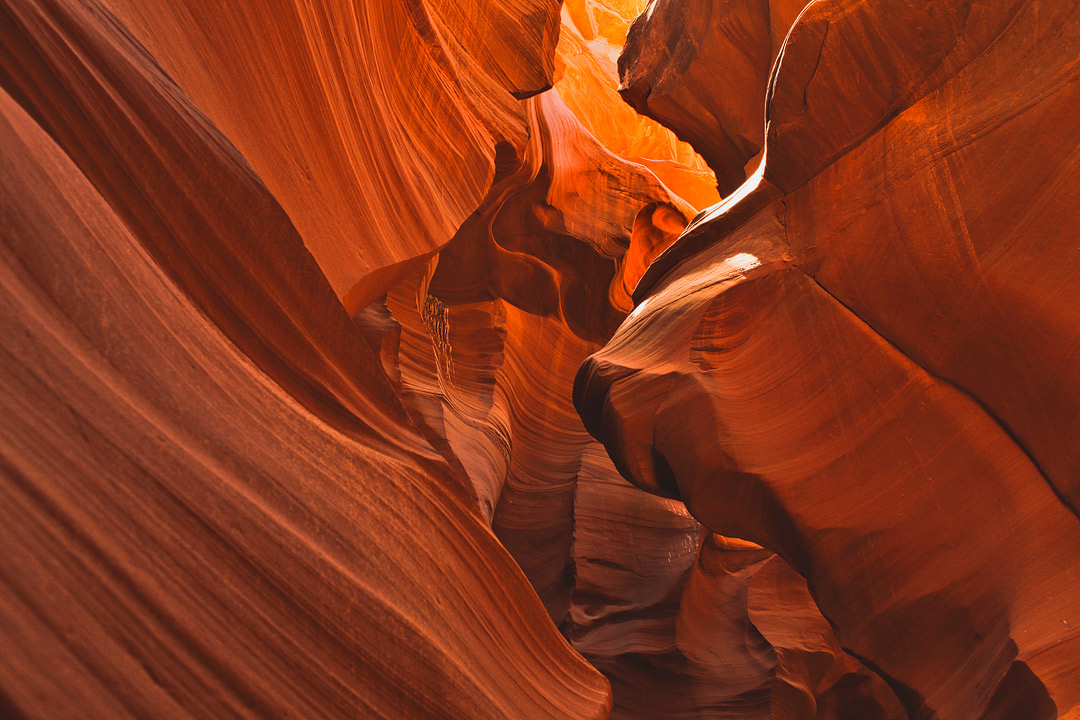
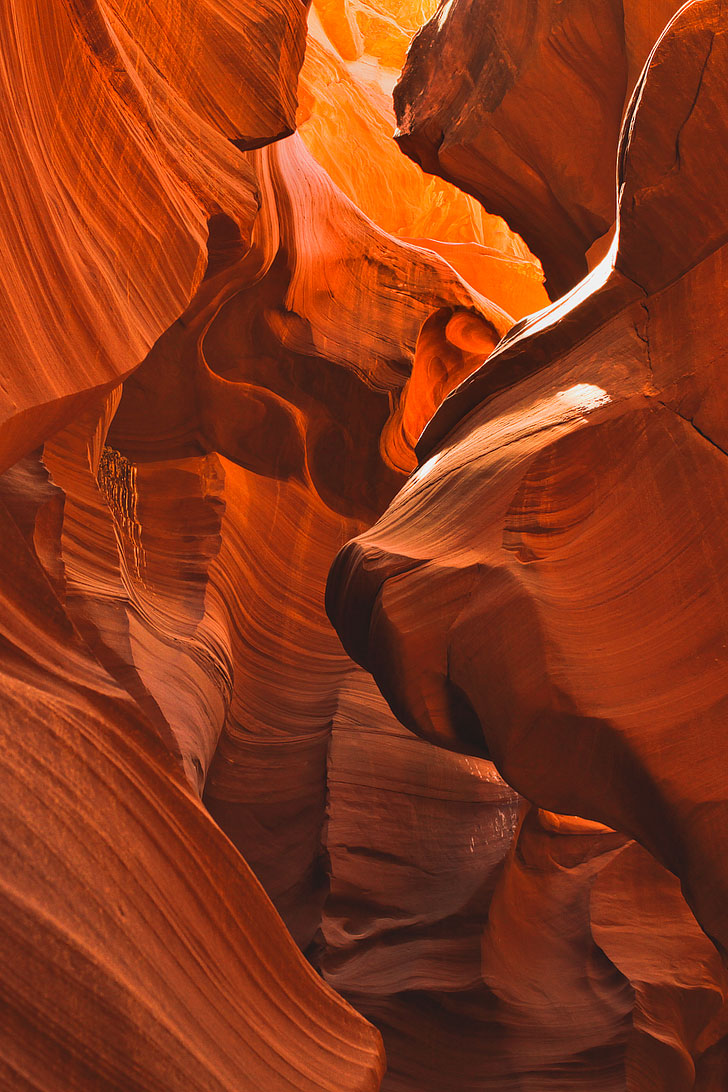
Millions of years ago the entire area was just sandy dessert. When it rained, the sand soaked up the water and compacted the sand. Eventually, the heat hardened the compressed sand to form the Navajo Sandstone.
Earthquakes caused the cracks to form, and during monsoon season, the rain picked up speed and sand as it rushed into these passageways making them deeper and smoothing the edges to create beautiful shapes. The sandstone curves and flows in every direction.
See More: 11 Breathtaking Canyons to Visit in the US
Upper vs Lower Antelope Canyon – Which Should You Visit?
Antelope Canyon is made up of two separate canyons: Upper and Lower. Upper Antelope or Tsé bighánílíní in Navajo means ‘the place where water runs through rocks’. Lower Antelope or Hazdistazí means ‘spiral rock arches’. You have to book trips to them separately, and while I would absolutely recommend visiting both, most likely you have limited time or limited budget. It’s hard to say which is better, but that’s why we’ve listed out which makes each more worthwhile.
Upper Antelope Canyon
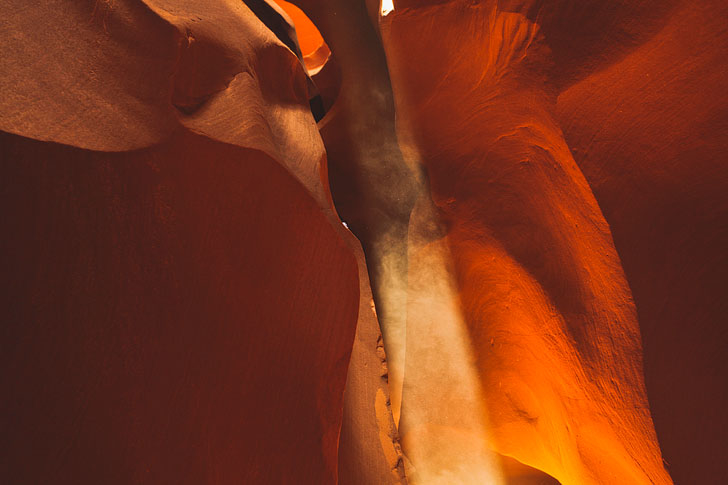
- It is shaped like a chevron (upside down V). Because it’s narrower at the top, you have more chances to see the famous light beams.
- Most photographers opt to do Upper Canyon, so the photos you’ve seen and might also want to capture are most likely from here.
- It’s a shorter canyon but also wider. If mobility is an issue, you’ll have an easier time going through Upper Antelope.
Lower Antelope Canyon
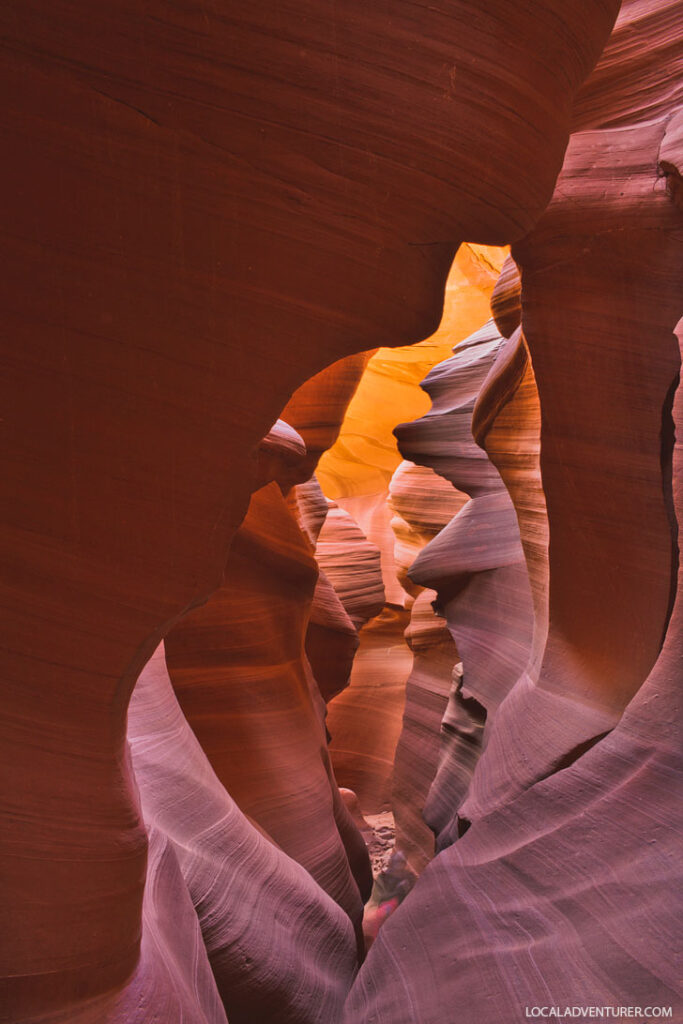
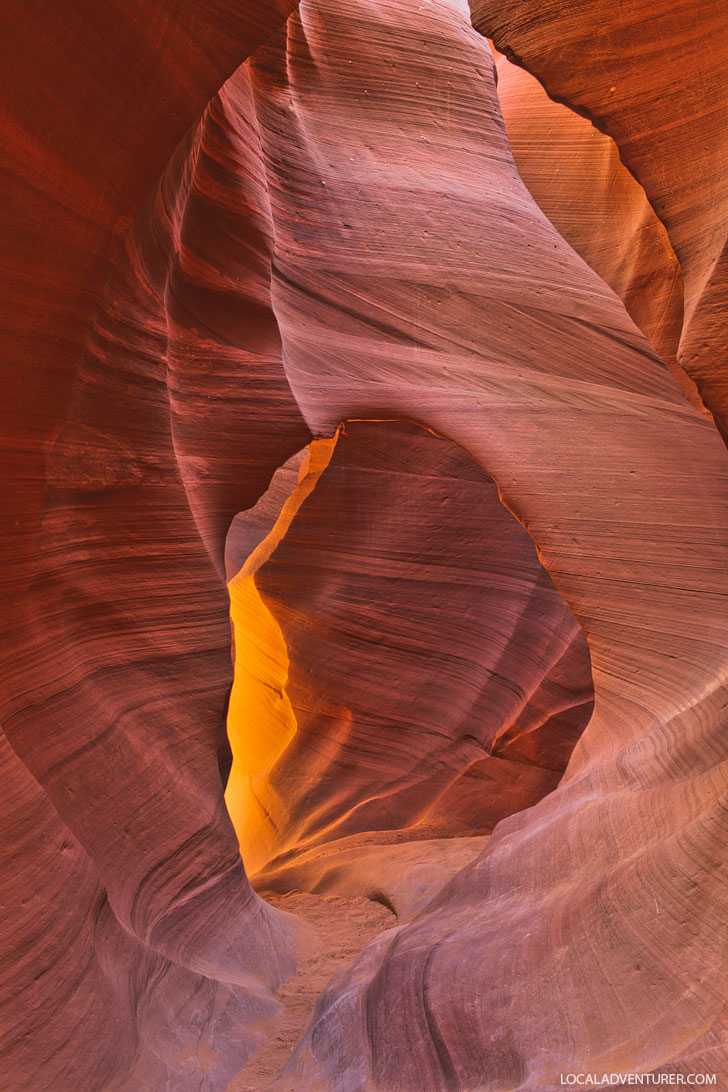
- It’s shaped like a V (wider at the top and narrower at the bottom), and is known for brighter, more vibrant colors since it brings in much more light. You can still see light shafts, but it’s far and few between.
- For now, the Lower Antelope Canyon tours cost less.
- It’s slightly less trafficked, but still very much crowded.
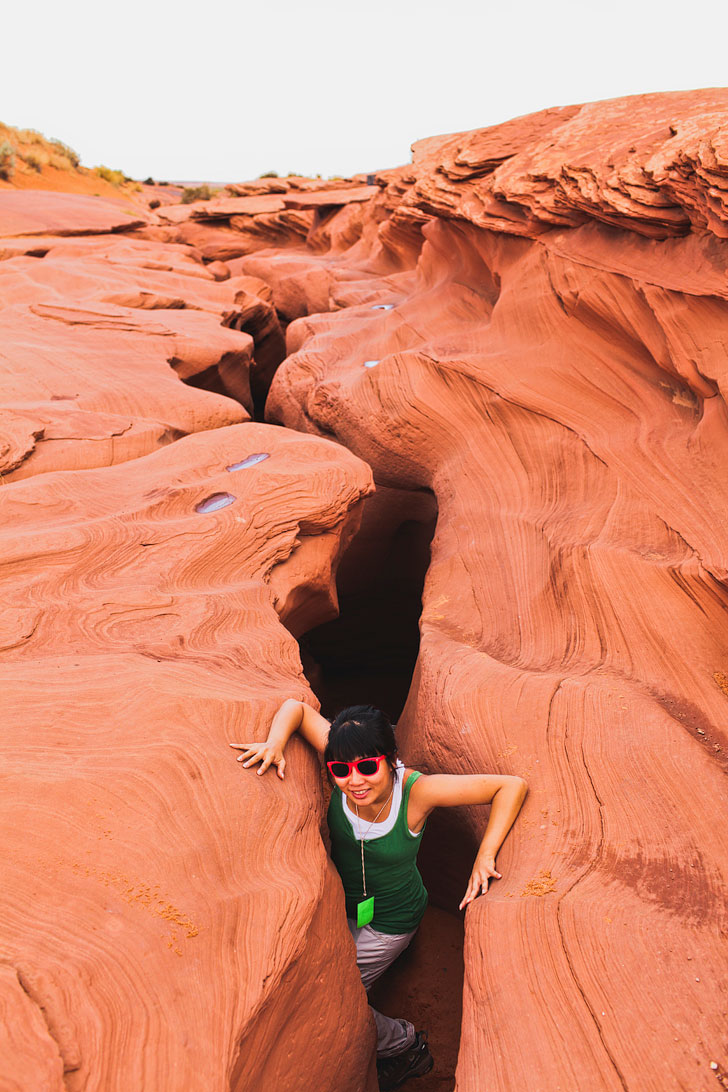
- It’s more fun IMO because there are stairs, ladders to climb, and some moderate scrambling.
Local Tip: If you really want to avoid crowds, consider visiting Rattlesnake, Owl, or Mount Sheep Canyons, Canyon X, and Waterholes which are nearby. You may even want to add them to your visit to Antelope since you’re already there
See More: Photo Diary of Lower Antelope Canyon Tours
Permits + Fees + How Early to Book
Antelope Canyon is protected by the Navajo Parks and Recreation and everyone is required to enter with a guide. This helps prevent vandalism and ensures that everyone is taking safety precautions. To get into the park, everyone 8 years or older must pay an $15 fee. You then have to book a tour which can range from $55 to $200 depending on the tour company and which tour you book. We’ll get into those details in the Tour section of this post.
Tours are offered year round, but peak season runs from late March through October. During these times, you should book tickets and tours as soon as you can. If you wait until you are there, unless you get extremely lucky, most likely there won’t be any tickets available. Books tickets at least a month and a half in advance during peak season, especially if you want the photographer’s tour. I just glanced at some June dates 8 months in advance and some days are already getting filled.
Local Tip: Hate planning? Join a Max Tour from Las Vegas where they take care of your ride and everything else you need for your experience. We went on the 2 Day Grand Canyon Antelope Canyon Tour and really enjoyed the experience. See more about our experience below.
The Best Antelope Canyon Tours
When choosing your tour, you’ll have the option of a Sightseer’s Tour or a Photography Tour. Both tours will take you to the same place, but the Sightseer’s Tour will only last about 60 minutes whereas the Photography Tour will run about 120 minutes.
In addition to that, you can only bring a tripod on the Photography Tour and they typically require that you have a DSLR or nicer mirrorless camera. The Photography Tour costs significantly more and still runs at the same time as other standard tours, but if photography is important to you, it’s worth the extra cost.
Because the canyons are highly regulated, you have only a few options for tour companies.
Upper Antelope Canyon Tours
- Adventurous Antelope Canyon PhotoTours (928.380.1874)
- Antelope Canyon Navajo Tours (928.698.3384)
- Antelope Canyon Tours (928.645.9102)
- Grand Circle Adventures (928.645.5594)
- Tse Bighanilini Tours (928.698.3285)
Lower Antelope Canyon Tours
- Ken’s Tours (928.606.2168)
- Lower Antelope Canyon Tours (928.640.1761)
Max Tour – Antelope Canyon Tour From Las Vegas
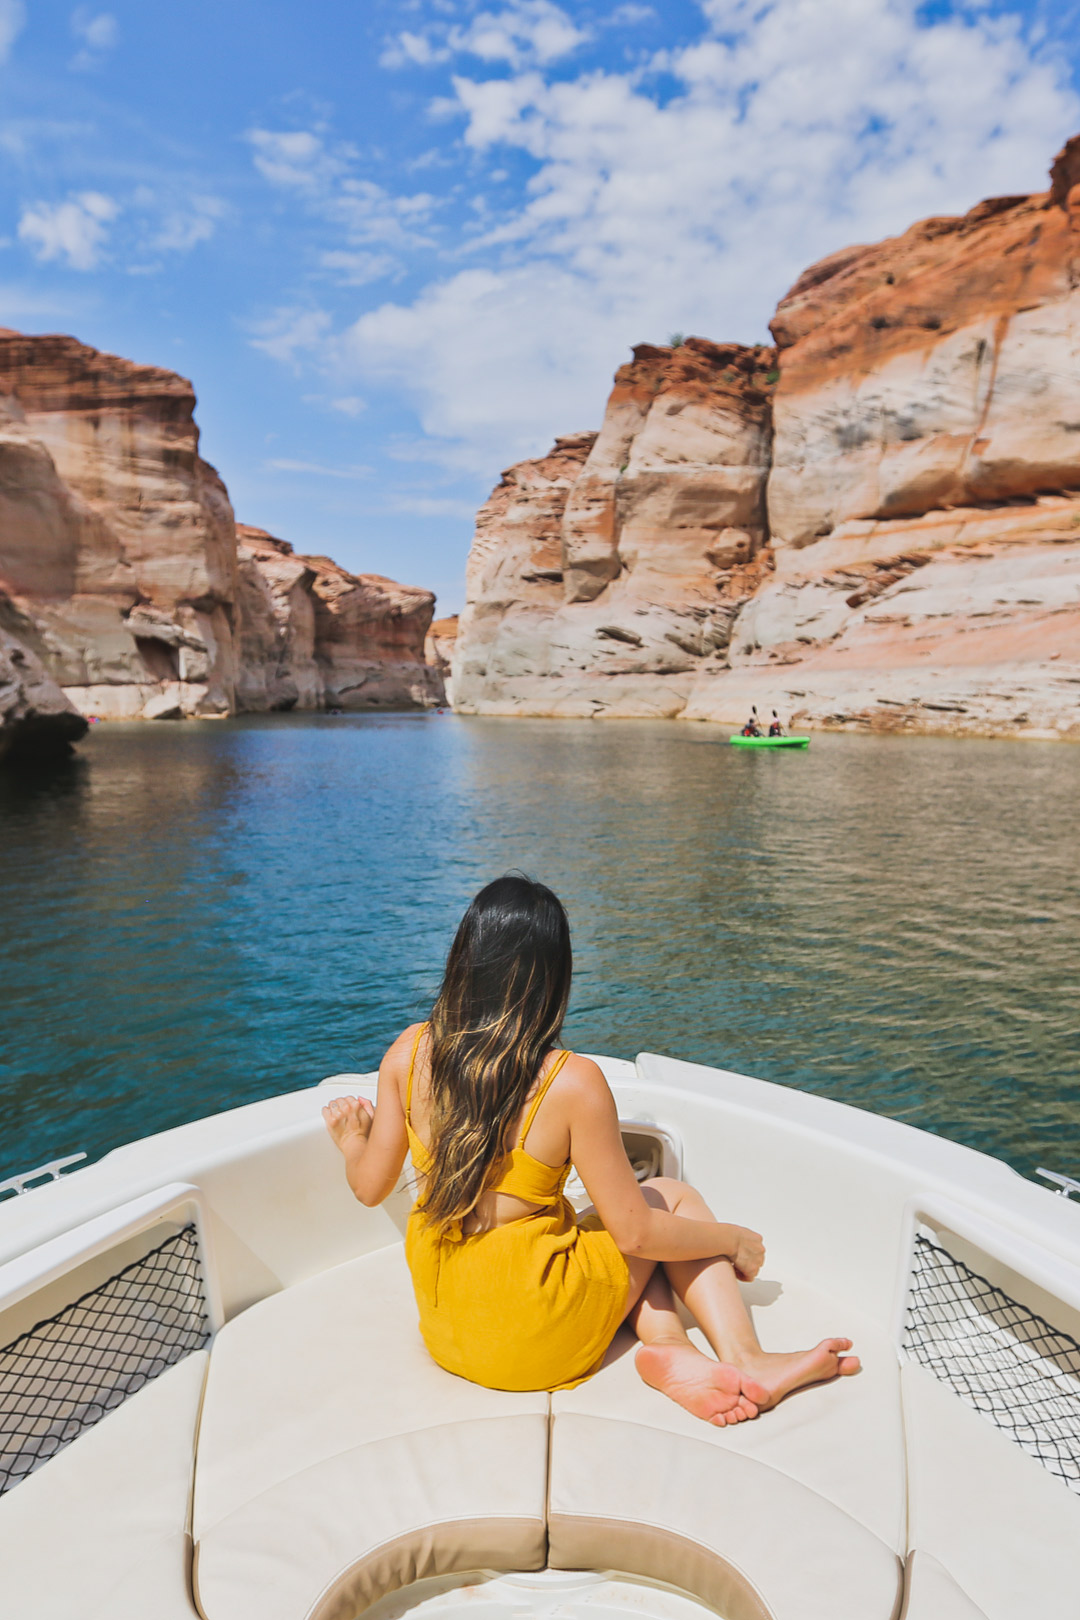
We went on the 2 Day Grand Canyon Antelope Canyon Tour and it was a really great experience. They pick you up on the strip and you join a small group of roughly 10 people. In two days, they pack in a lot. We saw Antelope Canyon, Horseshoe Bend, multiple viewpoints at Grand Canyon, Route 66, and Hoover Dam.
When we arrived at Lower Antelope Canyon, our tour guide purchased the tickets then instructed on where to wait. From there, the local guides take over and guide you through the canyon. After the guided tour, we met back up with our Max Tour guide and he took us to the next spot. It was such a nice way not to have to worry about any of the details.
Everything is very controlled and people are ushered through the canyon and you stop at various points, yet it’s still chaotic.
![Page Arizona Antelope Canyon [ Photo Diary ] // localadventurer.com](https://localadventurer.com/wp-content/uploads/2012/05/page-arizona-antelope-canyon.jpg)
When is the Best Time to Visit Antelope Canyon?
The Antelope Canyon experience can depend on the time of year you visit.
If you’re a photographer, it’s all about the light, not just for the light shafts but also the glow along the walls. The light beams happen most during the summer months since they require the sun to be high in the sky. They start to appear around mid-March and typically disappear by early October. The best times are closest to the summer solstice. During the winter months, the colors in the canyon are more muted.
The light shafts will appear typically between 10am-12pm (high noon). You can call tour guides for the best times to see the beams since they will differ based on the time of year.
On the other hand, the crowds are more extreme in the summer and it makes it difficult to take photos without people in them. Our first visit was in the heat of the summer, and our most recent one was mid-November during shoulder season.
It was actually pleasant, since the crowds were dying down, and you also didn’t have to wait for tickets or be worried they’ll be sold out. Tresian, our guide, knew we wanted photos, so he rushed us ahead so we could get space between tours to take photos. If it’s during peak season, the tours are pretty much back-to-back.
How to Take Photos at Antelope Canyon – Photography Tips
- Be prepared for the crowds. There will be a ton of people in the canyons, the pace of the tour will move quickly, and it’ll be over before you know it. It helps to stay next to your guide if possible.
- Know your camera settings before you go. You’re not going to want to spend your precious time fumbling with your settings. Make sure you know what you’re doing or you bring a photographer friend. Don’t rely on the tour guides to get amazing photos for you but pay attention to all the photo spots they point out.
- Tripods are not allowed unless you book a photography tour, but if you are doing the photography tour you should absolutely bring one! There isn’t much light in the canyons, so unless you pump up the ISO, it’s going to be difficult to get great handheld shots.
- Lenses to Bring. Try to stick with only one lens since there’s a lot of floating sand. You can risk it, but sand has killed a couple of my cameras already. RIP. If you’re bringing one lens, you will want a wide-angle lens since the spaces are tight. I shot most of mine with a 35mm, but I regretted not bringing my 16-35.
- Shoot multiple exposures even if you don’t plan on creating HDRs. I ended up bracketing my exposures since the light wasn’t the easiest to deal with. There are both dark and bright spots, so it’s easy to lose details in the shadows or highlights. If you’re not shooting multiple exposures, a general rule of thumb for digital is to underexpose.
- Shoot RAW if possible, so that you can but if it’s becoming too slow, switch to JPEG only.
- Light Beams generally occur between 10 AM and 12 PM (high noon) but call the tour companies to find out the best time of day for the time of year. When it comes to capturing light beams, you can only see them with particles in the air. You are no longer allowed to throw sand in the air.
- Sand Falls can naturally occur when the wind blows sand into the canyons from above. Always be prepared and on the lookout. Guides no longer throw sand against the walls to create small sand falls.
- Be mindful of other visitors and photographers. Don’t be the person who gets in everyone’s shot, though it’s quite difficult with the number of people in the canyons these days.
- Don’t forget to shoot up! The shapes are beautiful up towards the sky too.
- Typically they require you to have a DSLR or mirrorless camera to be part of a photography tour. If you only have an iPhone they may move you to a regular tour. With that in mind, if you have a partner or friend, but only one camera, you can try to call the tour company to see if they will make exceptions.
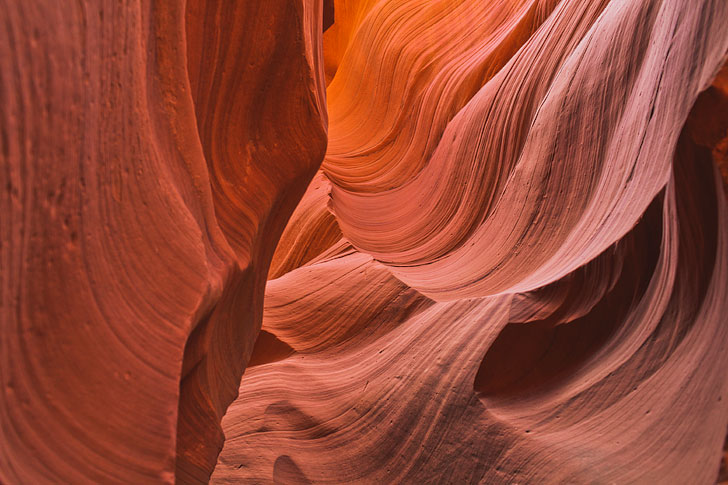
Below is a blend of 2 exposures to bring back the details in the brightest parts.
Essential Tips for Visiting Antelope Canyon
- Beware of flash floods. After the last big incident where several hikers died, there have been a lot of rules put in place to prevent this. Usually, they will cancel tours in cases of inclement weather, but just know they can happen suddenly.
- Time Zone Differences – It can be really confusing since the neighboring lands don’t acknowledge daylight savings time. The easiest thing to do is call the tour company you booked to make sure you know what time it starts in Navajo time and how it differs from the time where you are. We’ve missed a tour once because of a time zone difference.
- Use the bathroom before you head to your tour. There were some porter potties but they are pretty gross.
- You aren’t required but it is always a nice gesture especially if your tour guide did a great job.
- It gets dark in the canyon, especially in Upper Antelope so be sure to walk slowly and carefully.
- Watch the weather. Flash floods still can happen. Guides are extra careful about this now.
Here are a few more updates from Sarah, one of our readers who went this year. Thank you, Sarah!
- They DO NOT ALLOW backpacks, fanny packs, selfie sticks, go pro, literally anything in Upper Antelope. They are extremely strict about it, where they had one of the workers/guides walking through and letting people know to get rid of stuff unless they wanted to be disallowed on the tour. You can only take a bottle of water, phone, and camera. Workers mentioned that the rules have changed and become more strict.
- Upper will allow clear transparent backpack and fanny packs but that is really strict as well – it must be completely transparent. They do sell some in their gift shop/waiting area that are acceptable. The same rules apply for selfie sticks and go pros – not allowed at all.
- Horseshoe Bend area entrance is completely going through a renovation so there is no parking – a series of shuttle buses run back and forth from a parking area that is about 1 mile off, and they have workers standing out there redirecting ppl all day long. The shuttle is $5 per person (for ride to and from) and cash only. Workers let us know that soon it will be a completely redone parking area which includes fees to drive in and park.
What to Pack for Antelope Canyon
- Small Bag – Bring a small bag or carry all your personal belongings on you. You can’t bring backpacks since space is tight.
- Bring a Buff / Bandana to keep out sand and dust
- Layers – The canyon is much cooler, but it can still get hot.
- Sunglasses
- Water – Since you cannot bring large bags, you can carry your reusable water bottle with one of these. You can also use a Platypus Plus Bottle and clip it to your belt.
- Snacks
- Camera Gear
- Lenspen
- Saran Wrap – If you want to add a bit of extra protection, wrap your camera in saran wrap (especially the cracks) to keep it safe from the sand.
- Comfortable Shoes / Hiking Shoes
- Cash for Entrance Fee and Tips
Where to Stay Near Antelope Canyon
Page, AZ is only 5 miles away from Antelope Canyon and has plenty of hotel and food options. During peak season, you need to book early due to limited availability.
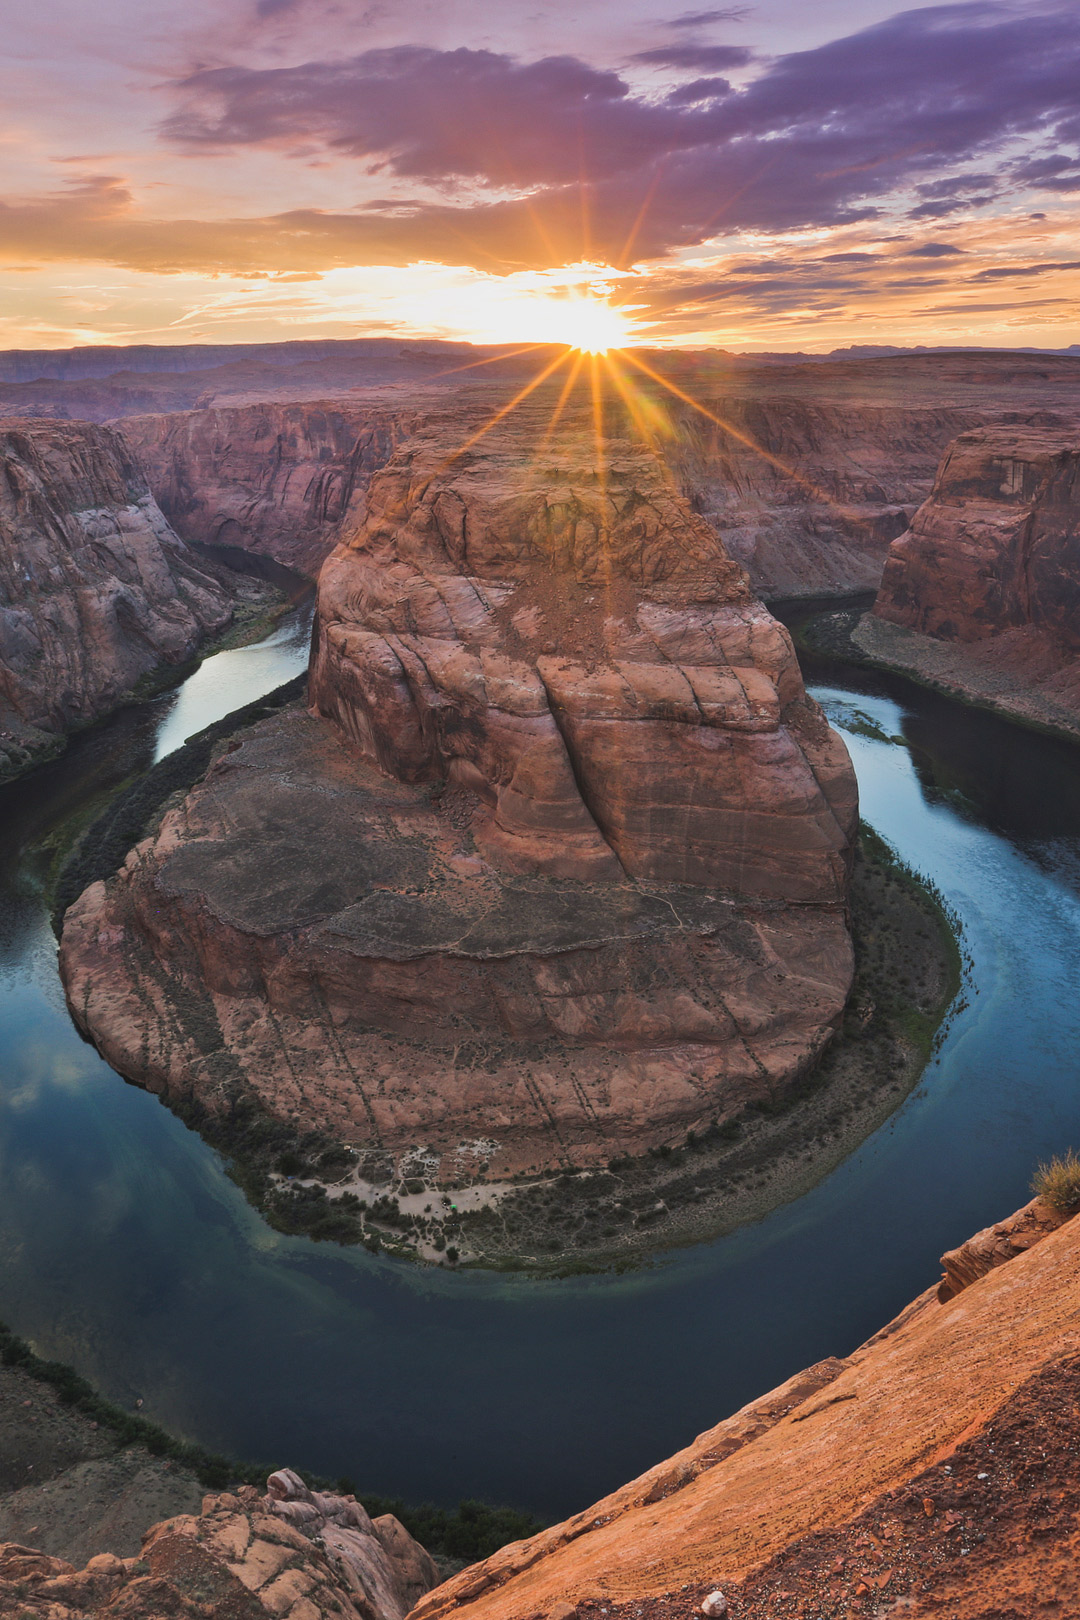
If you stay in Page, you’ll also be at a central location to a lot of other amazing outdoor spots! If you plan your day right, you could catch the sunrise at Horseshoe Bend, shoot the light rays at Antelope Canyon, then have the afternoon to explore another park.
What’s Nearby
- Rainbow Bridge National Monument (10 min / 5 miles to Antelope Point Marina)
- Glen Canyon National Recreation Area (13 min / 6.9 miles)
- Horseshoe Bend (12 min / 7.3 miles)
- Grand Staircase-Escalante National Monument (39 min / 33.6 miles)
- The Wave (1 hr 15 min / 51.7 miles)
- Zion National Park (1 hour 56 minutes / 110 miles)
Planning Checklist
- Get comprehensive insurance for your trip.
- Download these helpful language apps.
- Find a great deal on Page hotels.
- Arrange a rental car for your trip.
- Book a tour for your visit.
- Get airport lounge access.
- Buy a travel charger to keep your devices charged.
- Get a new backpack for your trip.
- Buy an Arizona travel guide.
- Pack the appropriate shoes for your trip.
- Don’t forget your in-flight essentials.
Have you taken any of the Antelope Canyon tours? Which tour did you take and how was your experience?
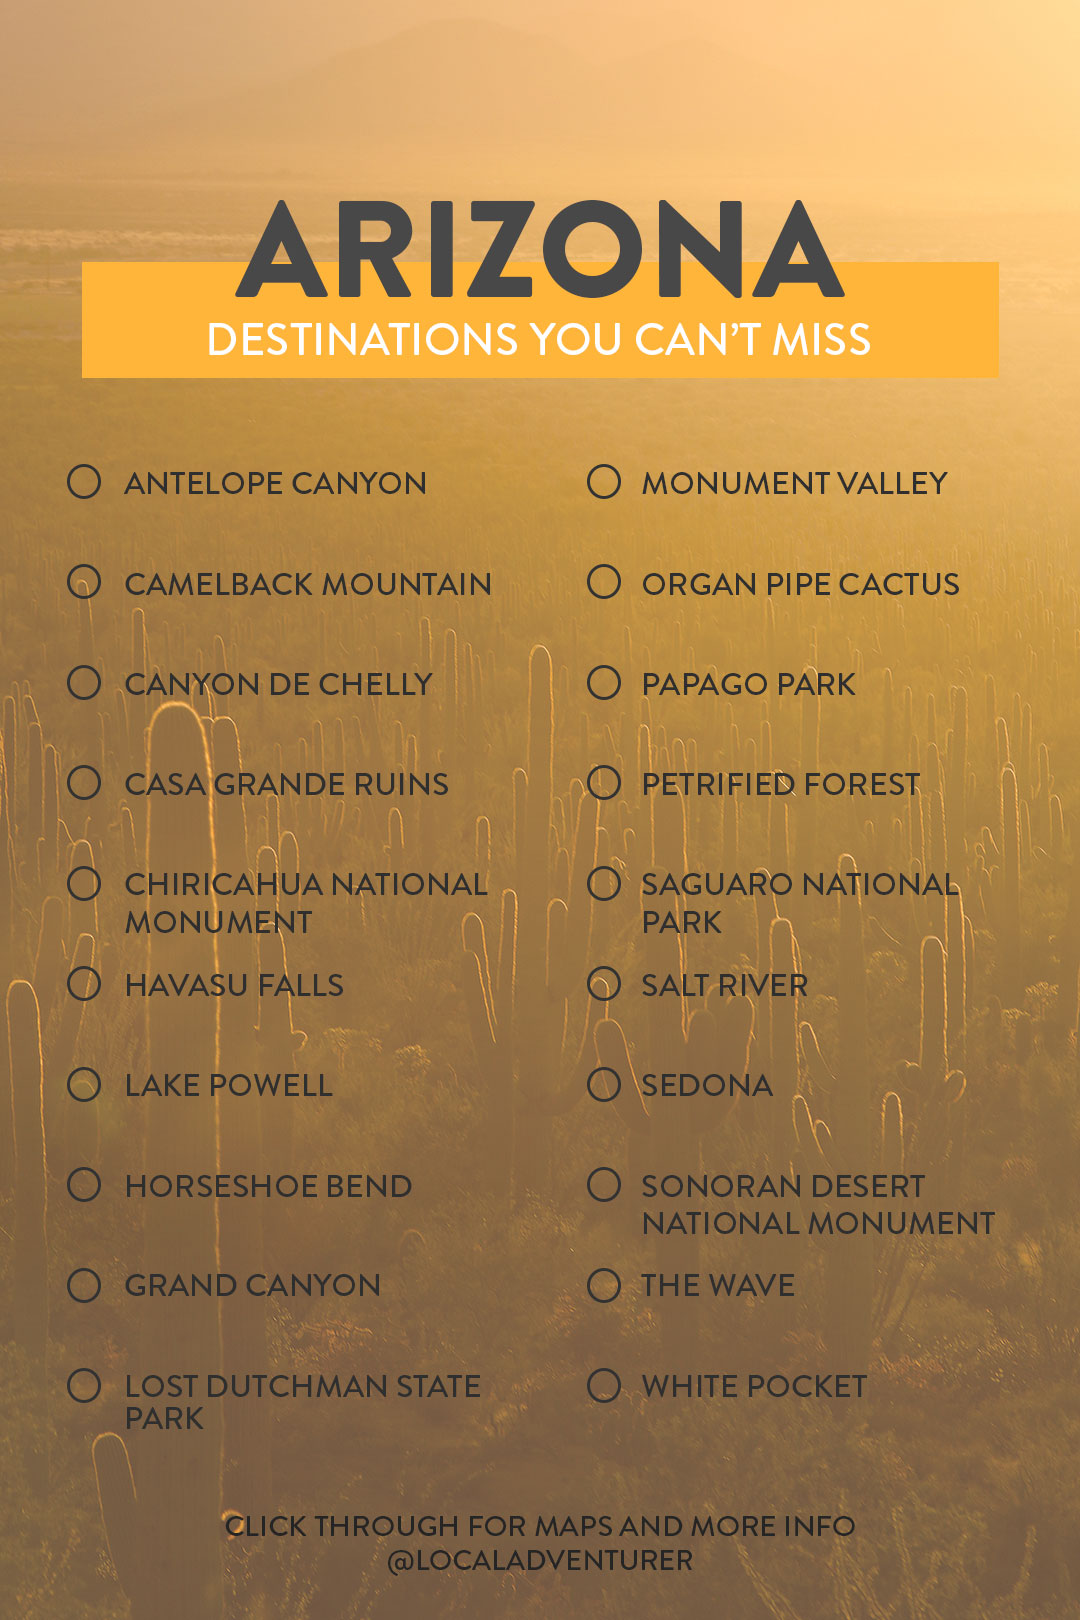
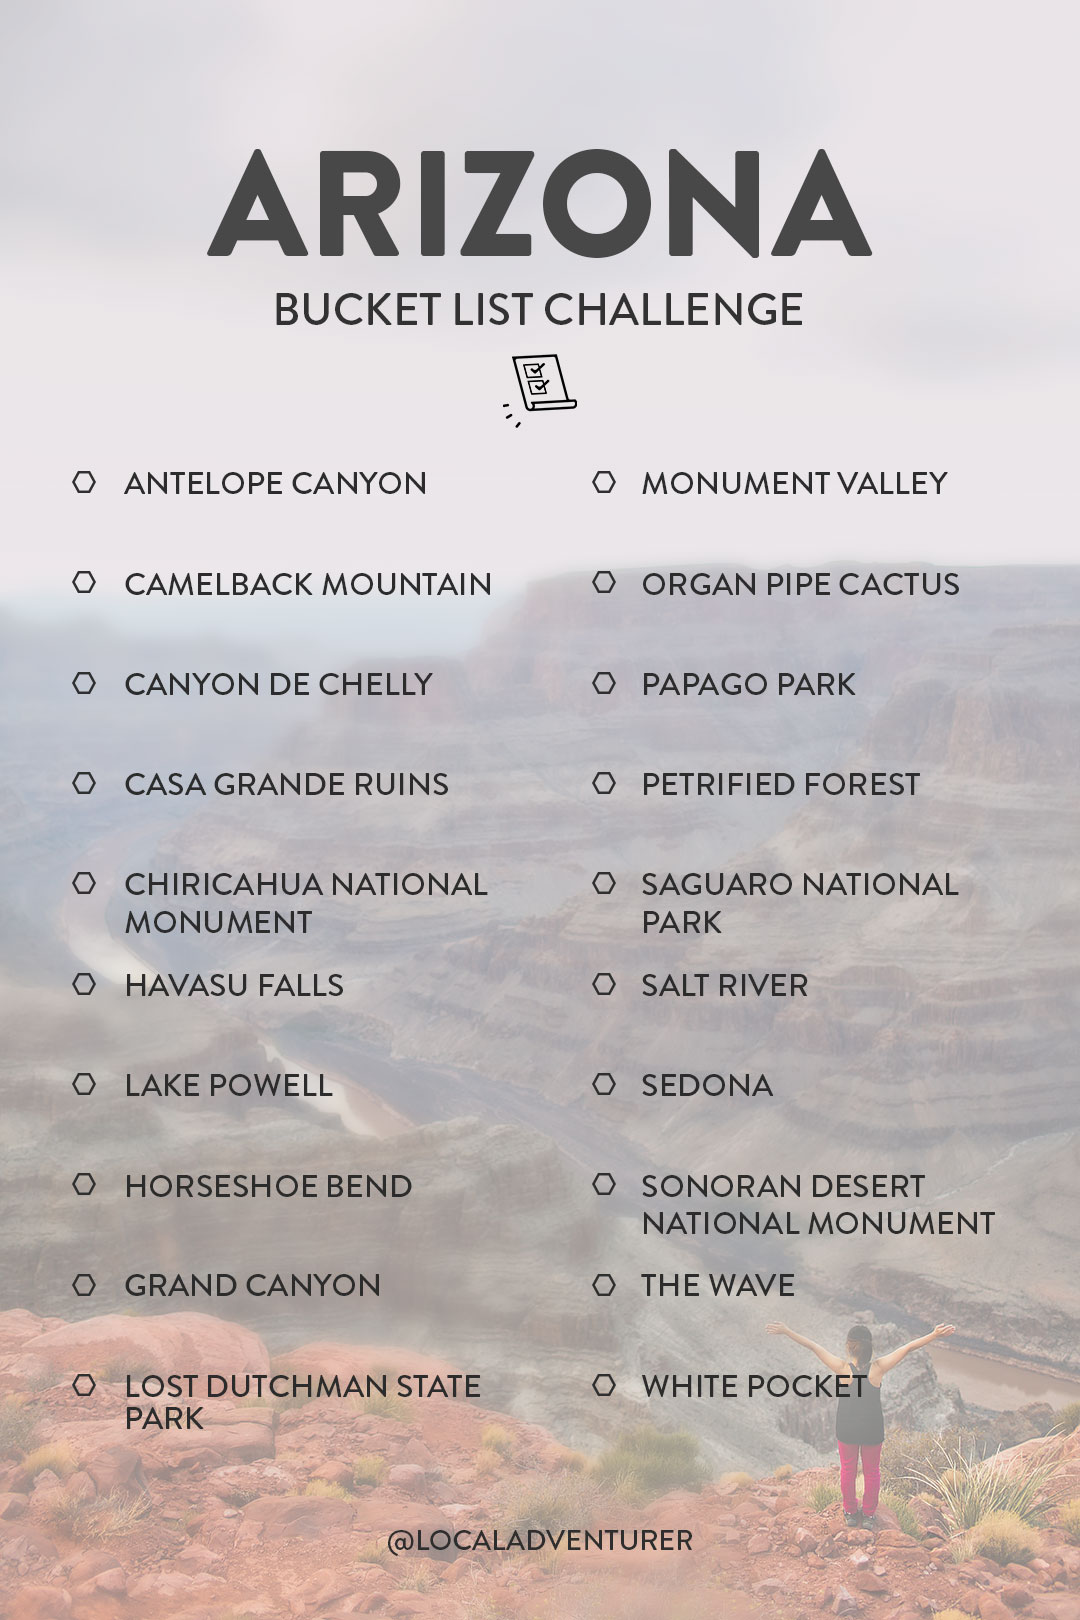
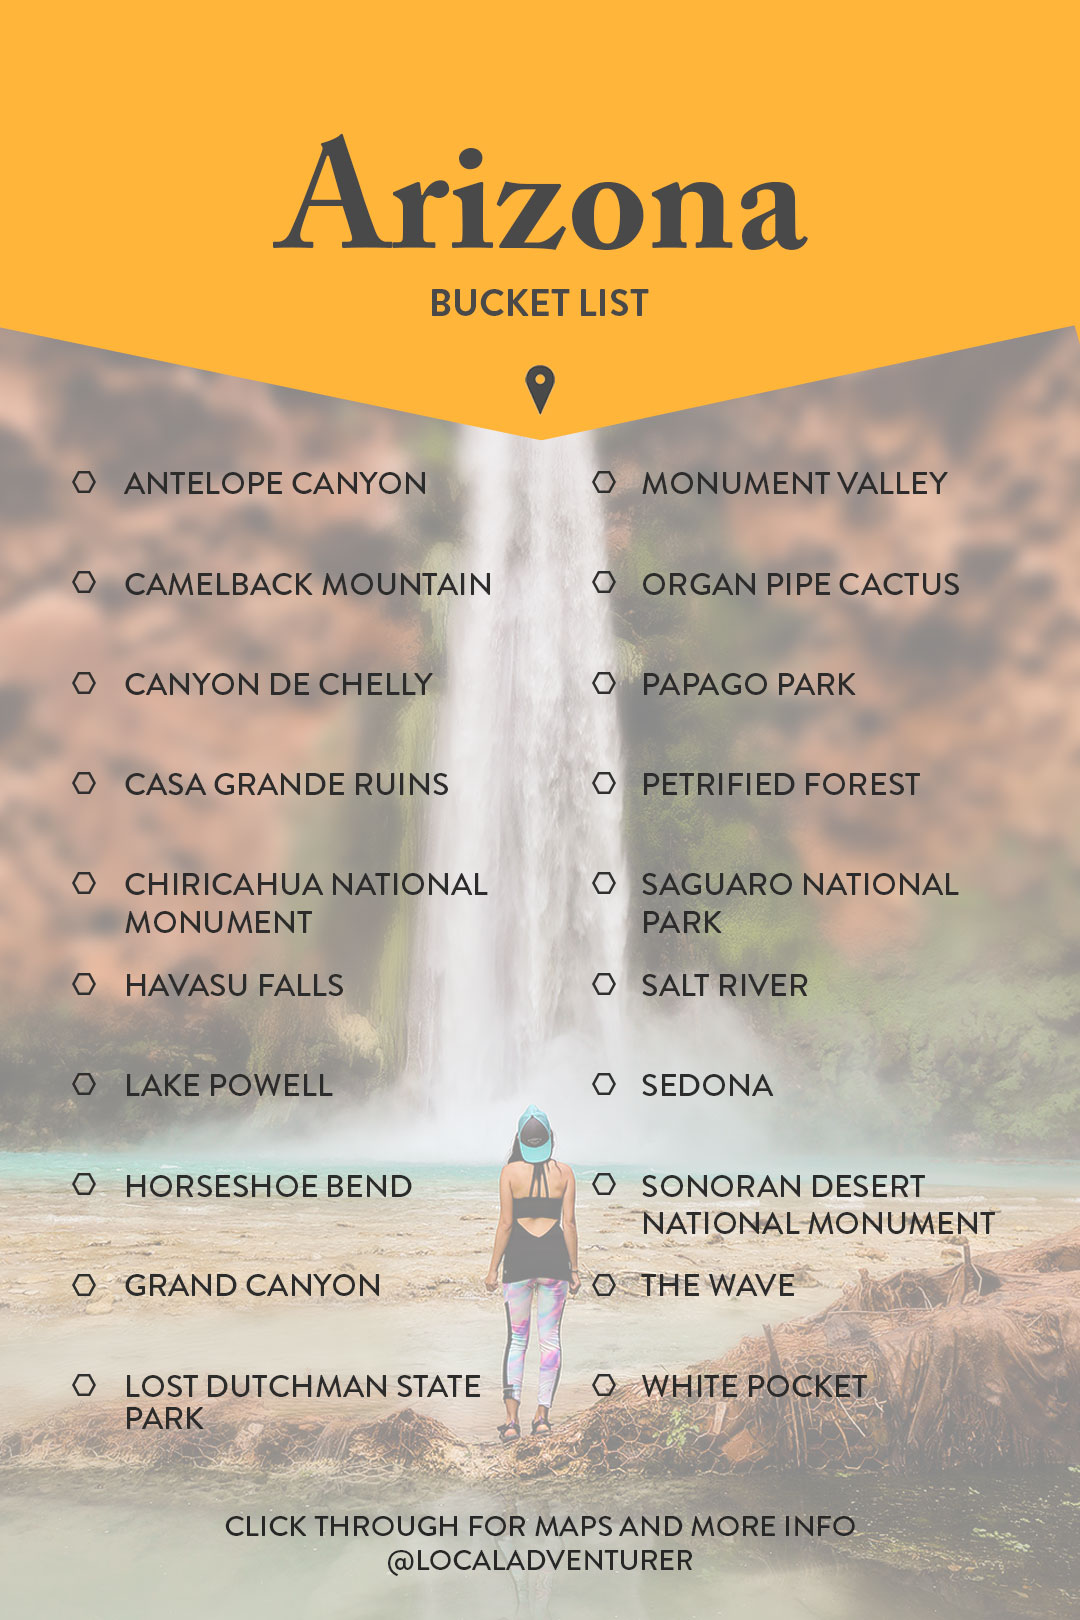
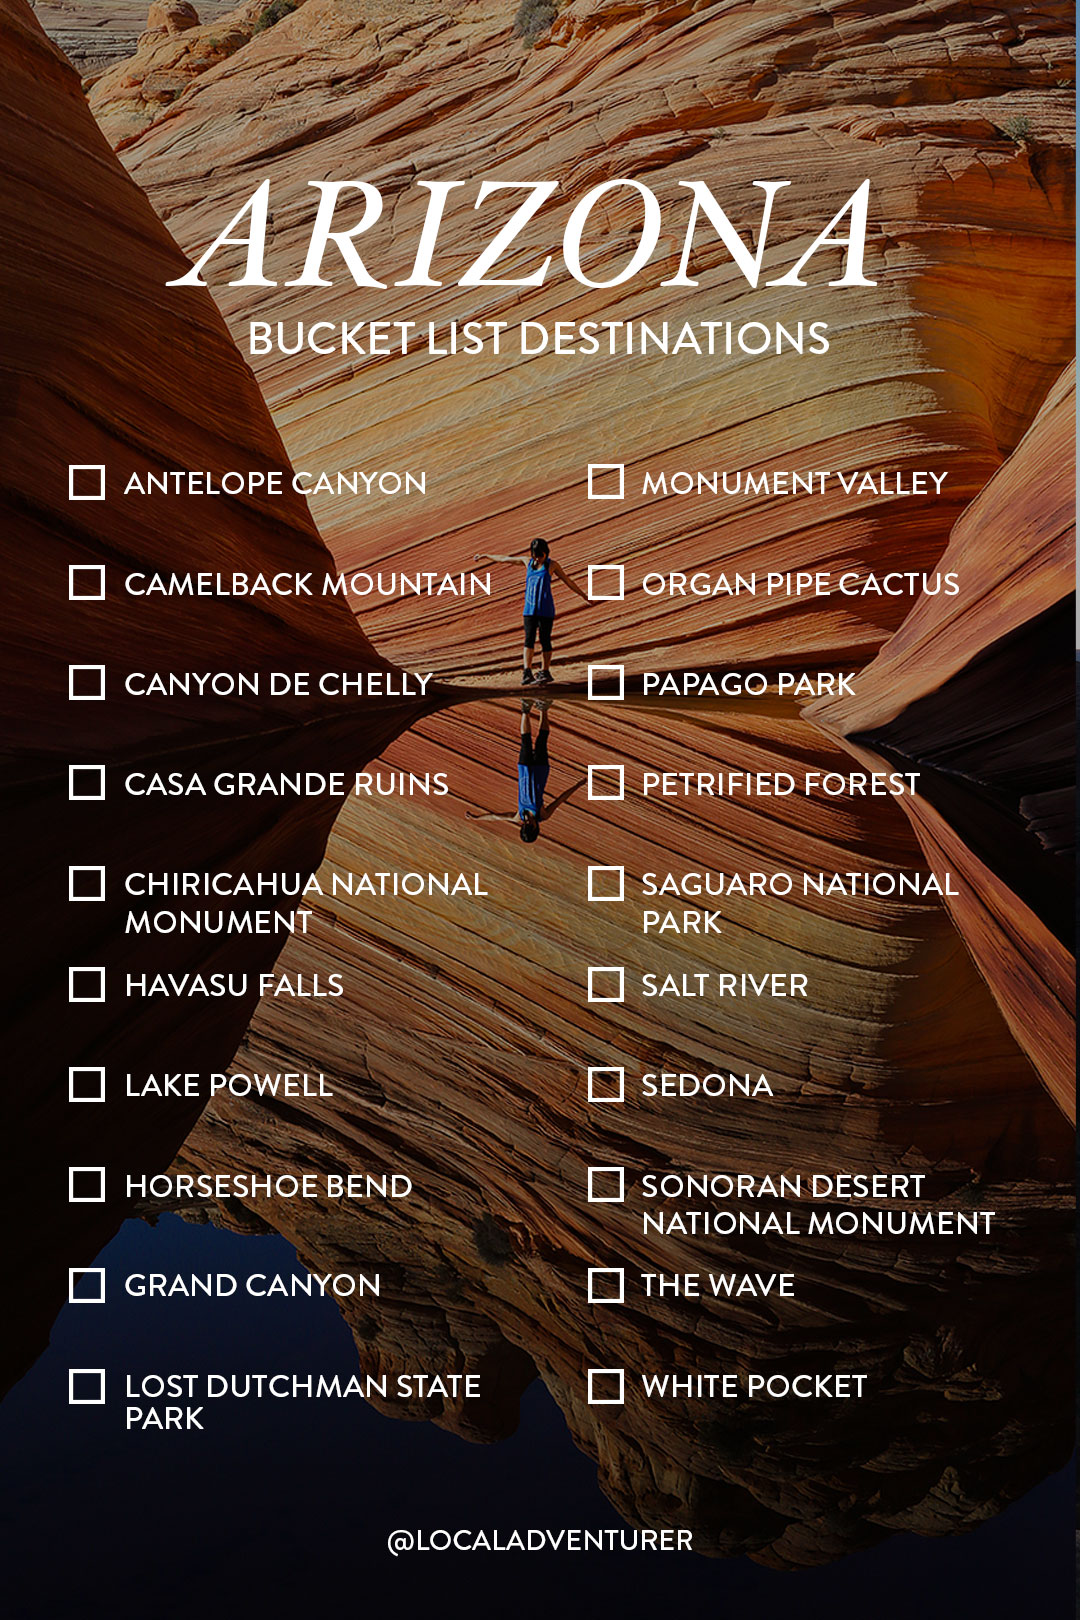
Did you enjoy this post? Pin it for later

SEE MORE NATIONAL PARK GUIDES
⟡⟡⟡⟡⟡
“Discovery consists not of seeking new lands but in seeing with new eyes” – M. Proust

Esther + Jacob
Esther and Jacob are the founders of Local Adventurer, one of the top 5 travel blogs in the US. They believe that adventure can be found near and far and hope to inspire others to explore locally. They explore a new city in depth every year and currently base themselves in Las Vegas.
Follow on Instagram (E + J), YouTube, TikTok, and Pinterest.