Need a Travel Tripod? Here are our favorites!
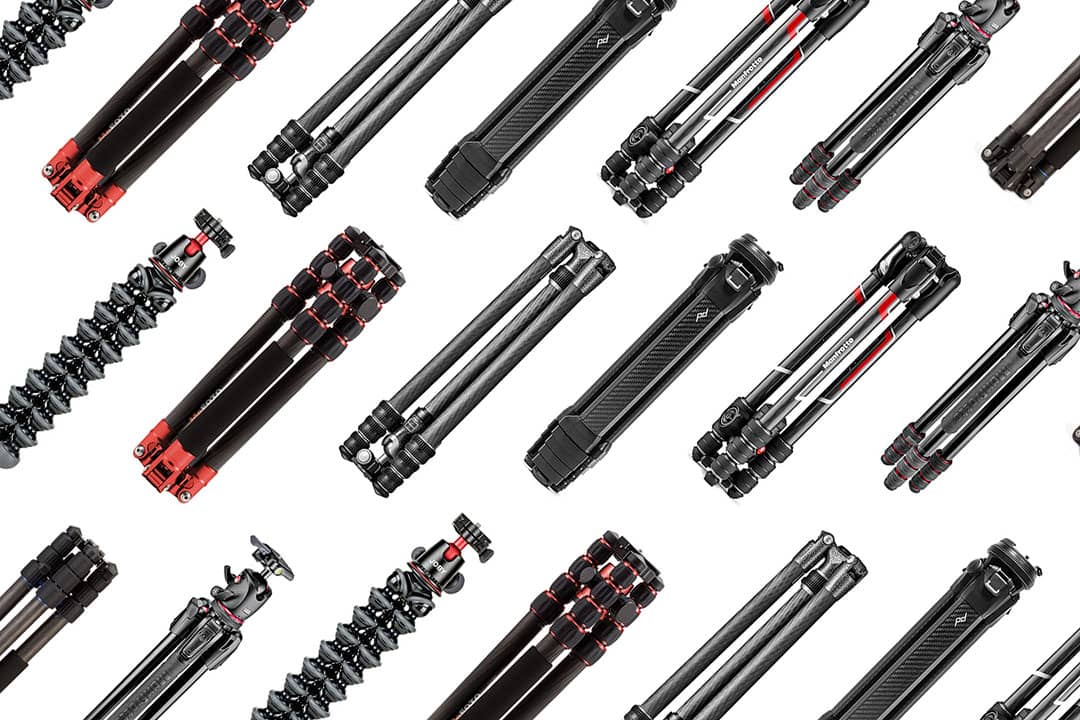
I can’t believe I’ve been shooting for over 20 years. That being said, I’ve gone through a fair share of tripods. Today, we put together this list of best travel tripods today to help you pick one that’s best for you.
We’ll continue to update the post as tripods get updated and new up and coming brands make their way up the ranks, so be sure to check back!
This post may contain affiliate links, where we receive a small commission on sales of the products that are linked at no additional cost to you. All opinions are always our own. Read our full disclosure for more info. Thank you for supporting the brands that make Local Adventurer possible.
Last Updated: March 9, 2024
We like to travel light, meaning the max we carry is one carry on and one backpack (it doesn’t matter how long the trip is or whether it’s summer or winter).
This can be quite challenging since we travel for work and carry our laptops and a decent amount of camera gear. At the very minimum, we have our DSLR, two lenses, and a tripod. But depending on the trip, we sometimes travel with filters, multiple bodies, a drone, and more.
First Off, Ask Yourself, Do I need a Tripod?
This all depends on your subject.
My high school hobby transitioned into shooting weddings after college. Then it took almost a decade before I quit weddings so that my main focus could be shooting travel photos.
When we shot weddings, we were moving quickly from moment to moment. A tripod just slowed us down, so we only used it for the more formal moments. During our travels, we adopted the same habit of being on the move.
Even still, a tripod follows us on all our trips, but it mostly stays at the hotel unless we know we’re shooting specific types of photos that day.
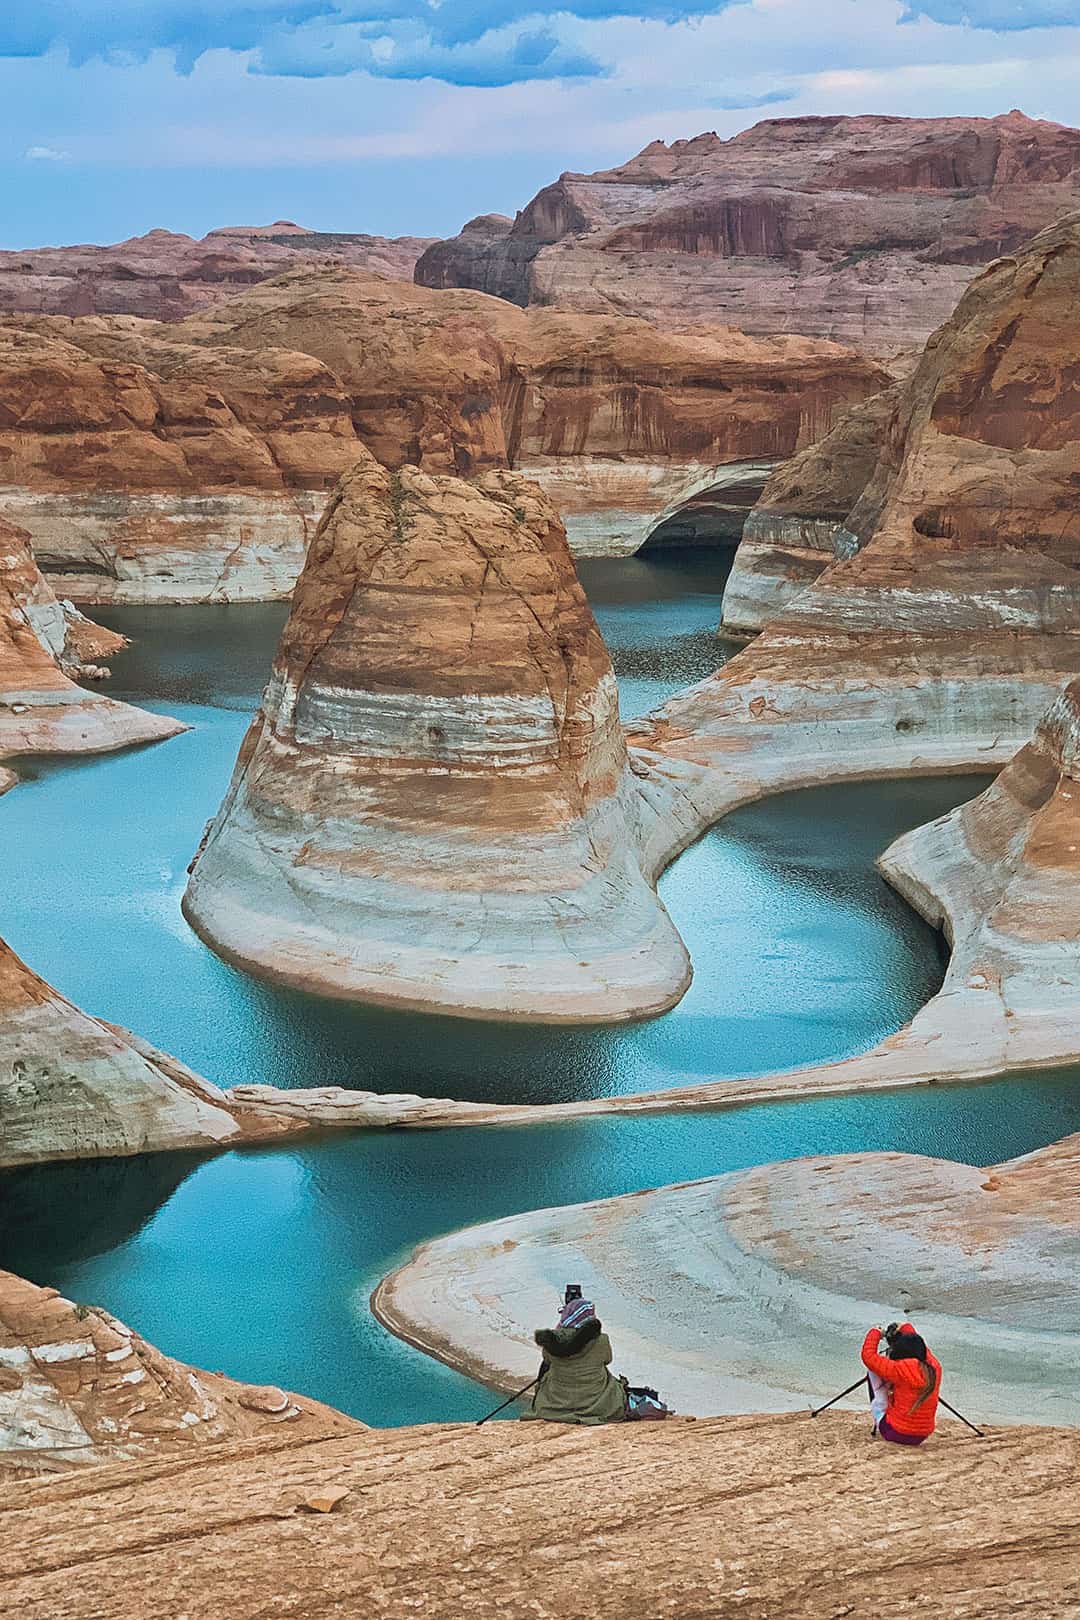
The photo below isn’t the best photo (we took it with an iPhone and it was getting dark), but it’s one of the very few photos I could find of me using a tripod.
When You Need a Tripod
- Landscape Photos – To stack multiple images for HDR or during sunrise and sunset images where there isn’t enough light and we want to expose longer for color.
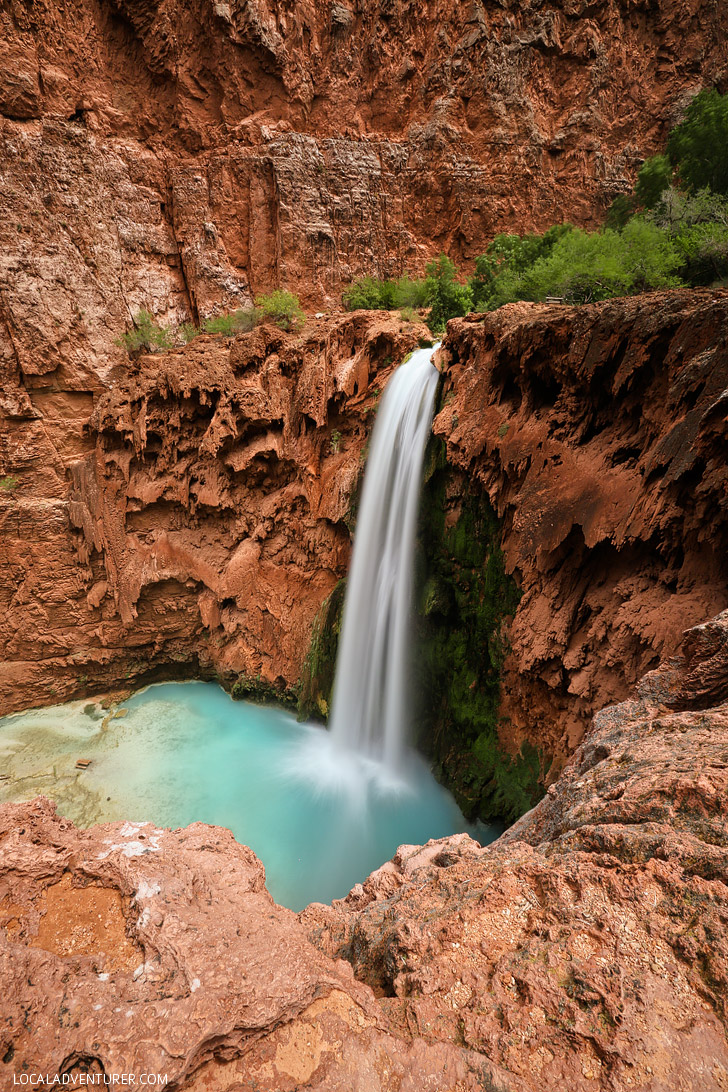
- Water – Long exposure of waterfalls, beaches, etc makes it silky smooth.
- To Capture Movement – It doesn’t just have to be moving water. You can capture movement in other things like clouds, stars, cars, people walking, or bird wings fluttering.
- Self-Portraits – mainly when we want to have both of us in the photos, but it’s also perfect for solo travelers. PRO TIP: Instead of running back and forth with the timer.
- Using a Telephoto Lens – I especially have a hard time keeping it steady since it’s heavy, and I’m a small person. I need to shoot at least 1/400 handheld even if it’s image-stabilized or all my photos will come out blurry.
- Astrophotography and Night
- Timelapse
- Video – to have a nice locked off shot
- As a Mount – for accessories like flash (although we did this more when we shot weddings)
- To Get Rid Crowds – if you’re in a busy area where there are tons of people moving around, you can take a lot of consecutive shots, layer all your photos, and edit them out. This doesn’t always work if people stay in the same spot in the shot the entire time.
- Increase Image Quality – Keeping the camera ISO low to increase the quality of images. However, this is pretty rare for us since cameras these days are so good.
Some of these you can still manage handheld and deal with in post, but it will make editing a longer, annoying process.
See More: 15 Best Travel Backpacks You Need to Check Out

The 5 Best Travel Tripods
1. Peak DESIGN Carbon Fiber Travel Tripod (Editor’s CHoice) →
The Peak Design Travel Tripod is the newest, innovative tripod to hit the market and is truly a game-changer!
They’ve completely redesigned how you can use a tripod, and the first thing you’ll notice is that it collapses without wasting space. It comes with exciting features, including a reversible center column, a new ball-head design with no knobs, a built-in cellphone mount, and more.
We tested it at home and based on size and functionality, we think it will become number one, but we want to test it on the road for a few months first.
Pro Tip: If the carbon fiber price is too high, they also have an aluminum version here.
SPECS
- Weight: 2.8 lbs
- Folded Length: 15.5″
- Maximum Height: 60″
- Minimum Height: 5.5″
- Load Capacity: 20 lbs
- Head Type: Ball Head
- Quick Release Plate Type: Arca-Type
- Click here for the full list of specs.
PROS
- Packs small.
- Unique ballhead design is easy to use.
- Built-in cell phone mount.
- Easy to reverse the center column.
Cons
- Pricey.
- Can’t shoot panoramas, since there isn’t a separate ball panning lock.
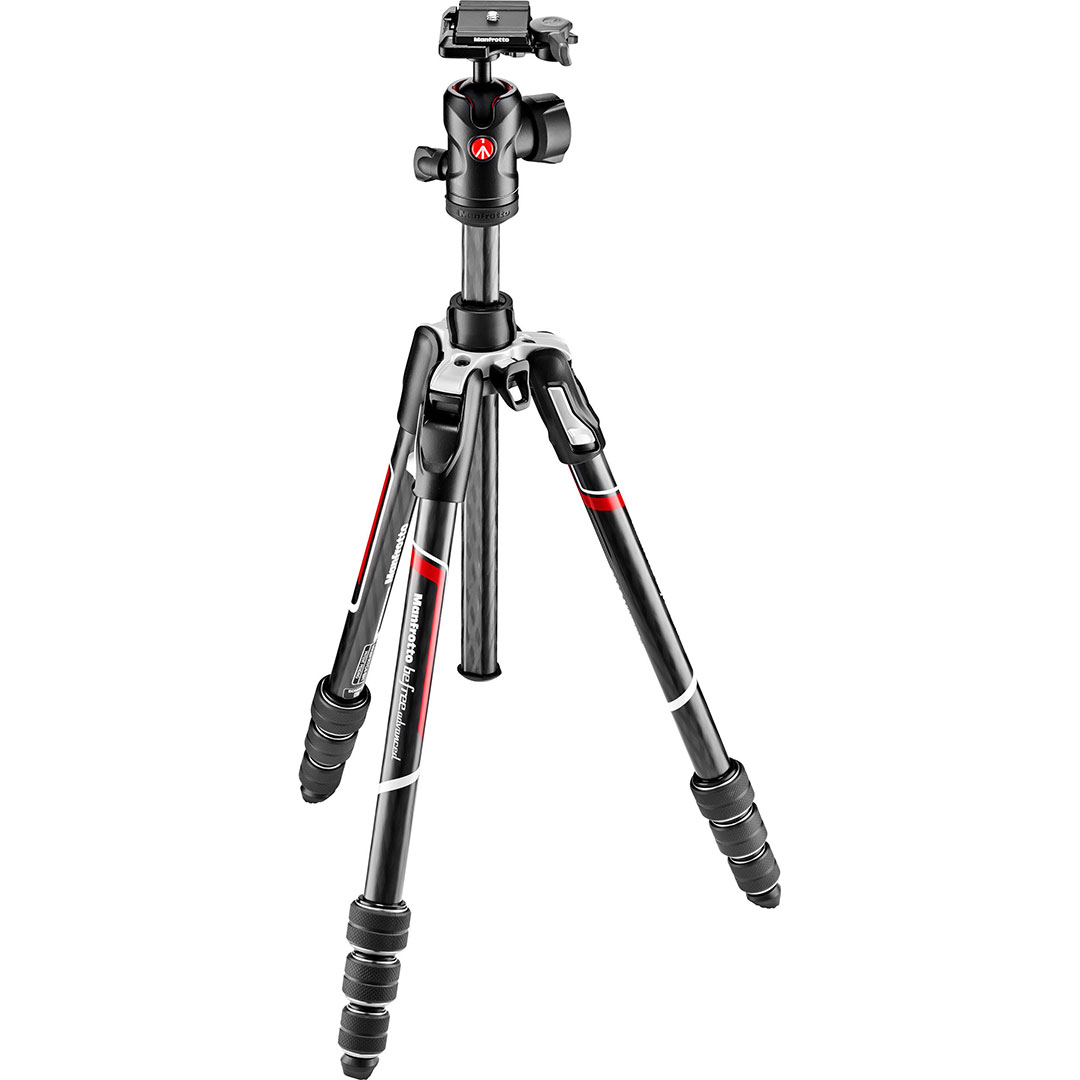
2. Manfrotto BeFree Advanced Carbon Fiber Travel Tripod with 494 Ball Head →
Manfrotto is the veteran brand and the number one choice for many photographers. They’re the experts who have made tripods the longest.
We preferred the Arca-System, so we picked up this adapter. With the adapter, it’s by far one of our favorites. We love that it’s as intuitive as a classic tripod gets. Our least favorite thing is the space between the legs when it’s collapsed. You can always stuff shirts in between, but it would be easier without the gap.
SPECS
- Weight: 2.8 lbs
- Folded Length: 16.14″
- Maximum Height: 59.1″
- Minimum Height: 16.14″
- Load Capacity: 17.6 lbs
- Head Type: Ball Head
- Quick Release Plate Type: RC2
- Click here for the full list of specs.
PROS
- Built by a long-standing company that knows what they’re doing.
- Easy and intuitive use and features.
Cons
- Not as small when collapsed.
- Can’t get as low as we’d like.
3. Heipi 3-in-1 Tripod →
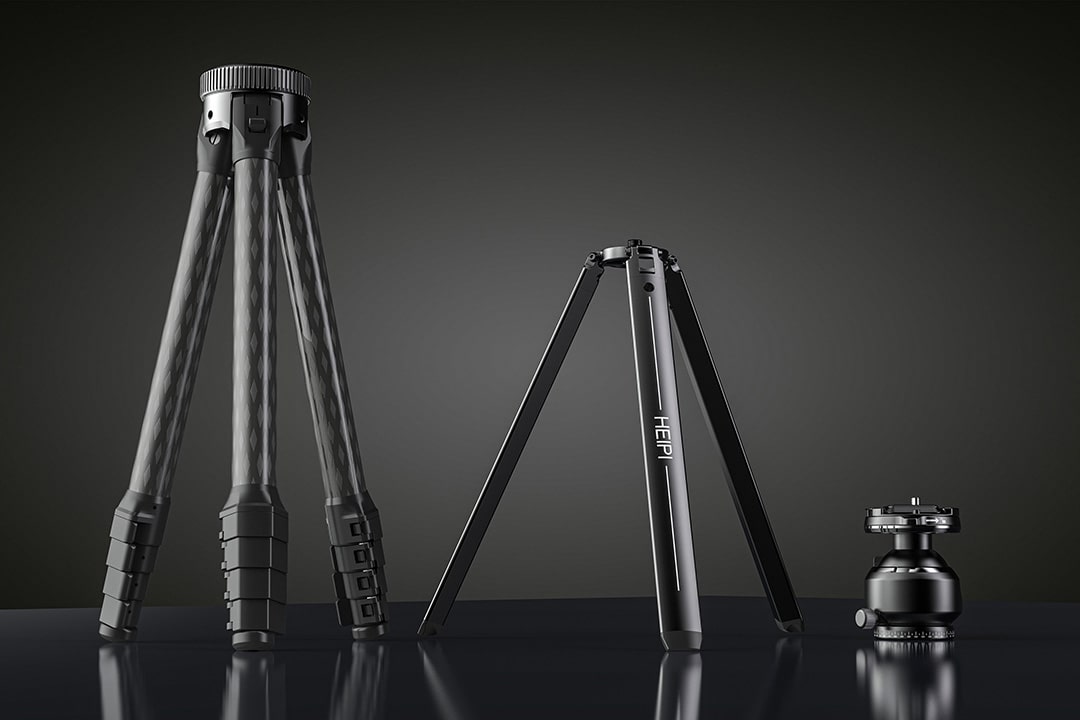
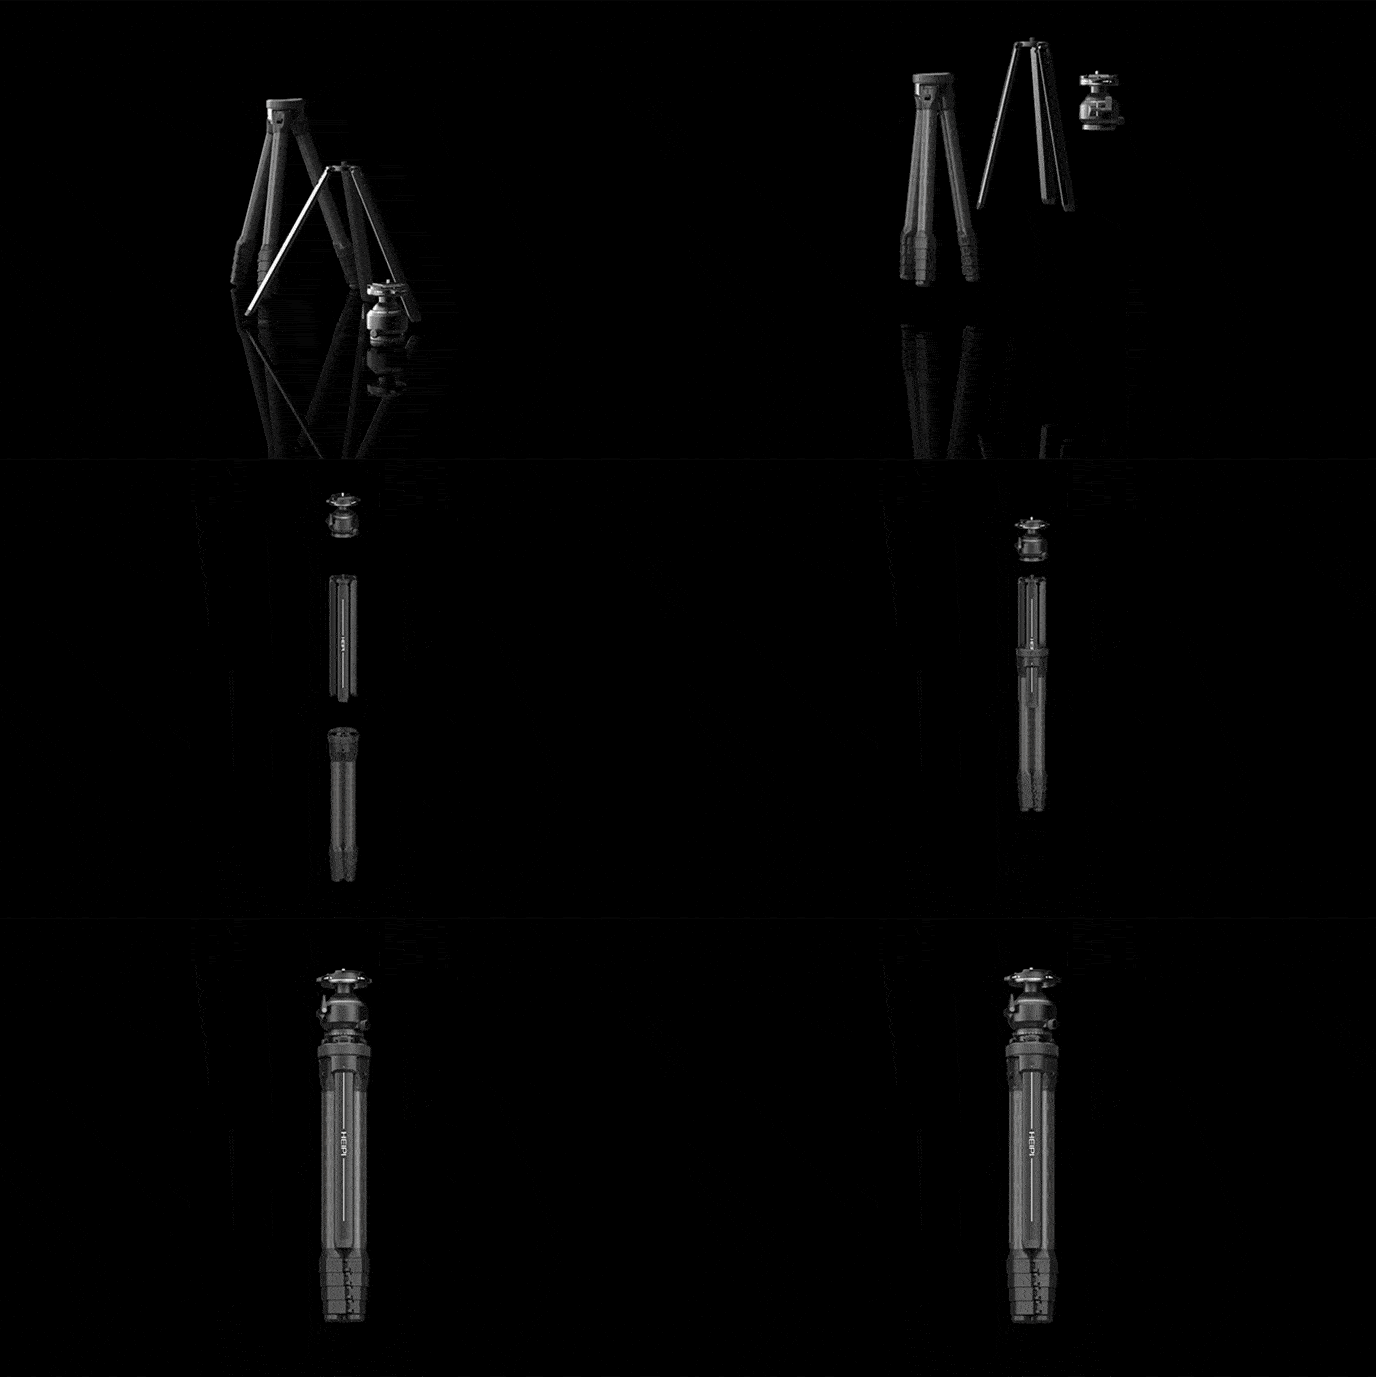
We recently got the HEIPI 3-IN-1 Tripod and it has some impressive features! It has a unique 3-pillar center column system allowing you to transform your tripod to use it in different ways. It also has a strong ball head that can hold up to 55 lbs. Overall I’m impressed with the design!
SPECS
- Weight: 3 lbs
- Folded Length: 17.7″
- Maximum Height: 59″
- Minimum Height: 5.7″
- Load Capacity: 55 lbs
- Head Type: Ball Head
- Quick Release Plate Type: Arca-Type
- Click here for the full list of specs.
PROS
- Packs small.
- Unique 3-in-1 column design.
- Built-in cell phone mount.
- Can use columns separately.
Cons
- Can’t shoot panoramas, since there isn’t a separate ball panning lock.
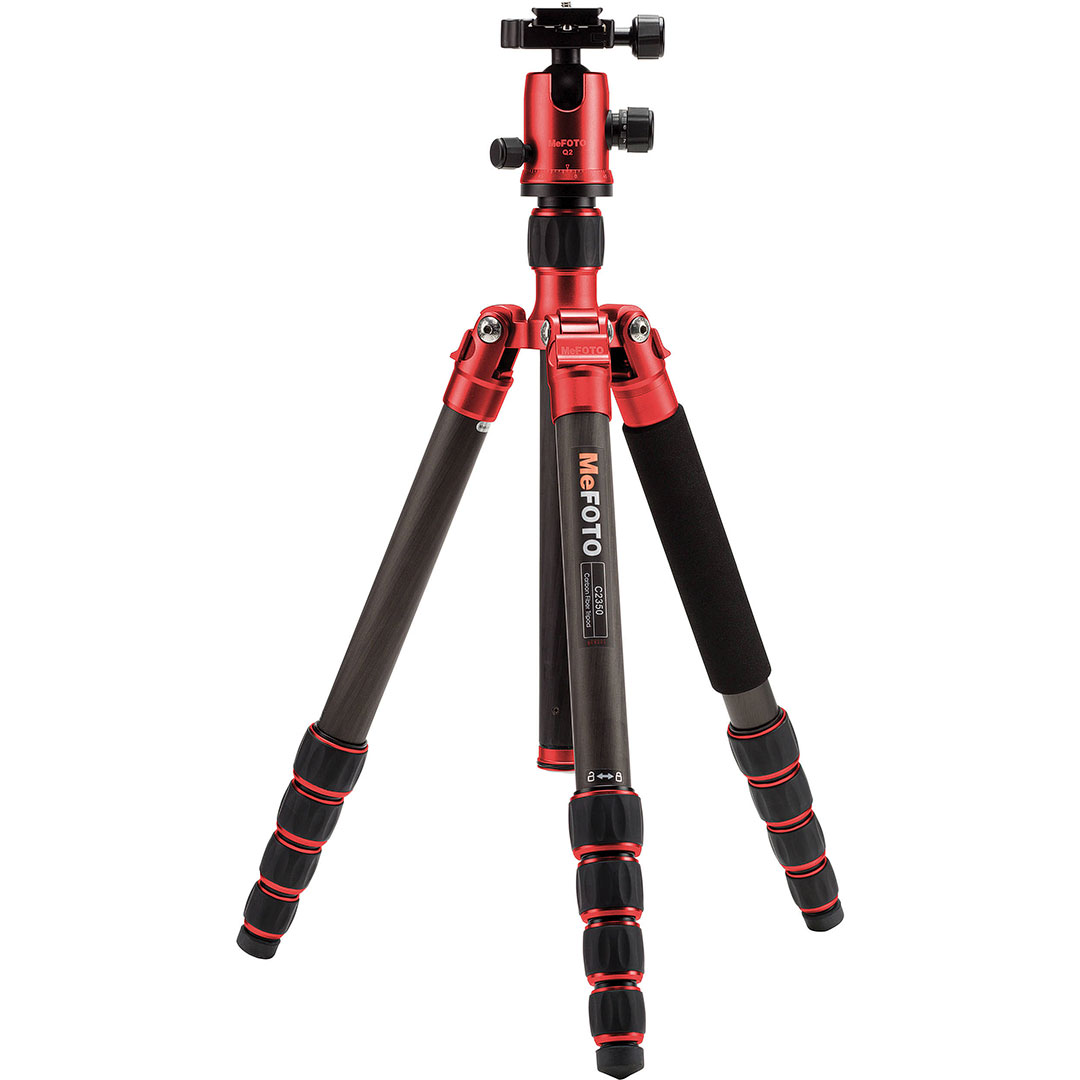
4. MeFoto Globetrotter Carbon Fiber Travel Tripod →
We’ve used multiple MeFoto tripods over the years. The one we currently have is discontinued, but the one we’re talking about here is the updated version.
MeFoto is relatively newer to the tripod game, but they focused on building tripods with travelers in mind. It even comes across with how they named their lines: RoadTrip, Backpacker, & GlobeTrotter. They have multiple color options to help you pick out your tripod amongst a sea of black tripods.
One of our favorite features is that it can convert to a monopod with no tools.
SPECS
- Weight: 3.7 lbs
- Folded Length: 16.5″
- Maximum Height: 64.2″
- Minimum Height: 16.1″
- Load Capacity: 26.4 lbs
- Head Type: Ball Head
- Quick Release Plate Type: Arca-Style
- Click here for the full list of specs.
PROS
- Can be used as a monopod or tripod.
- Lots of color options.
Cons
- Still has space between legs when collapsed.
- Heaviest tripod on this list.
- Can’t get as low as we’d like.
5. Joby GOrillapod 5k Flexible Mini-Tripod →
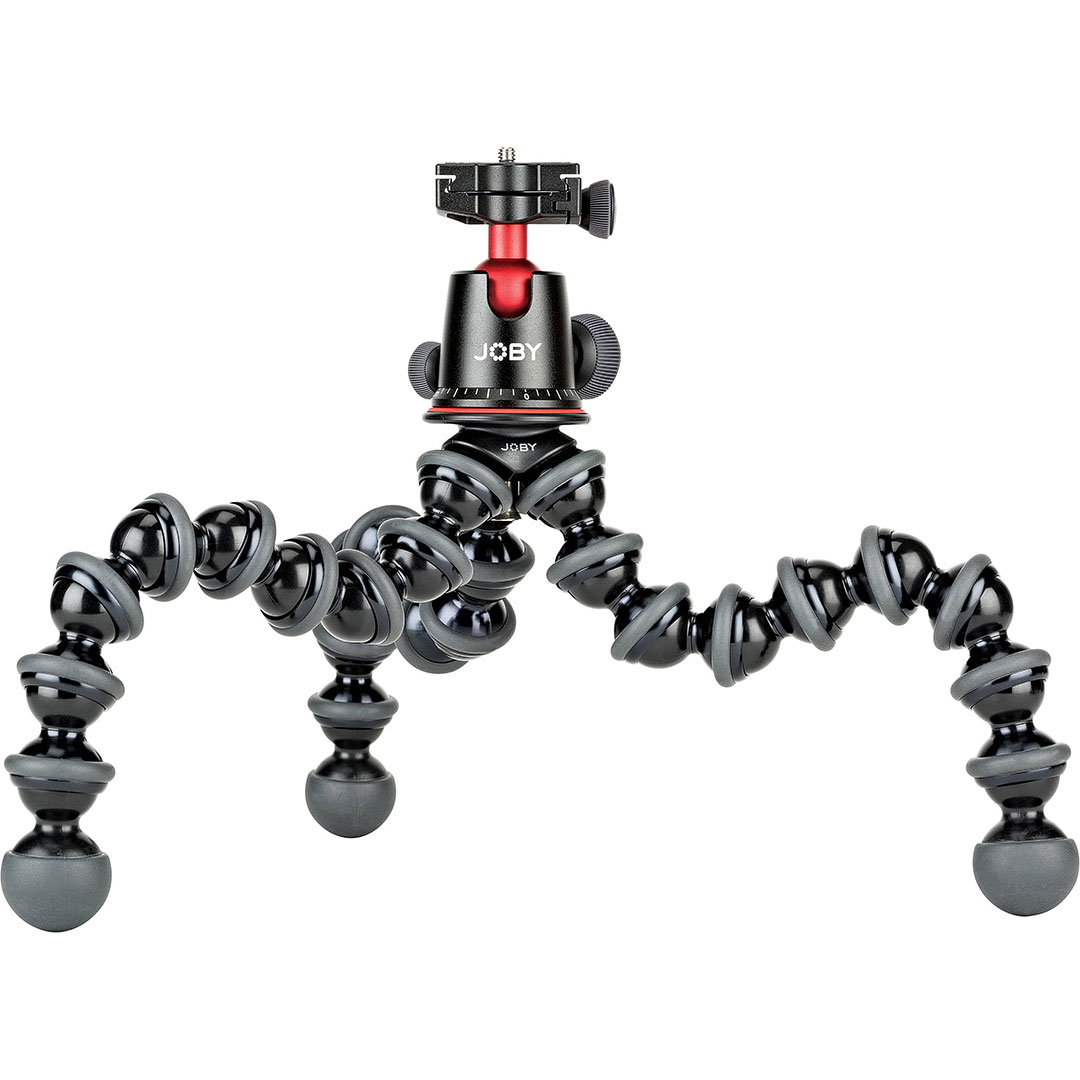
Joby makes a wide range of GorillaPods, but right now, we’re focusing on their beefiest one that can support a DSLR.
GorillaPods excel on uneven grounds or odd shooting situations. Their flexible legs allow you to wrap it around objects or adjust them as needed. They’re also great for vlogging.
The one major downside is that you can’t get a higher vantage point if there isn’t anything higher to attach it to.
SPECS
- Weight: 1.06 oz
- Folded Length: 16.5″
- Maximum Height: 15.2″
- Minimum Height: 6″
- Load Capacity: 11 lbs
- Head Type: Ball Head
- Quick Release Plate Type: Arca-Style
- Click here for a full list of specs.
PROS
- Flexible legs great for uneven ground.
- Can wrap around objects to mount in different spots.
- Packs small.
Cons
- Not great for a huge set up (like a telephoto lens).
- Limited height.
What to Look for in a Travel Tripod
We’re always looking for the lightest, smallest, packable tripod out there while still capable of safely supporting our gear. These are the things we take into consideration:
- Weight
- Size
- Height
- Stability
- Head
- Additional Features
Weight
Not only does it need to meet weight requirements for flights, but you’ll be carrying it on you. A heavy tripod gets cumbersome fast (and so does a DSLR. I wanted to throw it in the lake on our last backpacking trip. That’s a story for later)!
Most tripods have two models: the lighter carbon-fiber model and the more affordable aluminum alloy model.
Pro Tip: Keep in mind that you need to pay attention to how much weight a tripod can carry as well. If you’re using a telephoto lens on a DSLR, the lightest tripod may not support that weight. On the flip side, if you’re primarily shooting with a phone or GoPro, you can go extremely light.
Size
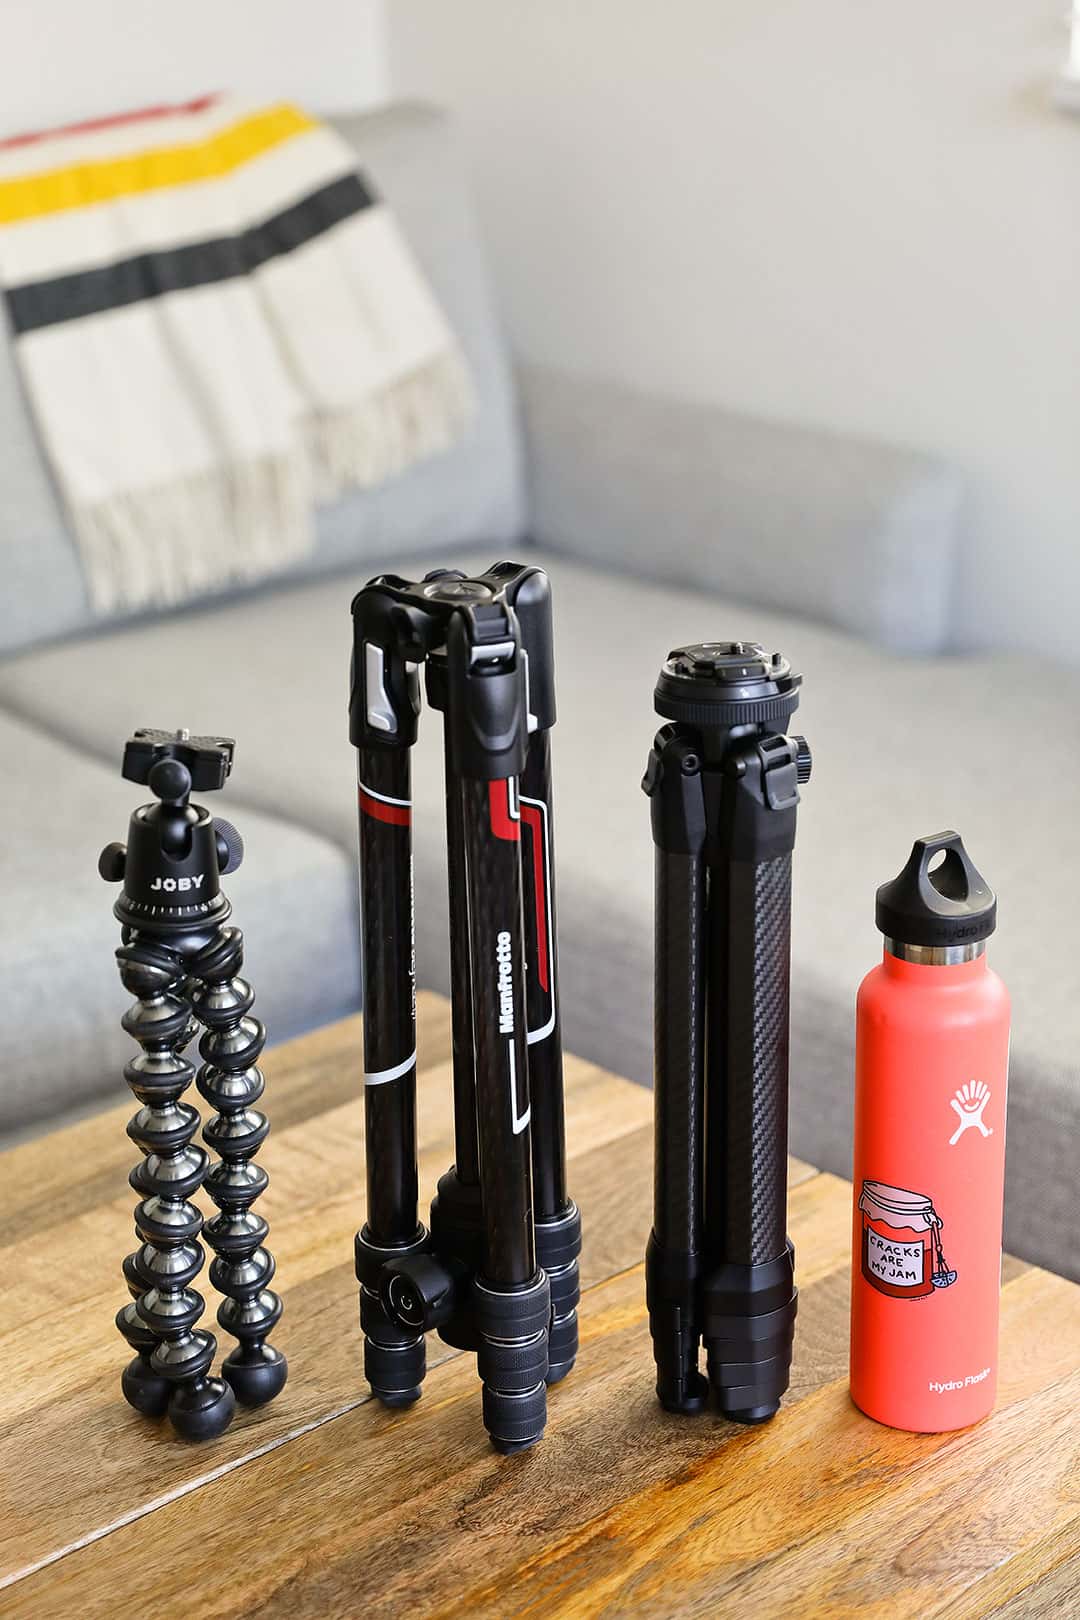
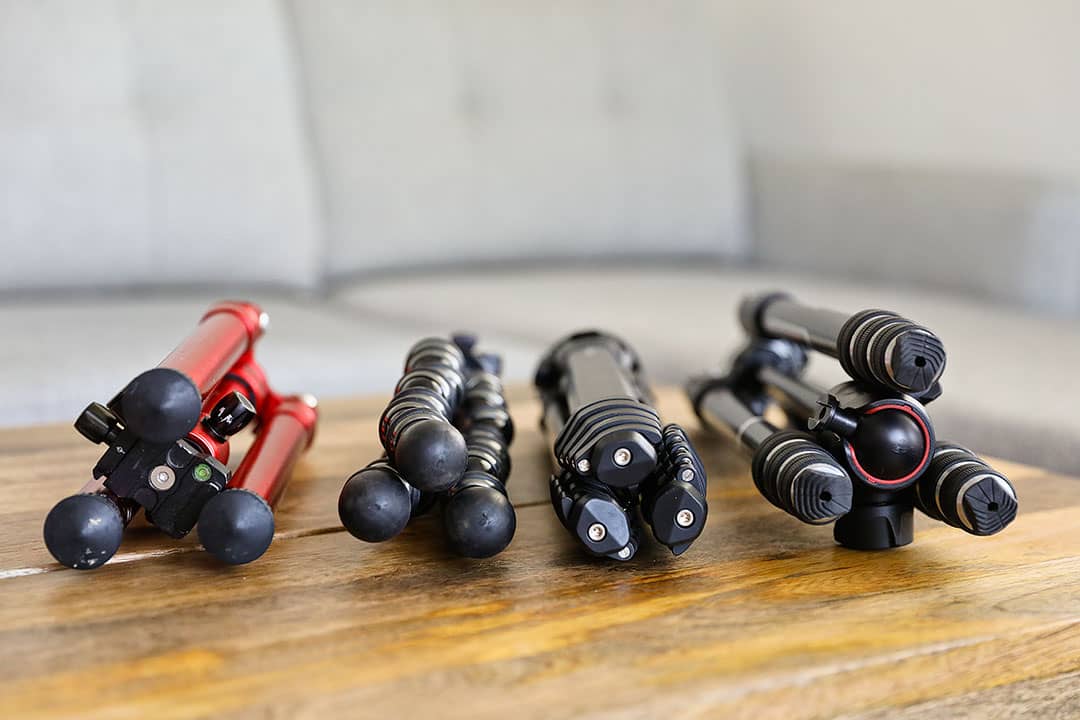
Regardless of the weight, size matters. I’m talking about how small it packs down. The ones that can pack smaller saves you space in your luggage, and it’s less awkward to carry with you.
Pro Tip: Think about how you’ll be carrying the tripod. When I’m flying somewhere, I pack it in my suitcase. Once I’m on location, I carry it in my backpack. Test them in both scenarios.
Height
How high does it go?
For the most part, you want it to go up high enough to match your height, so you don’t have to bend over. Since I’m vertically challenged, I rarely use it at full extension. Some people, however, also like to use their tripod to extend their camera as high as possible and get a bird’s eye view.
How low does it go?
If you want to shoot at low angles, you’ll want to know how low it can stand. If you’re shooting puddlegrams, you’ll want to prioritize this.
Pro Tip: Typically, the peak height of a tripod includes the center column fully extended. This is also the tripod’s weakest point. When fully extended, a little gust of wind can shake or even topple the tripod.
Stability
Your tripod needs to keep the camera still and stable. Since travel tripods need to be as small and light as possible, they come with thinner legs and lighter pieces. As a result, it’s sacrificing the stability of their heavier, bulky counterparts.
There have been times where I’m shooting in windy situations, and the tripod can’t keep the camera still. When looking for your travel tripod, see how wobbly the legs are and the weight it can handle. Is there an anchor point where you can attach your backpack to give it more stability? How many joints does it have and does it affect stability?
Test your tripod with your heaviest setup (mine currently is the Canon Mark IV and 70-200/2.8L lens). Make sure it’s stable, and tap the legs at different points to see how it handles the vibration.
Head
Most tripods in this category come with some sort of standard head, but you can always change it out later. When choosing a head or testing what comes with it, think about what you’re shooting with since the head also comes with weight limits too.
You also want to consider how easy it is to maneuver.
There are three main types of heads:
- Ball-Head – one access point that loosens or tightens that allows for flexible and smooth adjustments, For photography, ball heads are pretty standard.
- Pan-Tilt Head – one knob or handles to control its horizontal movement and another for its vertical movements. It’s more commonly used for video.
- Gimbal Head – helps balance the camera no matter which direction you’re trying to move it (usually for heavy or long lenses)
Do you shoot more portrait or landscape orientation? We like to shoot vertically, and after a while of tilting and the ball head for portrait orientation, it got looser until the tripod couldn’t hold the weight of our camera. The weight of the camera slowly dragged the ball head down.
Pro Tip: We used to use a L-Bracket for our camera, but recently switched to a rotating collar, which we absolutely love. It makes the camera bulkier, but it’s much more stable for shooting in either orientation and quicker to switch between both. I don’t know why I waited so long to get one!
Tripod Legs – Twist Lock or Level Lock?
This is generally a matter of preference, but there are some pros and cons to each. We prefer the lever locks.
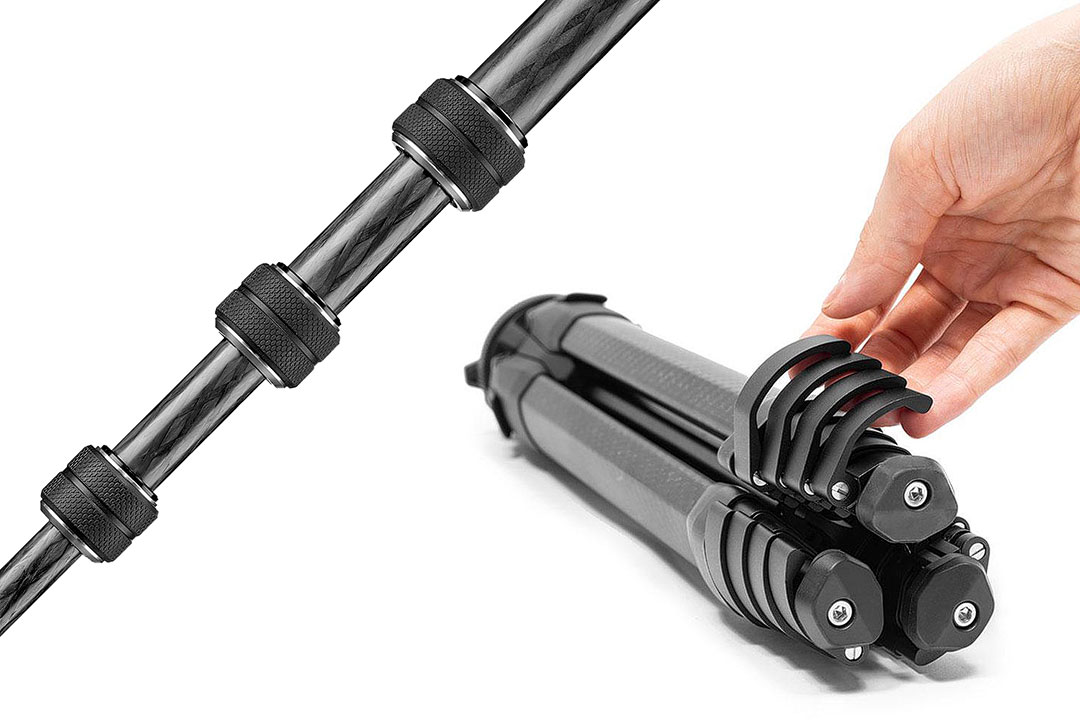
- Lever locks let you set up and pack up your tripod quicker, and it’s easy to know if it’s locked by looking at it. The cons are that it is slightly bulkier and the set screws can loosen over time and you will need a hex tool on you to adjust it. Other tripods come with a hex tool, but the Peak Design tripod has it integrated into the design.
- Twist locks are less bulky, require less maintenance, and have fewer parts that break when taking a beating. The downside is that it takes more time to set up and also sometimes it’s hard to tell if it’s fully locked.
Pro Tip: Take care of your tripod. If you shoot in dusty or sandy conditions, make sure you wash it and dry it off to extend its life. You don’t want all the sand or dust to stay in between the legs.
Additional Features
You need to consider the camera you’re shooting with and also the environments you’ll be shooting in. Here is a shortlist of other features you may want:
- Quick Plate – for easy mount and dismount
- Feet – you may want spikes for outdoor locations as opposed to rubber for cities
- Bubble Level – to keep the horizon level (We use the electronic one in camera)
- Cell Phone Mount – sometimes you may want to shoot with your phone for ease.
- Flipping Center Column – can the center column flip so the camera can be mounted downwards
- Carrying Case – to protect the tripod
- Warranty – in case something malfunctions
More Highly Rated and Recommended Tripods
Here are other highly rated travel tripods to check out:
Best Travel Tripods for Mirrorless Cameras
Essential Tips for Travel Photography
- Think about where you’re shooting. Popular tourist spots have restrictions on tripods and may even prevent you from entering.
- Practice using your tripod at home, so you don’t fumble with it on location. You might miss an epic shot, and you’ll also risk damaging your gear if you don’t use it properly.
- Check airline restrictions. Although US TSA guidelines state that you can bring a tripod on carry-on and checked luggage, other airport security may make you check it in. After the airlines lost our luggage for a few months, we never liked checking our luggage.
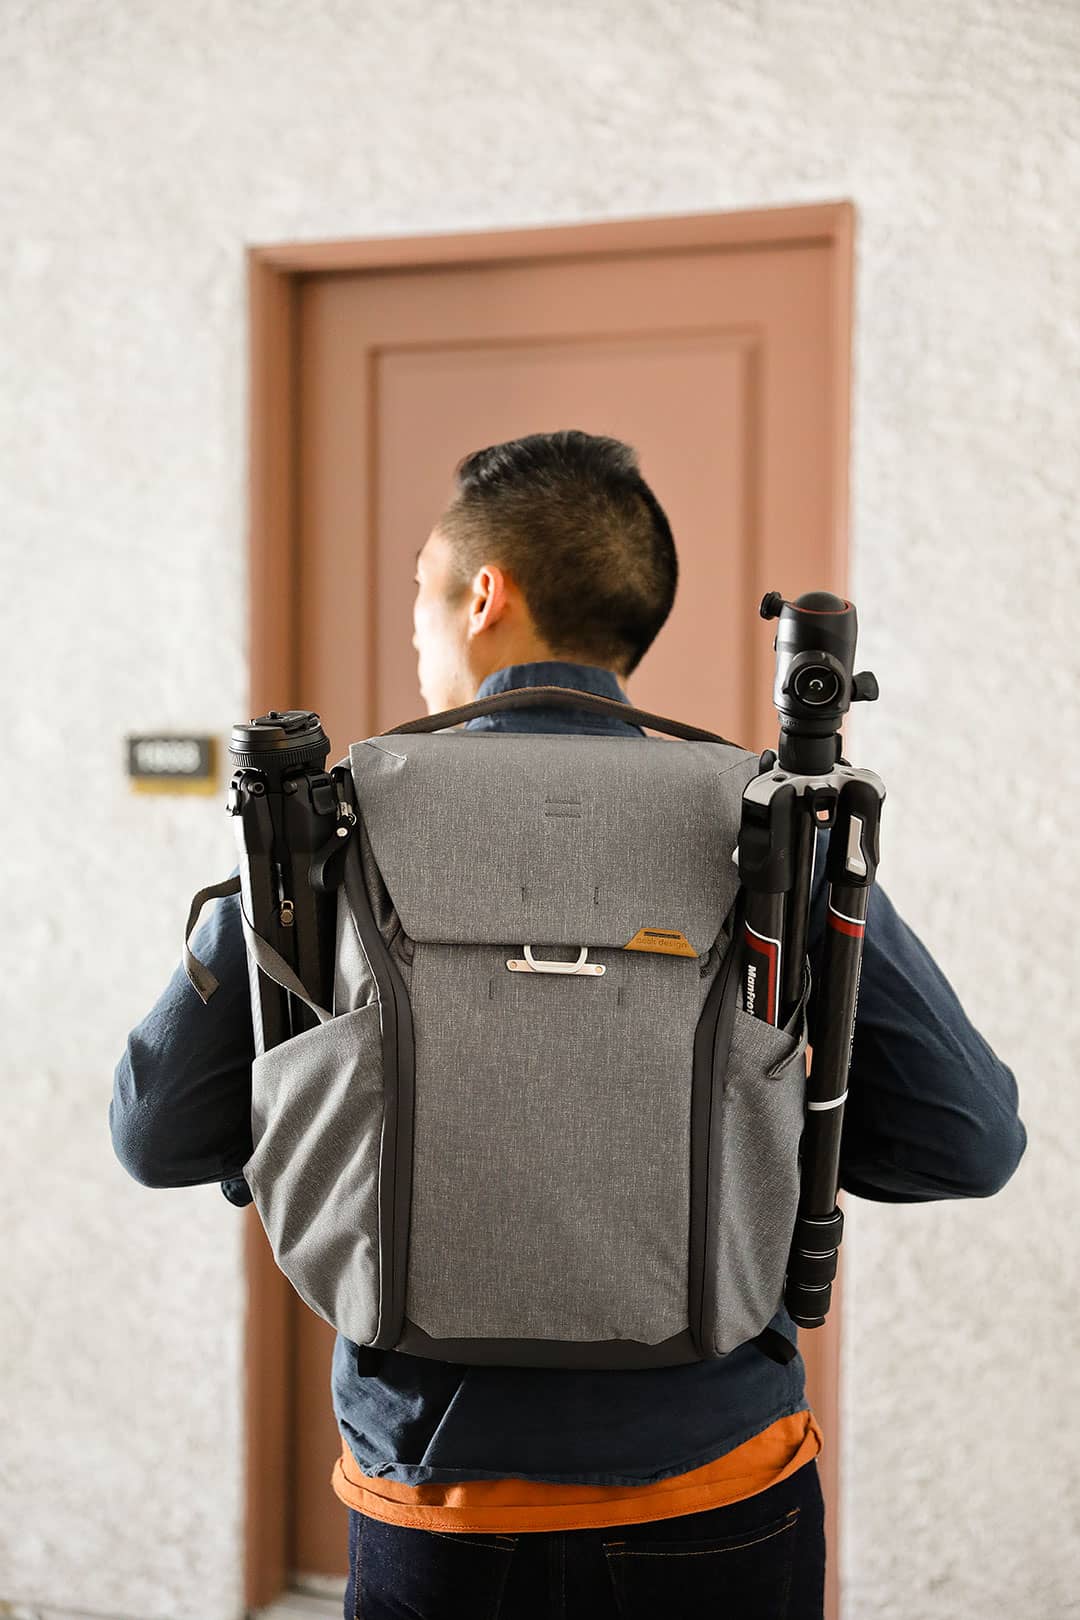
- How do you want to carry it? What kind of backpack are you carrying? Most camera backpacks have a good way to carry tripods whereas general travel backpacks may not. Some tripods you can wear like a sling.
Planning Checklist
- Get comprehensive insurance for your trip.
- Download these helpful language apps.
- Arrange a rental car for your trip.
- Get airport lounge access.
- Buy a travel charger to keep your devices charged.
- Get a new backpack for your trip.
- Pack the appropriate shoes for your trip.
- Don’t forget your in-flight essentials.
Any others you can think of that should make our best travel tripods list?
Did you enjoy this post? Pin it for later

SEE MORE GIFT GUIDES FOR
⟡⟡⟡⟡⟡
“Discovery consists not of seeking new lands but in seeing with new eyes” – M. Proust

Esther + Jacob
Esther and Jacob are the founders of Local Adventurer, one of the top 5 travel blogs in the US. They believe that adventure can be found near and far and hope to inspire others to explore locally. They explore a new city in depth every year and currently base themselves in Las Vegas.
Follow on Instagram (E + J), YouTube, TikTok, and Pinterest.

