
Planning to hike to Havasupai Falls? Check out this photo guide to the hike.
Havasupai has been on our list of places to visit for a while now (is your list always growing like ours?). Who could resist those beautiful turquoise colored falls and pools? The main reason it took us so long to go was because we heard the permit process was horrific. Luckily a friend of ours was able to do the hardest part for us (you can find out more about the permit process here).
This post may contain affiliate links, where we receive a small commission on sales of the products that are linked at no additional cost to you. All opinions are always our own. Read our full disclosure for more info. Thank you for supporting the brands that make Local Adventurer possible.
Last Updated: March 9, 2024
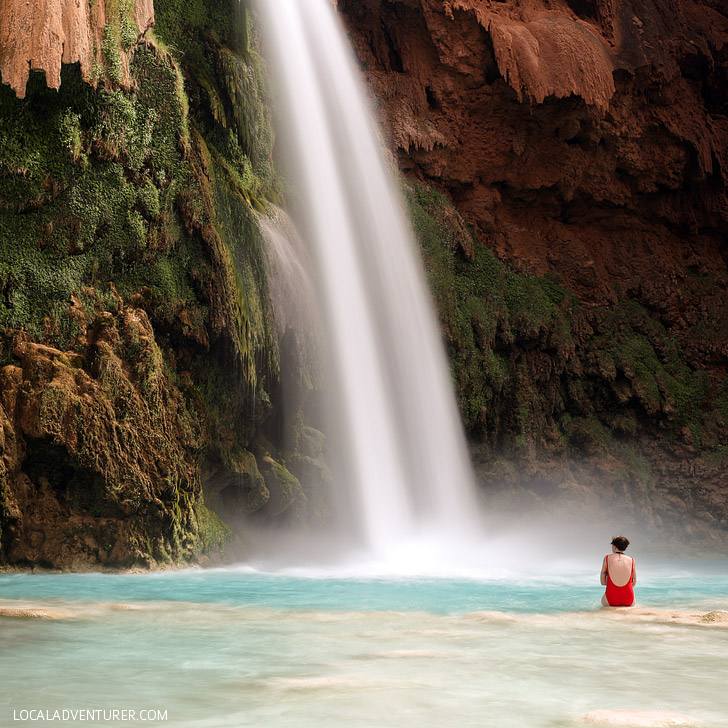
Photos versus Reality
There are places where the beauty cannot be captured by a photograph, and then there are places that you find disappointing because the photography that entices you there is a little misleading (you would think as a photographer, I would know this by now, but I still get fooled).
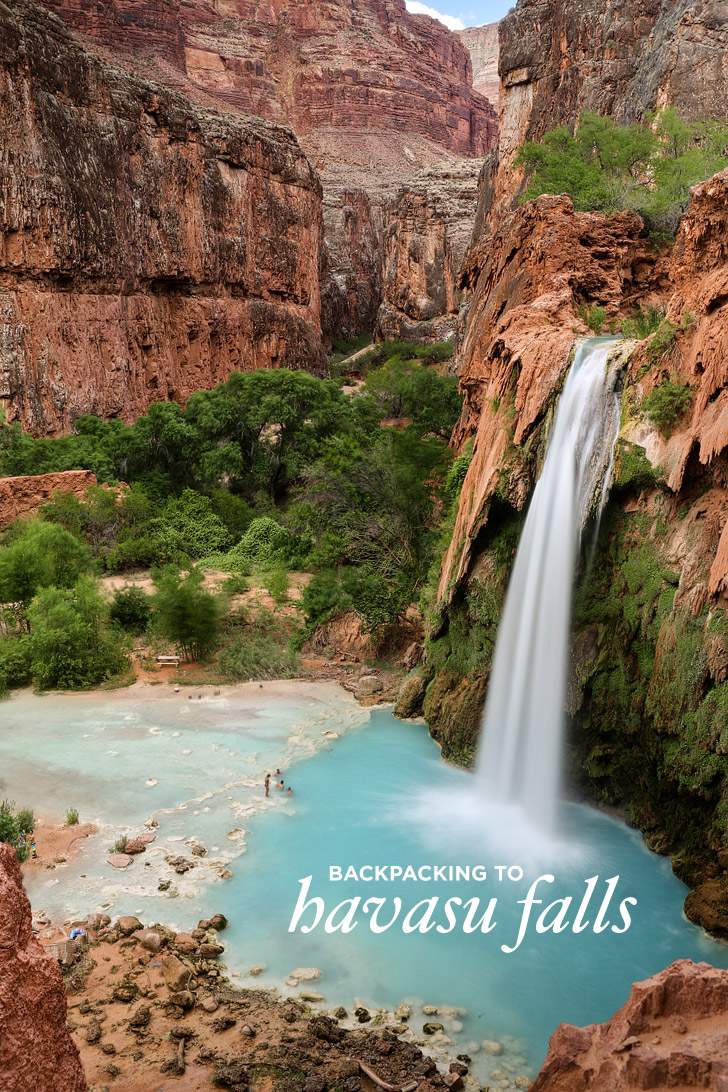
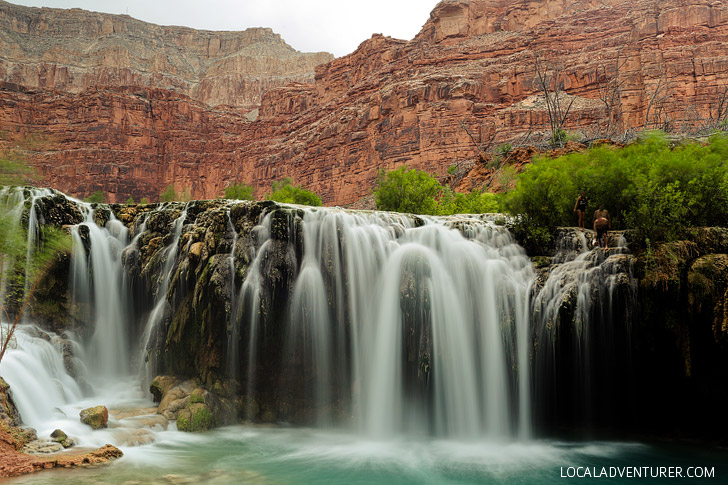
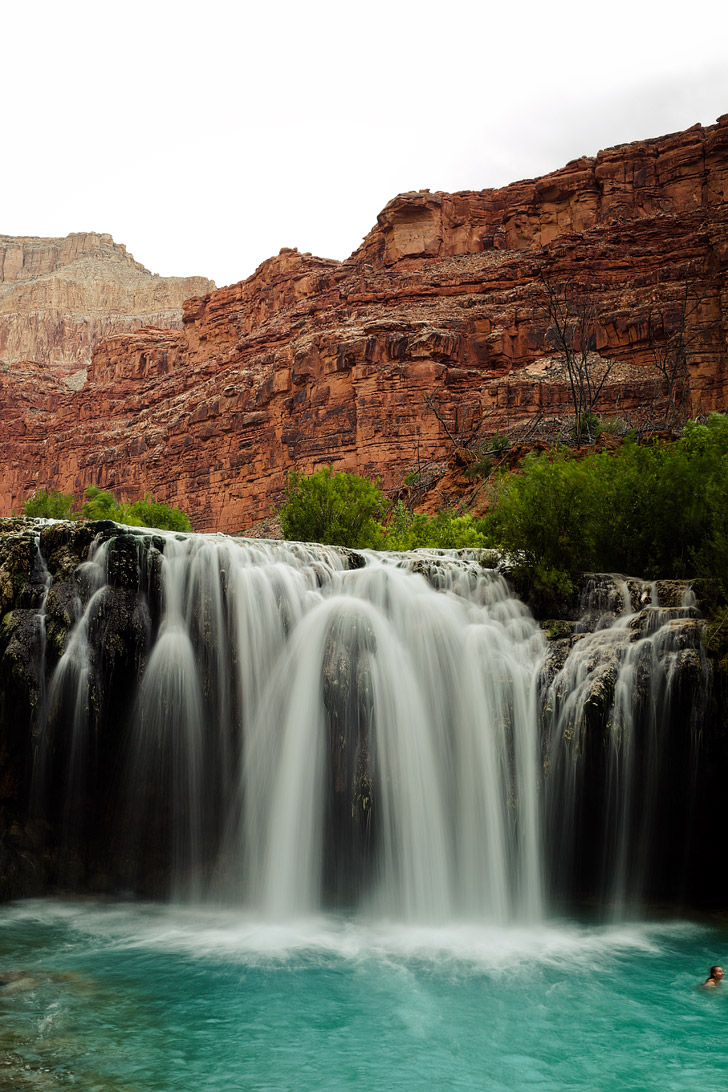
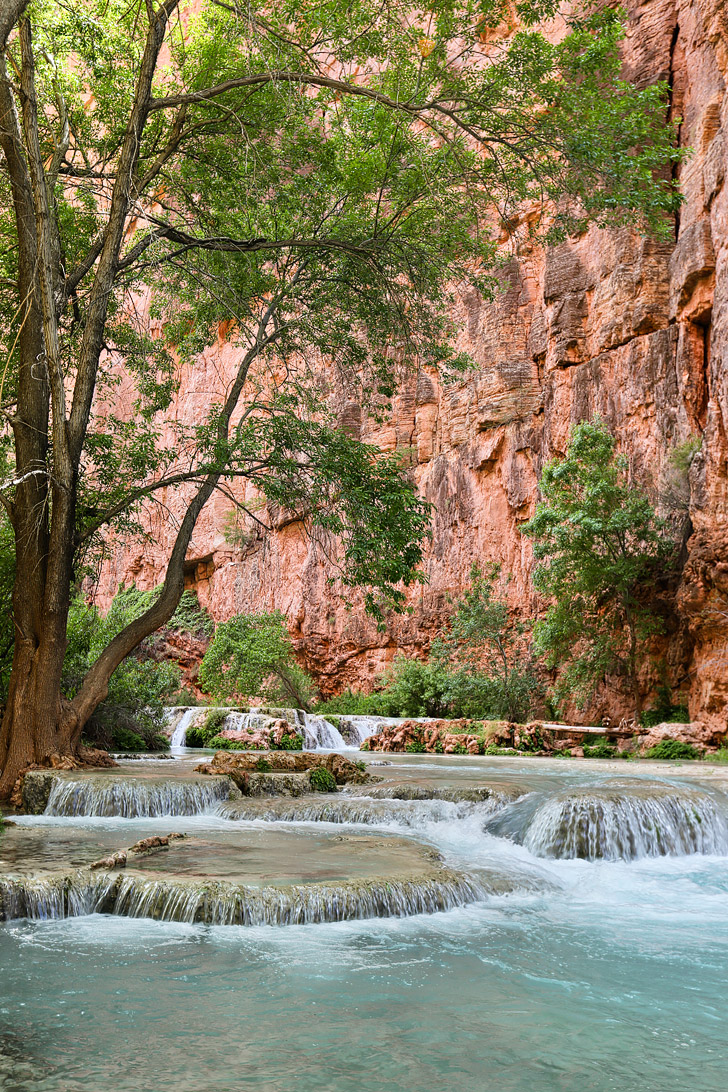
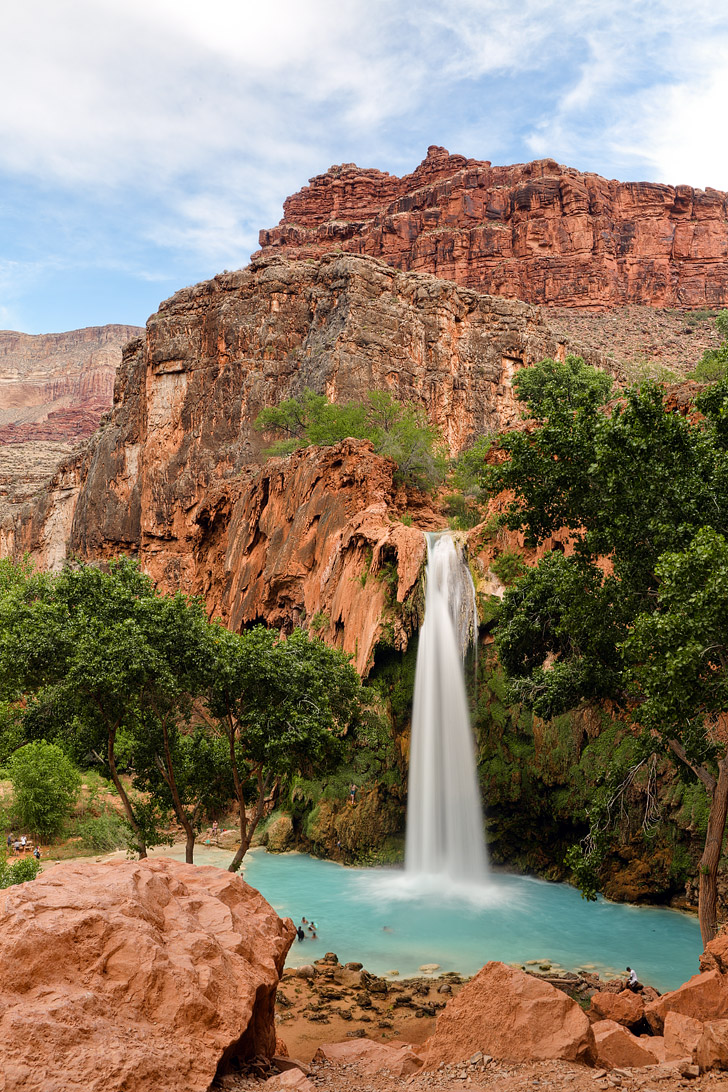
Havasupai’s waterfalls are as beautiful as advertised, and you don’t need to bump up that saturation to see the blue. In case you want to know why the color is so vibrant, it’s because of high concentrations of calcium carbonate that help reflect the color in the water. Fascinating stuff.
See More: How to Get Havasupai Falls Reservations / Permits + More Tips
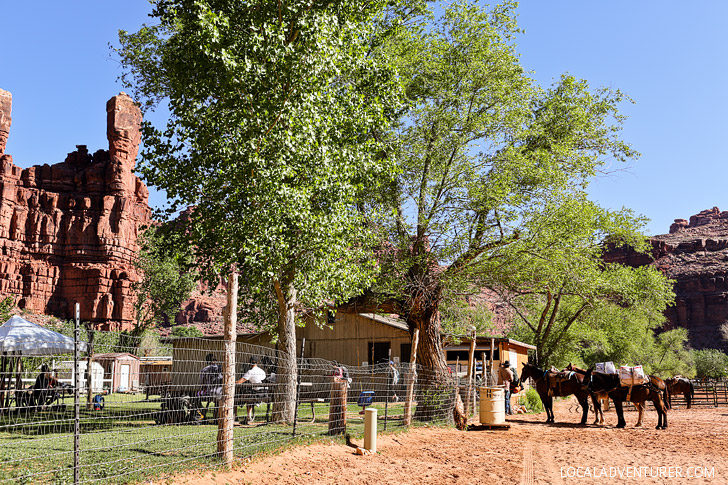
Sleeping Overnight at the Hilltop Parking Lot
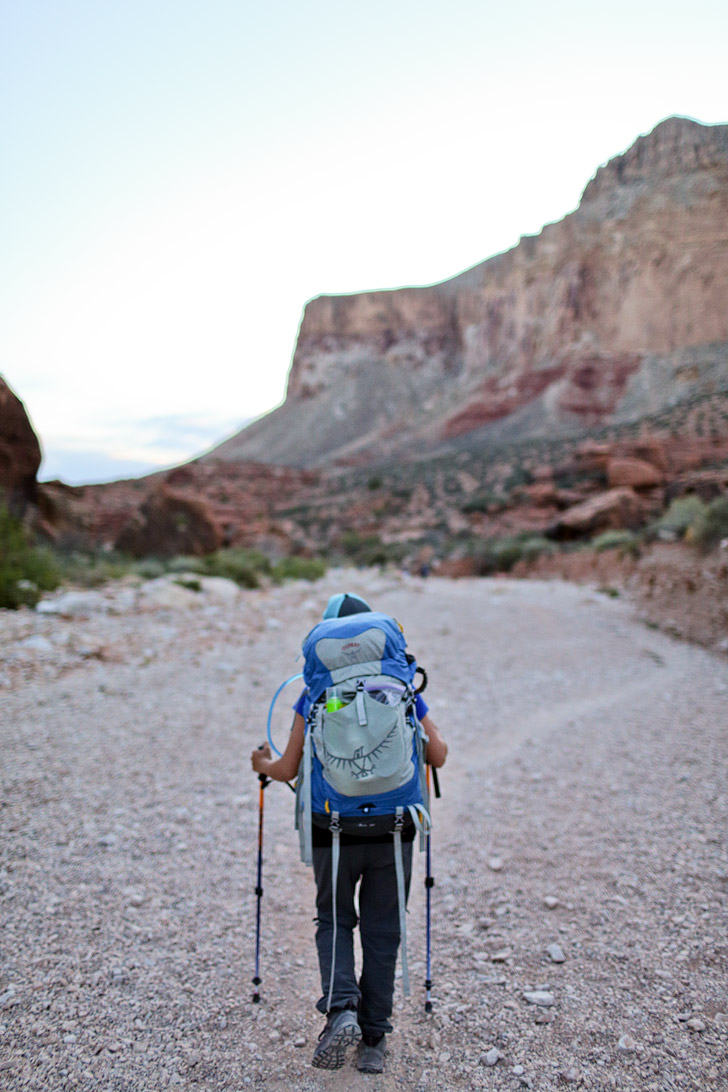
We arrived at the Hilltop parking lot at 9pm and attempted to sleep. During the course of the night we heard lots of commotion. “Wild horses” kept running back and forth and almost trampled on some people camping in tents after being startled by a dog (I say “wild horses”, because they are actually part of the reservation but are free to roam). We tossed and turned until it was finally 4AM when we met up with the rest of our group to start the hike.
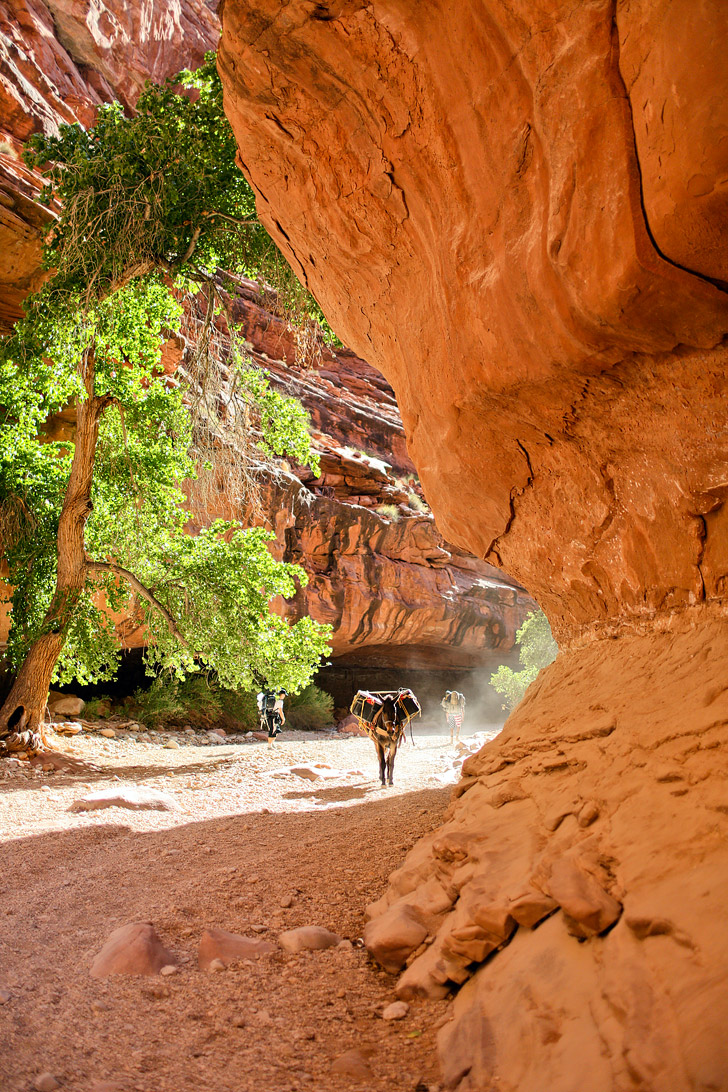
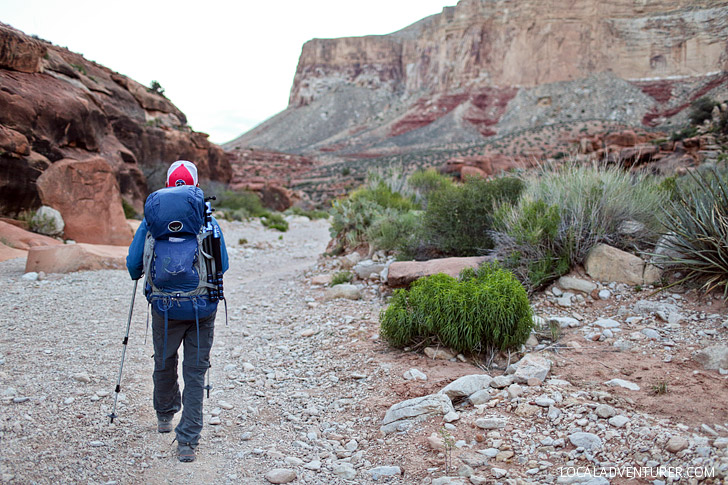
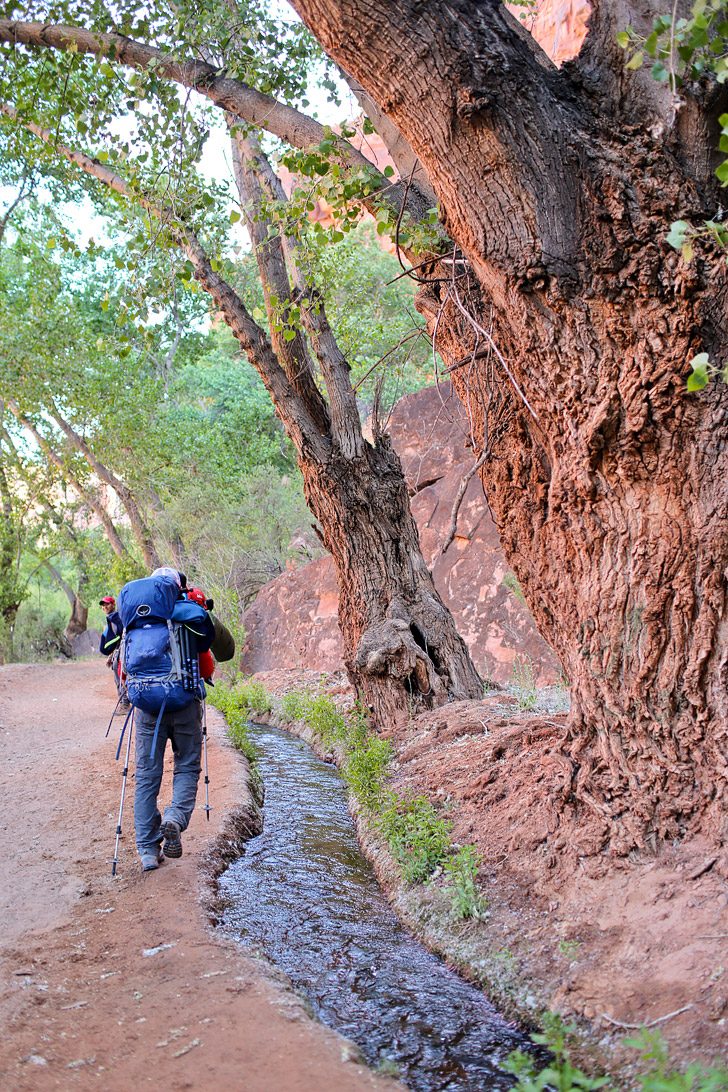
The Hike Down
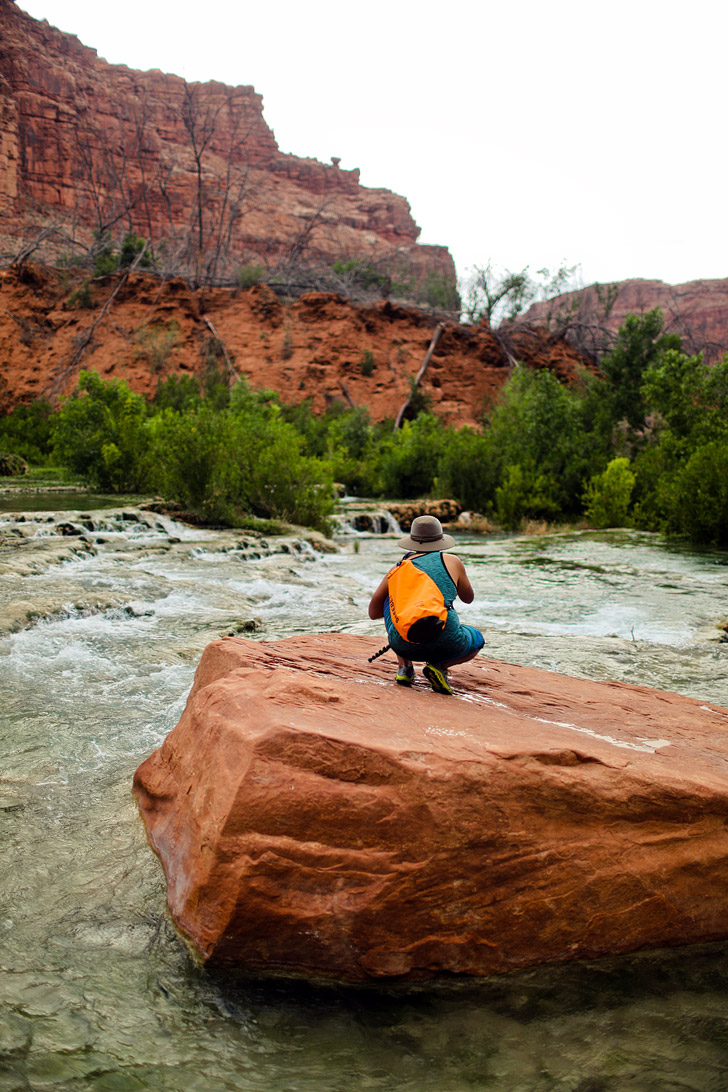
The 10-mile hike into the canyon wasn’t too difficult. It was a steep descent the first mile and then a slow descent the rest of the way. That just meant going back up wasn’t going to be as fun! Plus, that extra weight just kills us every time (and of course, we can’t leave the DSLR setup at home).
By the way, the canyon gets really hot even though we went during the mildest time of the year, so we hiked as much as we could in the dark.
See More: Ultimate Havasupai Packing List – Backpacking to Supai AZ
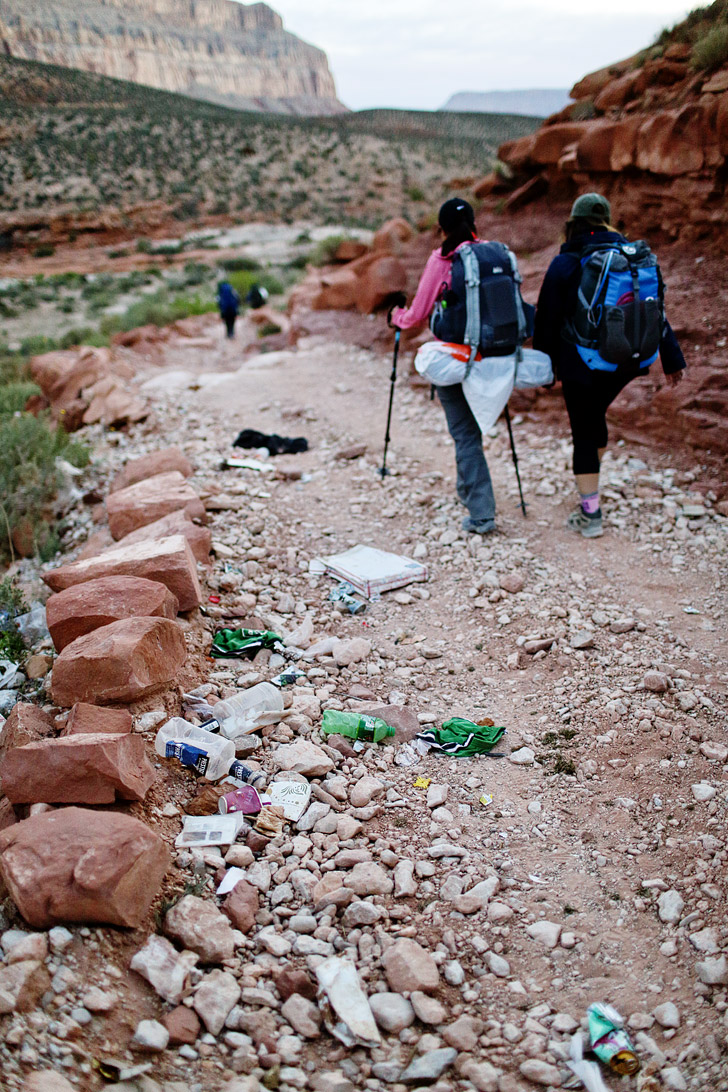
Trash Everywhere
We were so disappointed with how trashed the trail was, especially near the bottom of the switchbacks. I could probably put up a full photo album of trash we saw along the trail. At the reservation, there are signs that tell you to carry all your trash out, but I guess some folks couldn’t handle carrying it up the last mile of the hike.
Some of the guys in our group tried to pick up as much as they could on the way out, which was so awesome of them.
Note: We’ve heard that since they started charging more, they’ve had more resources to keep things clean.

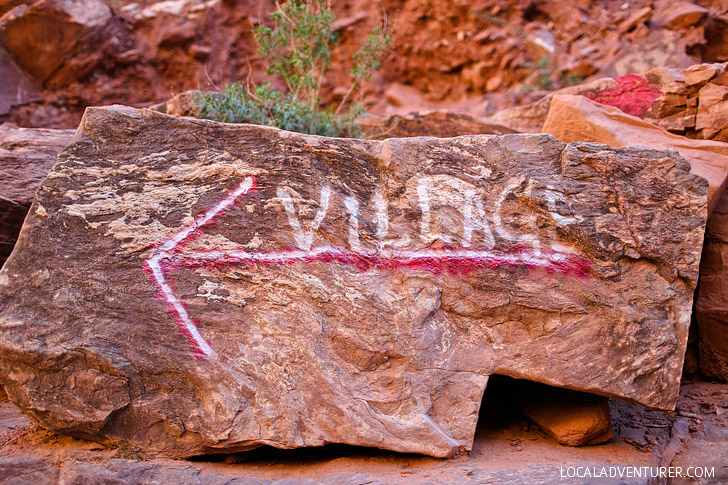
Supai Village and The First Falls
Don’t get too excited when you see the Supai village. You still have more hiking to do!
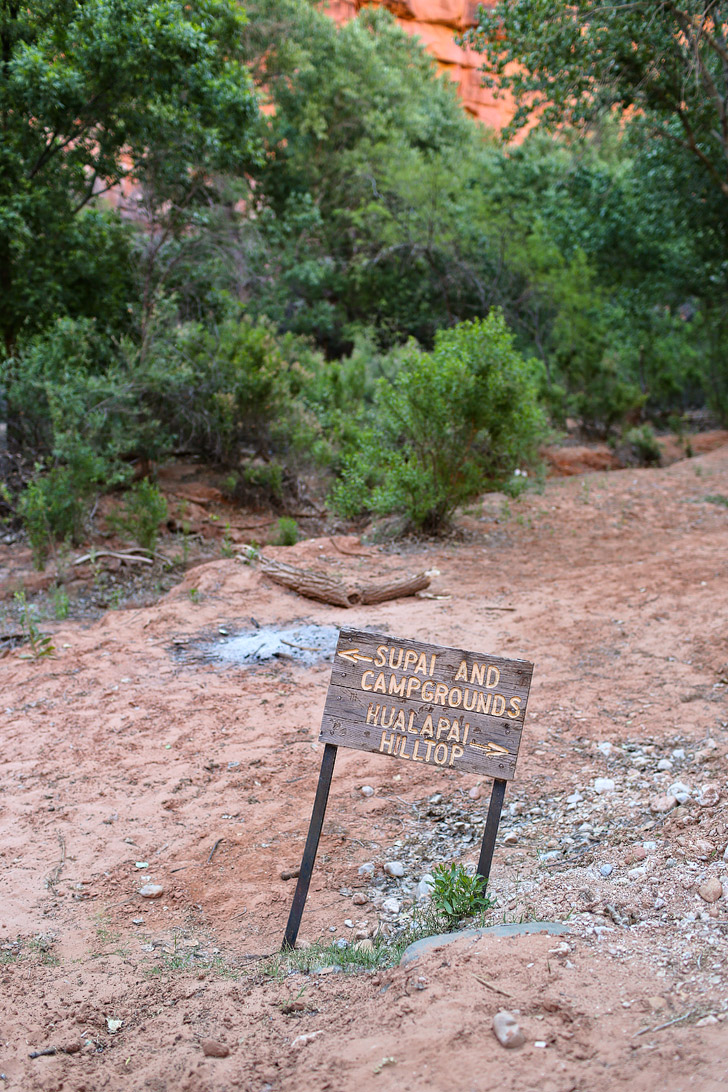
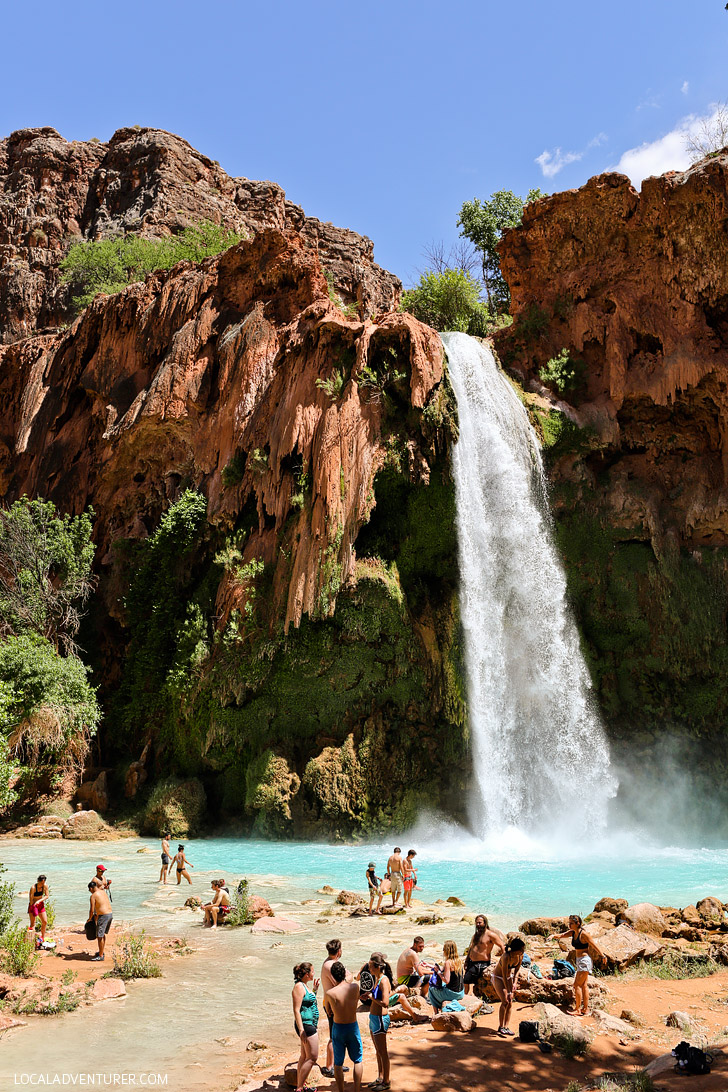
The first waterfall(s) you’ll see is Navajo Falls (Upper and Lower).

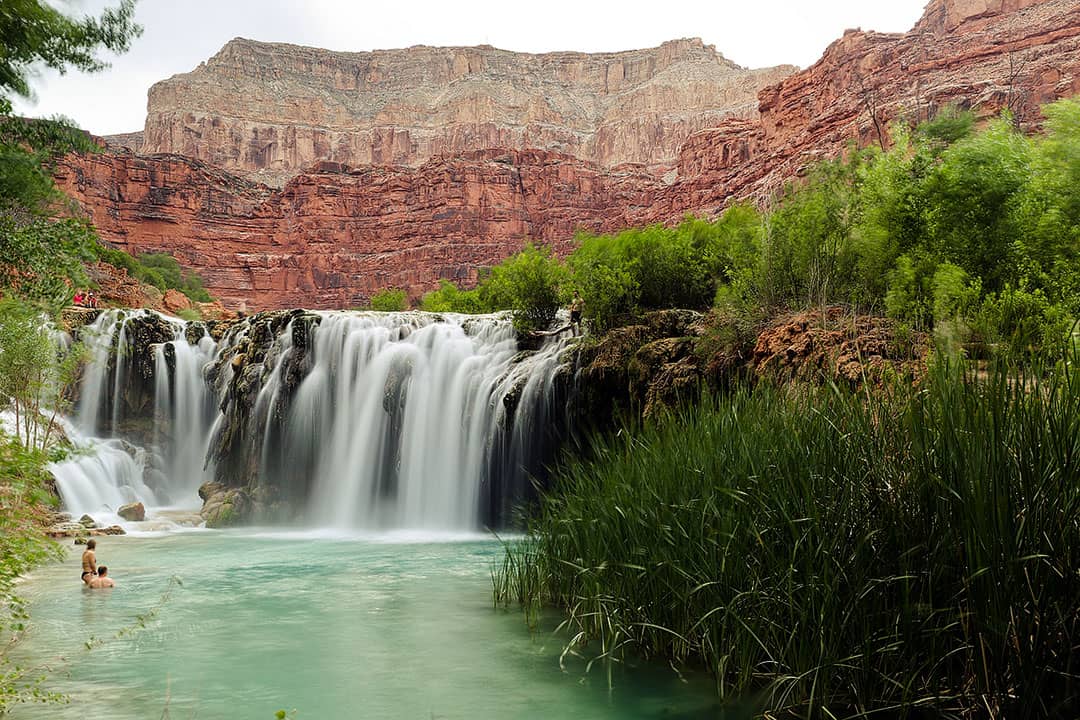

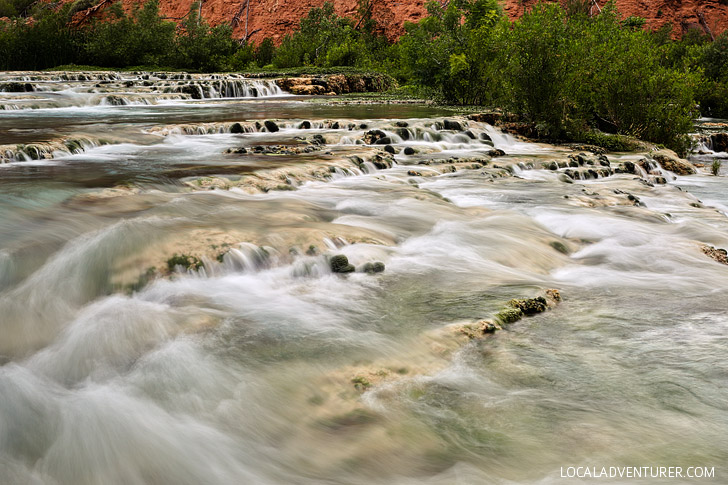
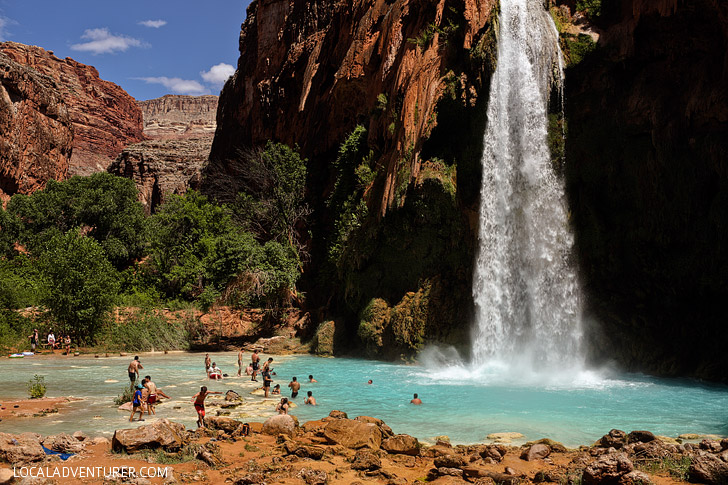
Havasu Falls Location: 36.2552° N, 112.6980° W. It’s the next waterfall after Navajo Falls, right before you reach the campground.
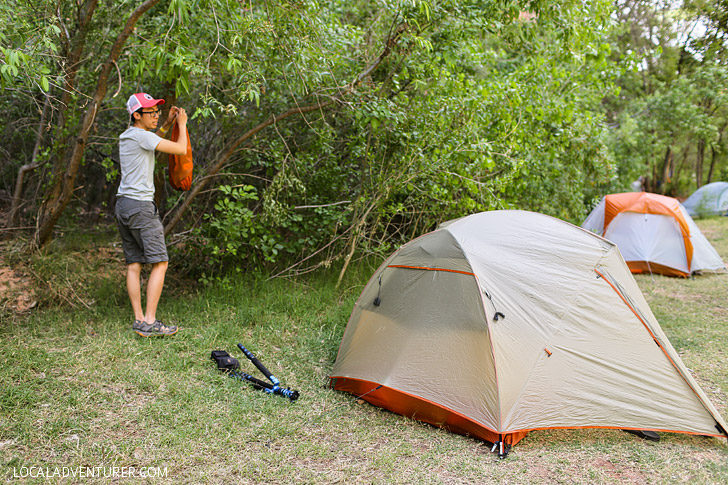
Finding a Campsite
We were all exhausted and exhilarated to make it to the campsites, but then came our next test, finding a campsite big enough for our group. Although you make reservations to camp in the canyon, you don’t have reservations to an actual site. It’s first come first serve, and unfortuately by the time we arrived, most of the good spots were already taken. After an hour of walking back and forth, we finally found a site. We probably added an extra mile or two to our hike because of it.
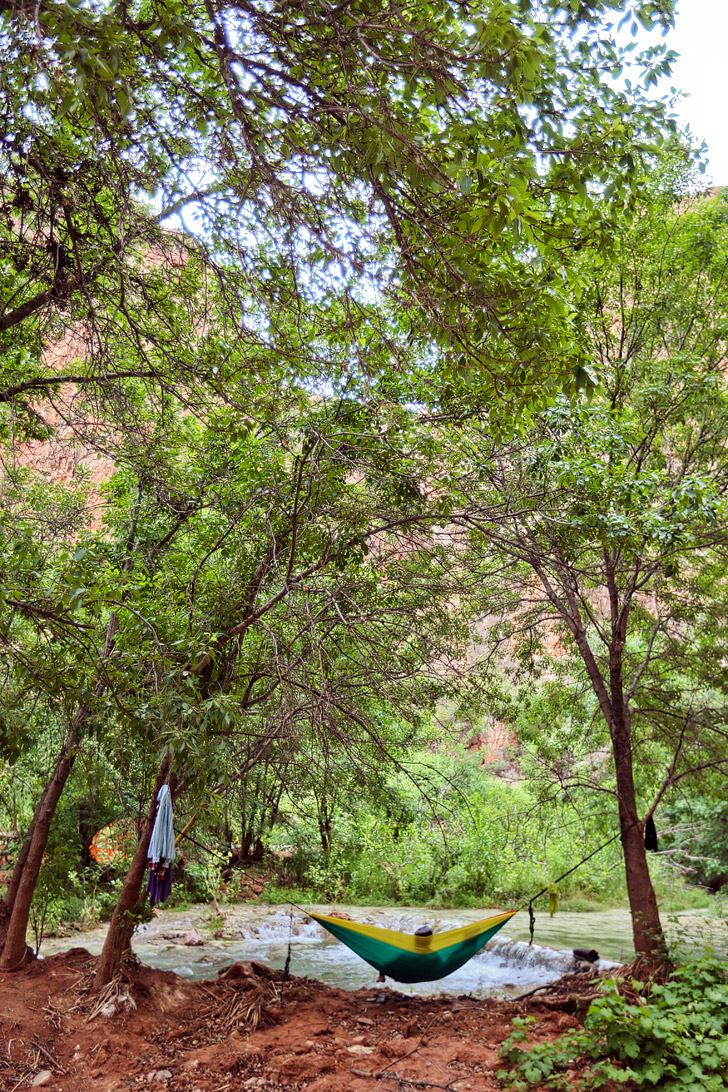
We were ready to set up camp and jump into the pools at Havasu Falls, which is freezing by the way!
See More: Backpacking Havasupai Day 2: Mooney Falls + Beaver Falls
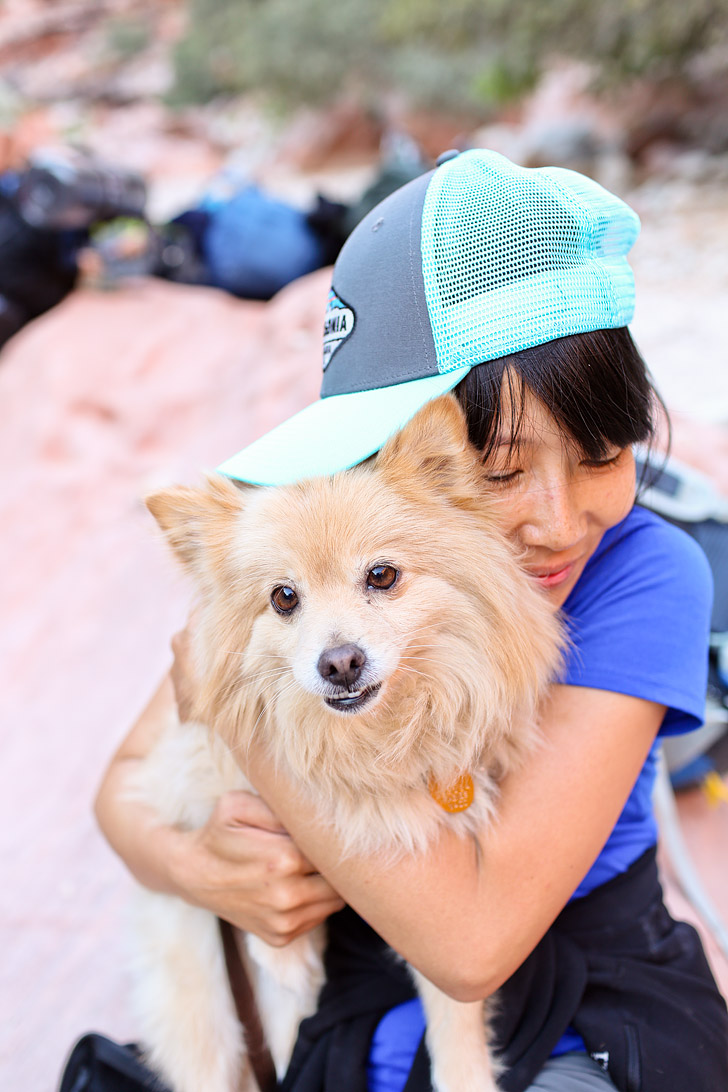
I think Casey prefers the great indoors. ;) Look at that face!


Planning Checklist
- Get comprehensive insurance for your trip.
- Download these helpful language apps.
- Arrange a rental car for your trip.
- Get airport lounge access.
- Buy a travel charger to keep your devices charged.
- Get a new backpack for your trip.
- Pack the appropriate shoes for your trip.
- Don’t forget your in-flight essentials.
Have you been to Havasupai or plan on going? In your opinion, what’s the most beautiful waterfall?
Did you enjoy this post? Pin it for later
SEE MORE NATIONAL PARK GUIDES
⟡⟡⟡⟡⟡
“Discovery consists not of seeking new lands but in seeing with new eyes” – M. Proust

Esther + Jacob
Esther and Jacob are the founders of Local Adventurer, one of the top 5 travel blogs in the US. They believe that adventure can be found near and far and hope to inspire others to explore locally. They explore a new city in depth every year and currently base themselves in Las Vegas.
Follow on Instagram (E + J), YouTube, TikTok, and Pinterest.