
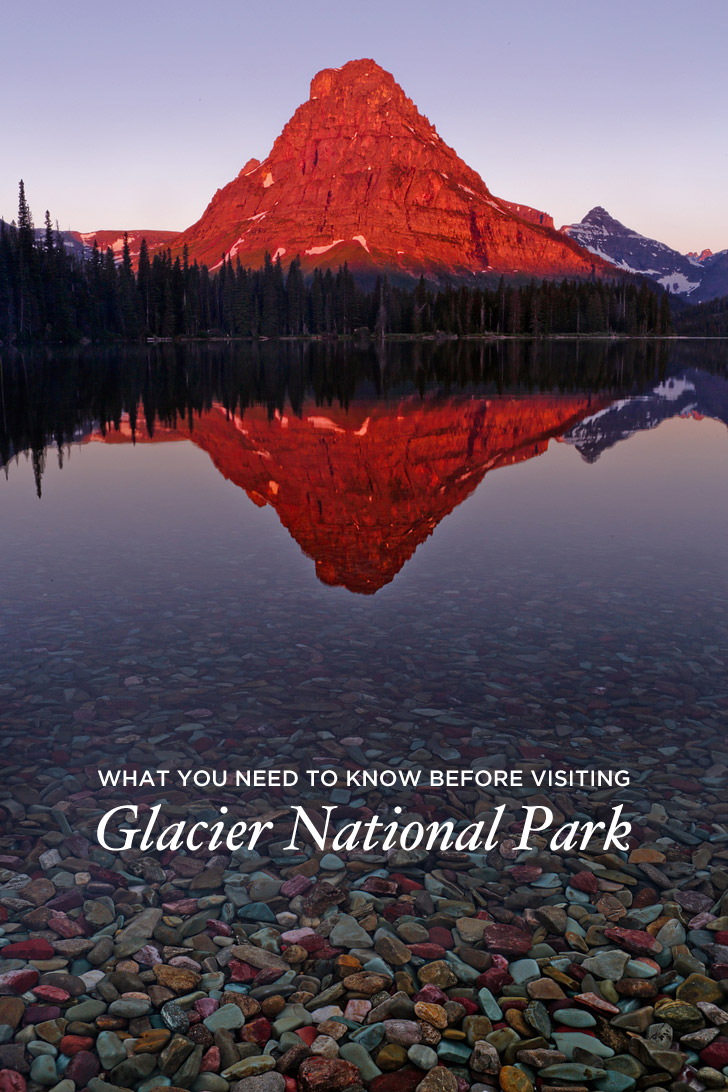
Visiting Glacier National Park? This is what you need to know before you go!
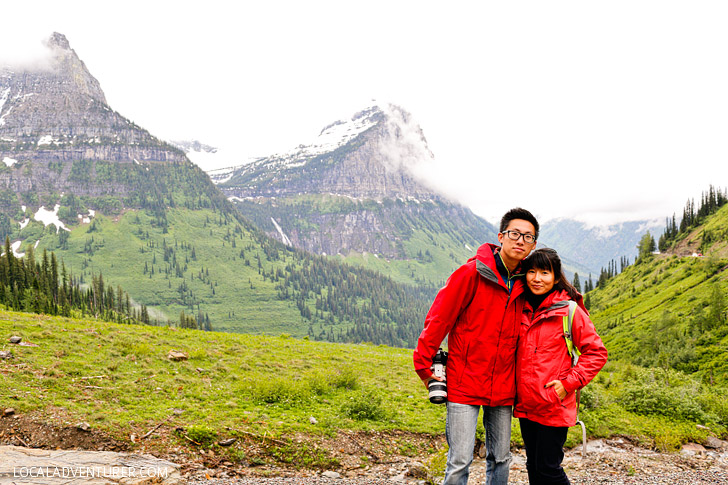
When we decided to visit Glacier National Park, we scheduled to be there at the end of June, not realizing that some parts of the park were still snowed in and closed at the time. Luckily, Going to the Sun Road just opened for the season the week before we arrived. That opened up a lot of the park. Needless to say, there is plenty we would have loved to know before visiting the park.
This post may contain affiliate links, where we receive a small commission on sales of the products that are linked at no additional cost to you. All opinions are always our own. Read our full disclosure for more info. Thank you for supporting the brands that make Local Adventurer possible.
Last Updated: May 9, 2024
What You Need to Know Before Visiting Glacier National Park
Operating Hours and Seasons
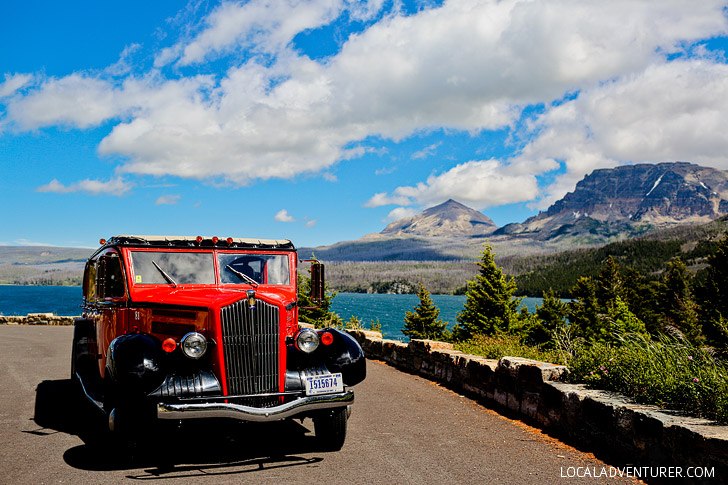
- The park is open year-round, but what parts of the park you can access varies greatly with the season. Most visitors will stop by during the summer so that they can drive the famous Going to the Sun Road. Typically the road won’t be fully open until late June, but that varies year-to-year based on snowfall and the status of road repairs.
- Even if the roads are opened, not all the trails will be open. When we visited in late June, some of the trails were still snow covered. The popular Highline Trail we were hoping to hike was not open. They also close portions of the park based on bear activity. You’re in grizzly bear country, and the last thing you want to do is come between a momma and her cubs.
- Find out the current conditions of the park here. You can also call or stop by a Visitor Center to talk to a ranger and find out the most up-to-date info.
- Going-to-the-Sun Road now requires a ticket/permit. More info can be found here.
See More: 9 Incredible Things to Do in Glacier National Park Montana
Where to Stay and Go
This all depends on your preference. You can camp, RV, stay in a nearby town, or stay at one of the park lodges. All four parts of the park have all these options. Before getting into each, you first need to understand where in the park you want to stay.
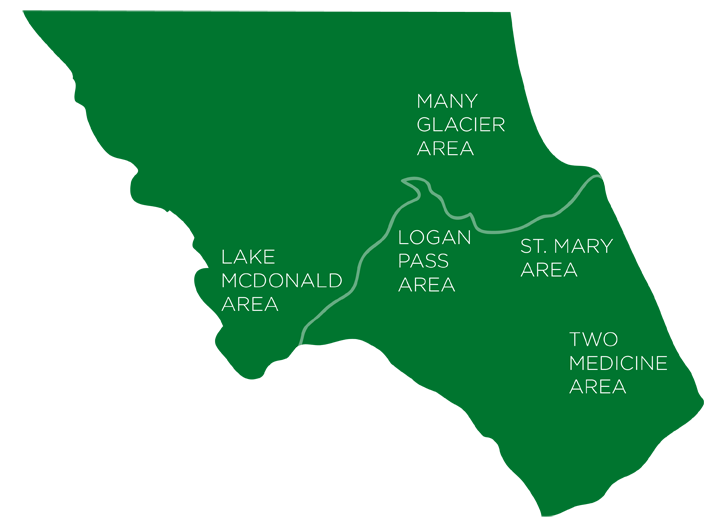
The Five Main Areas of the Park
- West Glacier (Apgar Visitor Center) – This is the most touristy side of the park. There are easy hikes, Lake McDonald offers tons of activities for the family, and there are nice amenities and a village here. The west side of the park tends to be rainier and stormier than the East.
- Saint Mary Lake – The East side of the park is much more dramatic than the West. Beautiful lakes surrounded by jaw-dropping mountains makes this a popular spot amongst RVers. You can also access the other parts of the park a bit easier from here. The East side of the park tends to be windier than the West side.
- Two Medicine Lake / East Glacier – This is a quieter part of the park is tucked away on the South East corner of the park. Because it’s a bit further out of the way, most visitors don’t make it down here especially if Going to the Sun Road is open. Sunrise was amazing here!
- Many Glacier – This is regarded as the heart of the park, some of the best hikes are in the Many Glacier area.
- Logan’s Pass – There is no lodging here. Logan’s Pass is central to the park and is where sun mountain and the iconic shot of Hanging Valley is located.
- If you want a campground inside the park, this site gives you the most updated info. As you can see, each location offers all types of lodging: tent camping, RV, lodges. The one thing you’ll want to keep in mind is that whatever you choose, spots fill up quickly in the summer.
- We stayed at a KOA that was 5 minutes from the West Entrance. Though we enjoyed the sunset views at Lake McDonald every night, if we were to visit again, we’d probably stay at Many Glacier or Saint Mary’s since the better hikes are there. Plus, more bears!
See More: 15 Best Hikes in Glacier National Park
What to Pack
This will obviously change based on what you plan on doing, but as a general rule of thumb, here are a few things you should pack regardless of what you plan on doing.
- Raincoat or Poncho – weather can change quickly, and it’s good always to be prepared and not let rain get in the way of your fun.
- Water Bottle – These are our favorites for travel. You’ll spend long days out and will need to hydrate
- Bear Spray – You are in Grizzly country! Whether you’re walking to the bathroom or going for a long hike, you should always be prepared with spray and a bell.
- Bear Bells – they tell you to clap or sing loudly, but
- Sun Screen – The sun really bears down on you here!
Photography Gear to Bring
If you’re there to shoot beautiful photos, here are some things that are good to have. We’ve linked the ones we currently use, but there are plenty of options out on the market.
- Wide lens for landscapes
- Long lens for wildlife (this is the one we use)
- Camera Body
- Rain Cover for the changing weather
- Tripod – it’s especially helpful when you’re shooting at 400+, for long exposure on waterfalls and night skies.
- ND Filters for shooting long exposure on waterfalls
- Ultra-wide lens for astrophotography
- Trigger for Night Photos.
- Plenty of Batteries
- Camera Backpack
Where to Spot Wildlife
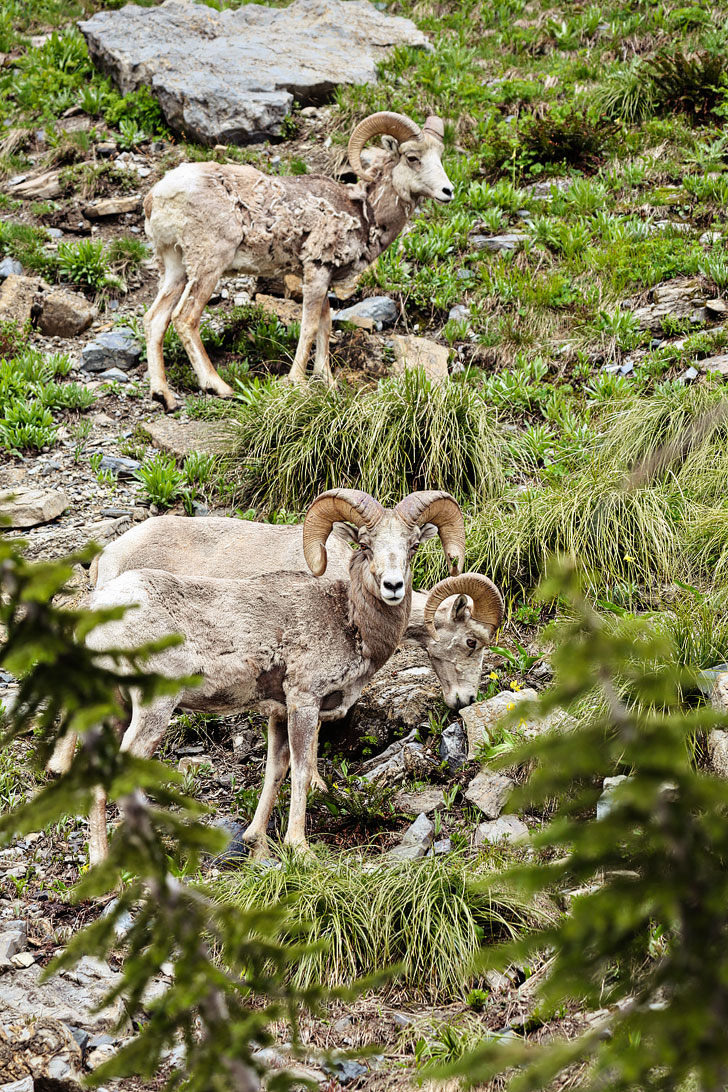
- Bighorn Sheep and Mountain Goats – These guys like to hang out at Logan’s Pass, because they feel safer around humans. More humans means less predators. We saw a lot of them after we passed the visitor center on the left as we headed east on the Going to the Sun road.
- Grizzly and Black Bears – There are approximately 300 Grizzlies and 600 black bears. They have the biggest population of grizzlies in the lower 48 states. However, according to our ranger friend, Glacier National Park isn’t the best park to see them, since they are conditioned to stay away from the roads. Yellowstone, on the other hand, is where you can encounter them mostly on the roads. We were told that there are more bears on the East side of the park near Two Medicine and Many Glacier. Most of the park will say that you’re in bear country, but pay attention to signs that say “bear frequenting area”. Although you’re less likely to run into them on the West side, they are there. We only caught a glimpse or shadow of a bear, but several hikers we met told us they spotted some grizzlies on the road at Many Glacier. Us? Zero.
- Moose – We saw the elusive moose from afar at Lake Sherburne in Many Glacier. They’ve also been spotted in Two Medicine.
- We didn’t see any of the other wildlife, but the park also has elk, lynx, mountain lions, wolverines, pikas, and more. You can see the full list of mammals here.
See More: Your Ultimate Guide to Yellowstone National Park

Bear Safety
Yes, we mentioned bear spray and bells earlier, but this is bear country and we feel like there’s a lot you need to know. I was super pumped about photographing bears closer up until something terrible happened on our trip. Though this is extremely rare, there was a bear mauling right by our campsite.
The person who was attacked and killed was a local US forestry officer. He knew his stuff but just happened to be at the wrong place at the wrong time (same for the bear). So sad!
Now, I’m okay with not seeing one while I’m hiking. Yes, you’re more likely to be killed by a dog than a bear, and yes, I may have read way too many stories about predatory bears, but it’s better to be safe than sorry.
Identifying a Bear
There are both Black and Grizzly bears at Glacier. Contrary to its name, color or size is not a good indicator of the species.
Here are a few key differences between the bears. Grizzly bears have a hump between their shoulders that black bears do not. The ears of a black bear are taller and pointier, whereas a grizzly bear has short and rounded ears.
If you get a profile view of the bear, the black bear has a straight profile (from ears to nose). The grizzly bear has more of a dish-shaped profile. Lastly (and hopefully this isn’t how you find out), the front claws of a black bear are dark and roughly 1.5” long. The grizzly bear has light front claws that are 2-4” long.
Keeping a Safe Distance
As exciting as it is to see a bear, keep your distance. It’s tempting to get closer to take photos, and even if you see others doing it, it doesn’t mean you should too. It’s recommended to keep 100 years away – think a football field’s length.
This holds true with roadside bears too! Don’t teach the bears that it’s okay to be close up to humans. Even if it’s not just for your safety, do it for the safety of the bears. The ones that get used to humans end up getting killed.
Tips for Hiking in Bear Country
- Hike in groups – They recommend 3 or more. If you’re a solo hiker, consider making friends on the trail or join a ranger-led hike. We met another couple while we were hiking and stuck together the rest of the way.
- Carry Bear Spray – This is the most effective deterrent. Make sure you know how it works.
- Make Noise – The worst thing you can do besides getting in between a sow and her cubs is startling a bear. Bears will usually get out of the way of people when they hear you coming. Bear bells definitely help, but we heard that sometimes it’s not always enough. Make noise, clap, or sing a song every so often and especially around blind corners. We got tired of clapping and being loud really quick, so that’s where the bear bells can help. (PRO-TIP Consider bringing a child that won’t shut up. Jk. But no really. We hear it helps!)
- Be aware of your surroundings. It’s simple but often forgotten.
Camping with Bears
- Keep your camp clean – Never improperly store or leave food. Everything from food containers to cookware to trash, everything scented should be stored in food lockers or hung high away from your tent.
- Bear Spray – Even if you’re not hiking, you should always keep this handy.
If You Encounter a Grizzly Bear
- Do not run. Their instinct is to chase.
- Avoid direct eye contact.
- If the bear is not approaching, back away slowly away.
- If the bear charges, stand your ground (even Olympic runners can’t outrun them)
- Don’t scream or yell. Speak softly and in a monotone voice.
- If the grizzly charges and is within 25 feet of where you are, use the spray.
- If the animal makes contact, lie flat on your stomach with your hands behind your neck. If you’re playing dead, they might slap you around a little, but they will eventually leave you alone.
- If the bear was stalking and following you before making contact, it’s a predatory attack, so fight back!
If You Encounter a Black Bear
- If the bear is following you, change your direction.
- If he continues to follow, stand your ground.
- Act big and make as much noise as you can.
- Don’t run or turn away from the bear.
- Don’t leave food for the bear.
- If the animal makes contact, fight back aggressively. Do not play dead!
Easy right? I feel like in the moment, it’d be so hard to remember all of that. Just look fo dat hump! I can only hope that I can stop myself from running. Whatever you do, be BEARY AWARE. ;)
Also, you need to keep 25 meters (82 ft) away from other wildlife no matter how docile they look. Did you know that if charged by a bighorn sheep, they can shatter your bones?
Where to Stay
Planning Checklist
- Get comprehensive insurance for your trip.
- Download these helpful language apps.
- Find a great deal on Glacier hotels.
- Arrange a rental car for your trip.
- Book a tour for your visit.
- Get airport lounge access.
- Buy a travel charger to keep your devices charged.
- Get a new backpack for your trip.
- Buy a National Parks travel guide.
- Pack the appropriate shoes for your trip.
- Don’t forget your in-flight essentials.
Have you ever encountered a bear? Where and how? Or would you want to?
Did you enjoy this post? Pin it for later
SEE MORE NATIONAL PARK GUIDES
⟡⟡⟡⟡⟡
“Discovery consists not of seeking new lands but in seeing with new eyes” – M. Proust

Esther + Jacob
Esther and Jacob are the founders of Local Adventurer, one of the top 5 travel blogs in the US. They believe that adventure can be found near and far and hope to inspire others to explore locally. They explore a new city in depth every year and currently base themselves in Las Vegas.
Follow on Instagram (E + J), YouTube, TikTok, and Pinterest.
We are looking at going to glacier in September, I’m so excited!