Looking to hike the Inca Trail? Here’s everything you need to know!
Whatever the opposite of outdoorsy and active is.. that’s what I was! The 4 day Inca Trail to Machu Picchu hike was without a doubt the most difficult challenge either of us had undertaken. It challenged our bodies and also our marriage, but we’re glad we checked it off our bucket list.
This post may contain affiliate links, where we receive a small commission on sales of the products that are linked at no additional cost to you. All opinions are always our own. Read our full disclosure for more info. Thank you for supporting the brands that make Local Adventurer possible.
Last Updated: March 8, 2024
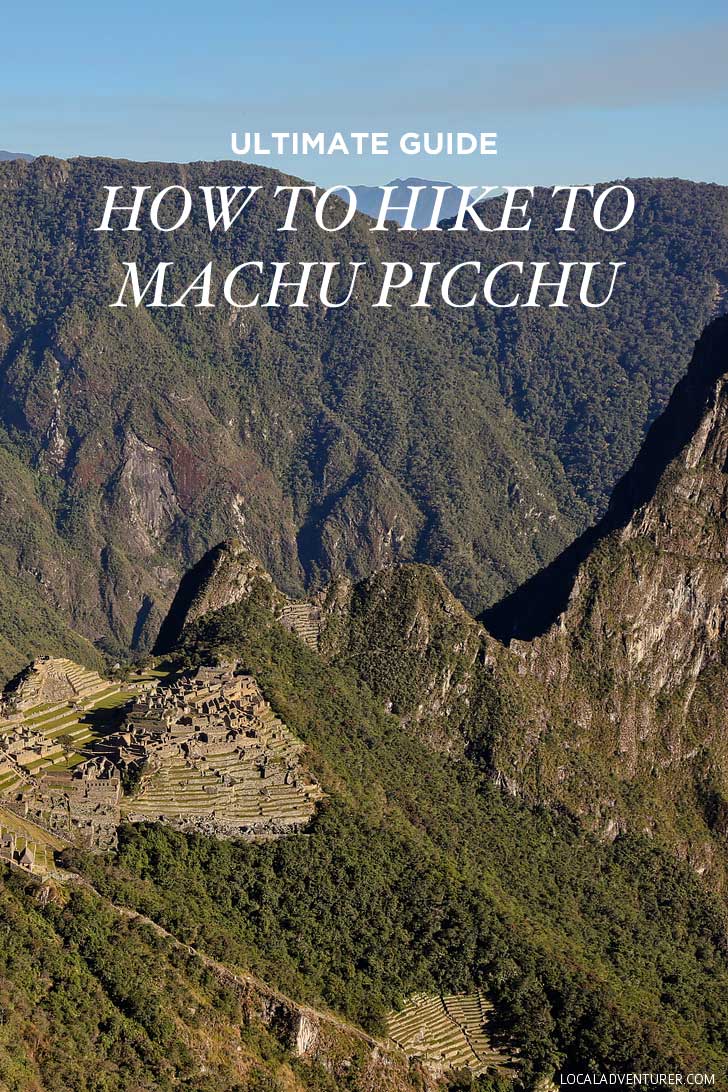
Your Ultimate Guide to the Inca Trail to Machu Picchu Hike
If you’re asking whether it was worth all the blood, sweat and tears during the hike (why not just take the train?) The views alone were completely worth it. Then, there’s the added bonus of your sense of accomplishment when you finally reach Machu Picchu (Those other guys who took the train? Cheaters!)
When to Go
The busiest season for this hike is March & April. We happened to go in early August, which is the turn of the season from dry to rainy. We got extremely lucky and had perfect weather the entire hike. They allow 200 travelers on the Inca Trail a day accompanied by 250 porters. You pass by the same people every day (or they pass you, in our case), so you get to know other hikers well.
Before the Hike
On the first day, we were picked up from Cusco in the early morning 5-6AM, made a quick stop in Ollantaytambo for breakfast, and then started our hike along the Vilcanota River. The first day was the easiest day. You will be able to tell by the number of photos we took that day. As the days got progressively harder, the photos became more and more scarce.
Total Hike in 4 Days: 26.69 miles (42.95 km) in 23 hours
Machu Picchu Elevation: 7,972 ft (2,430 m)
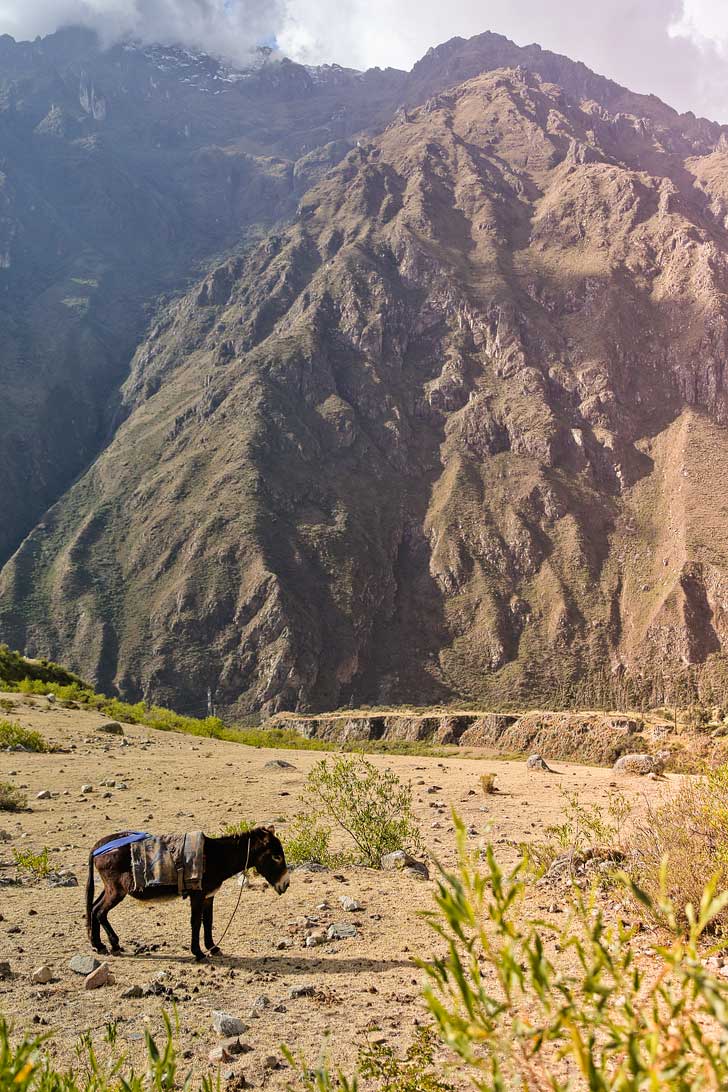
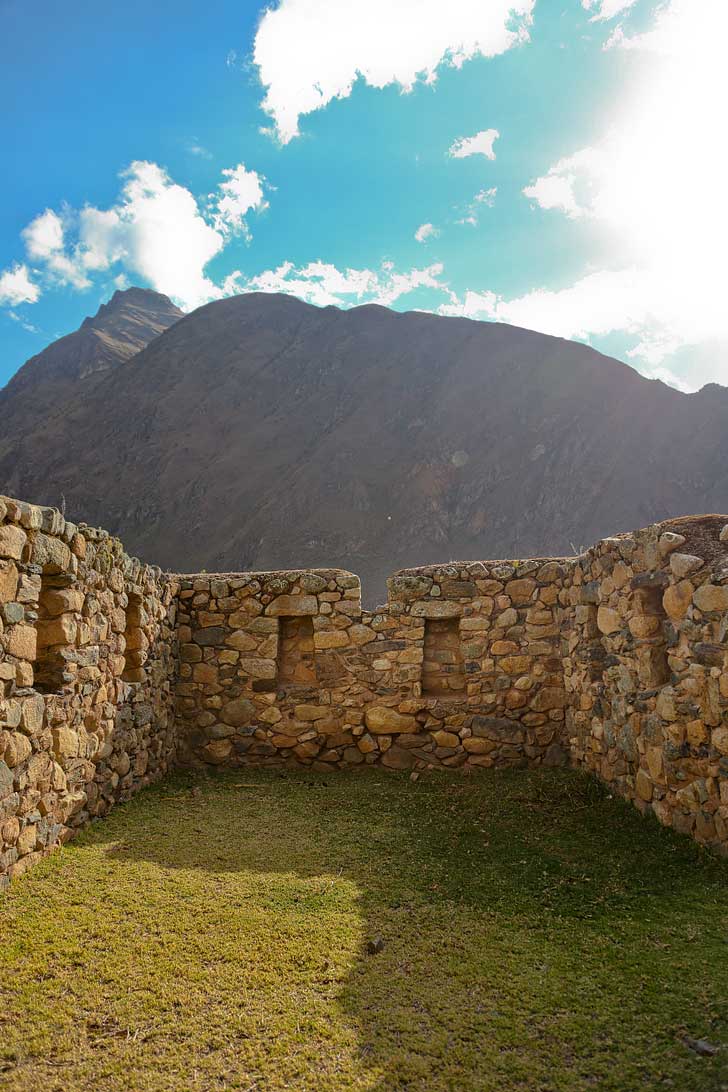
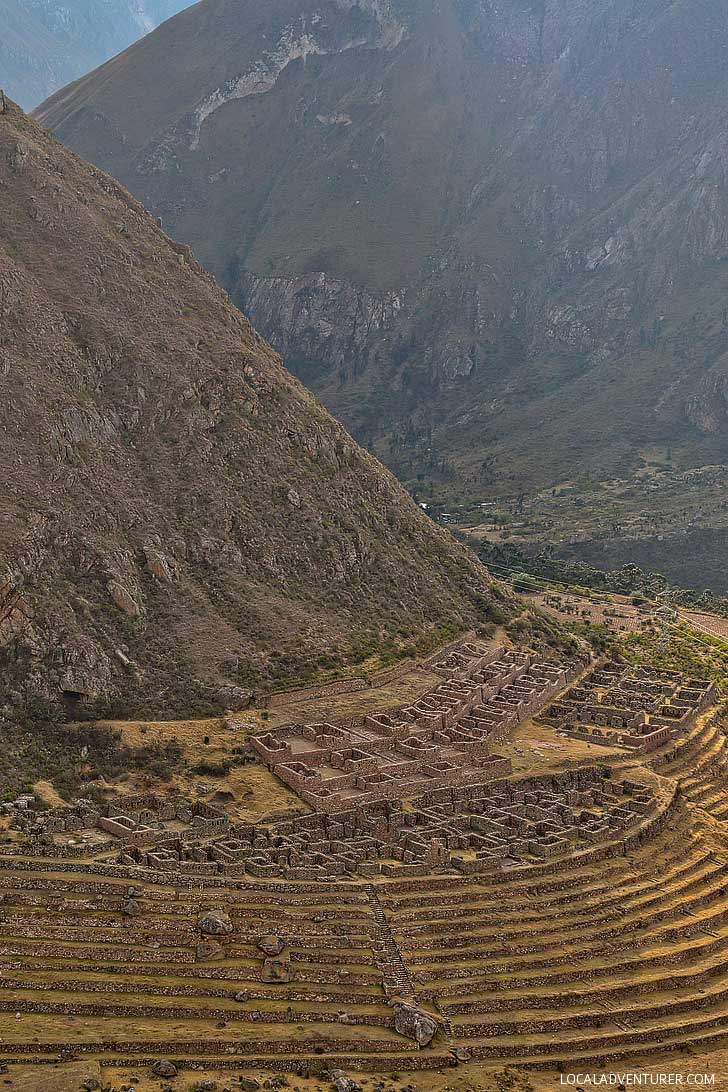
Day 1 of the Inca Trail: Cusco – Wayllabamba →
Distance: 7.45 miles / 12km
Estimated time: 5-6 hours
Maximum altitude: 9,850 feet / 3,000m
What You See: Llaqtapata ruins, Unnamed ruins
See more photos from day one here.
See More: How to Hike the Inca Trail Day 1
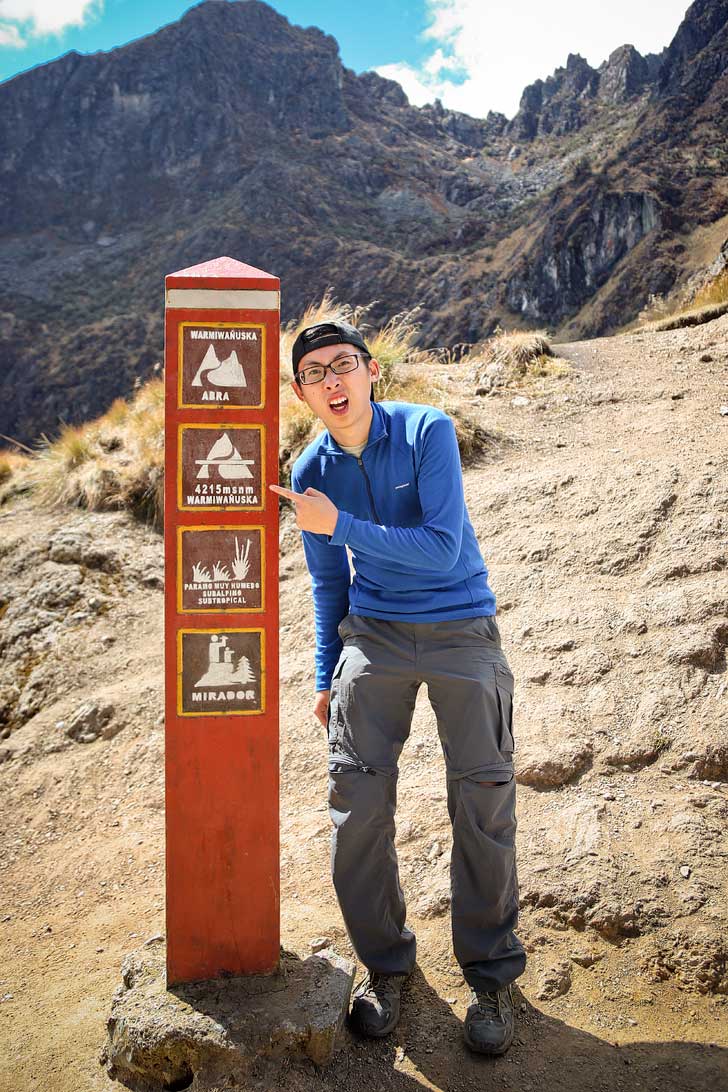
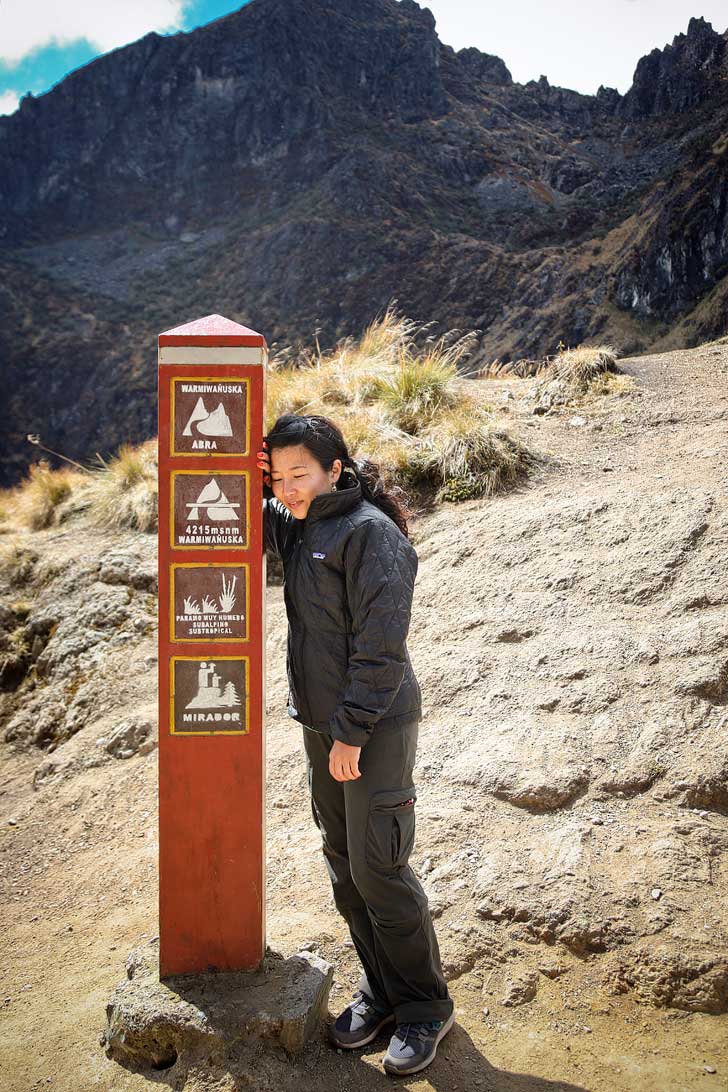
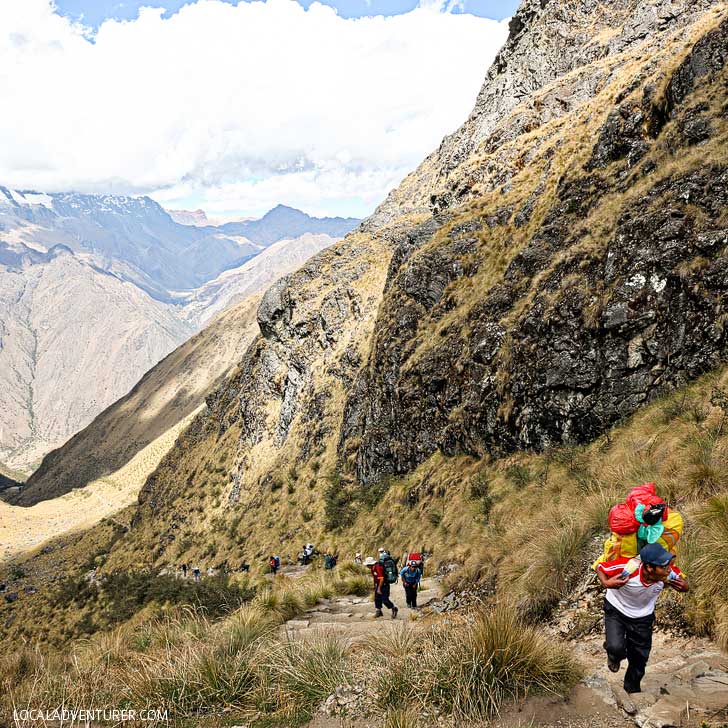
Day 2 of the Inca Trail: Wayllabamba – Warmiwañusca – Pacaymayo →
Distance: 6.83 miles / 11km
Estimated time: 6 – 7hours
Maximum Altitude: 13,828 / 4215 m (some sources say 13,799 feet)
What you see: Dead Woman’s Pass (highest point on the trail)
See More: How to Hike the Inca Trail Day 2 – Surviving Dead Woman’s Pass
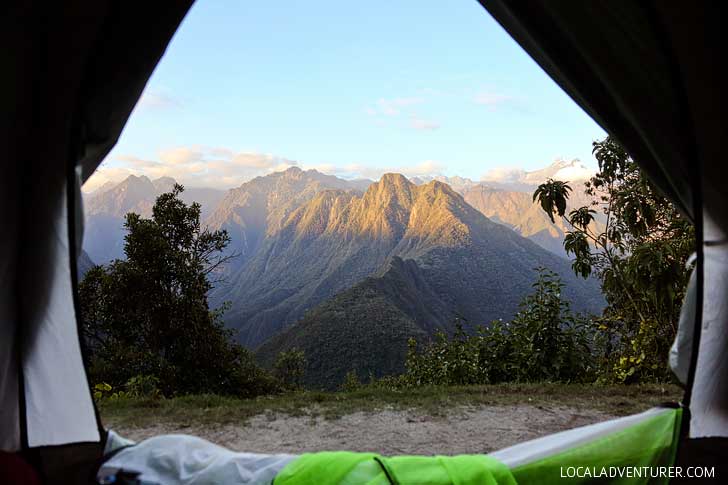
Day 3 of the Inca Trail: Pacaymayo – Puya Patamarka – Wiñay Huayna
Distance: 9.93 miles / 16km
Estimated time: 8 hours
Maximum altitude: 12,664 feet / 3,860m
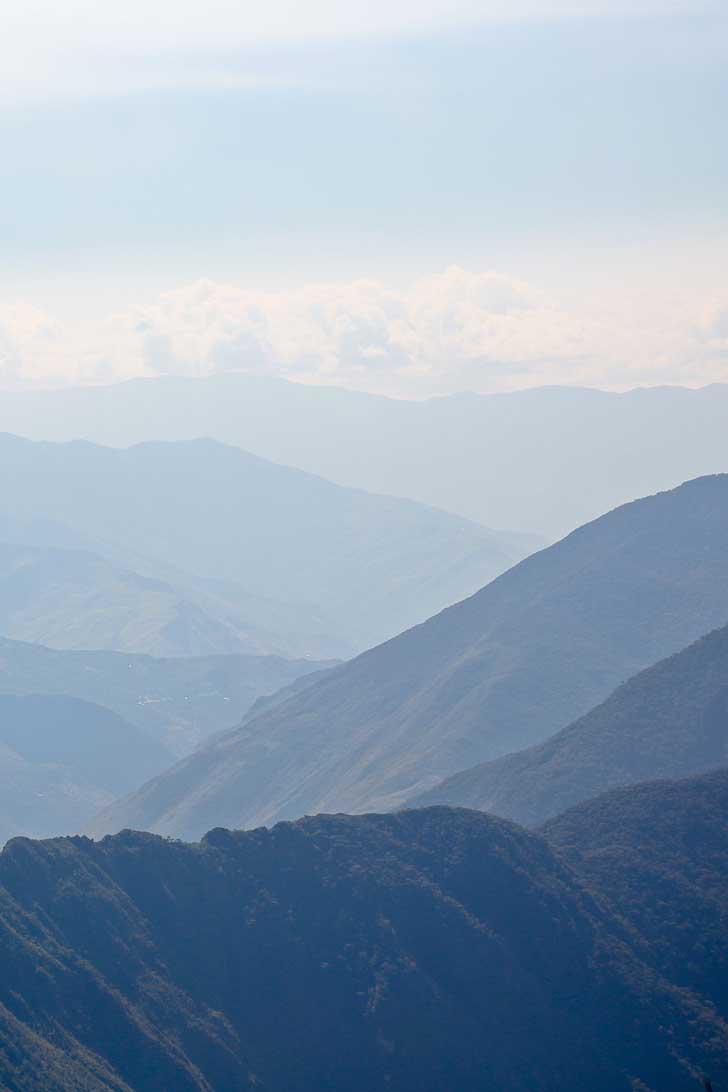
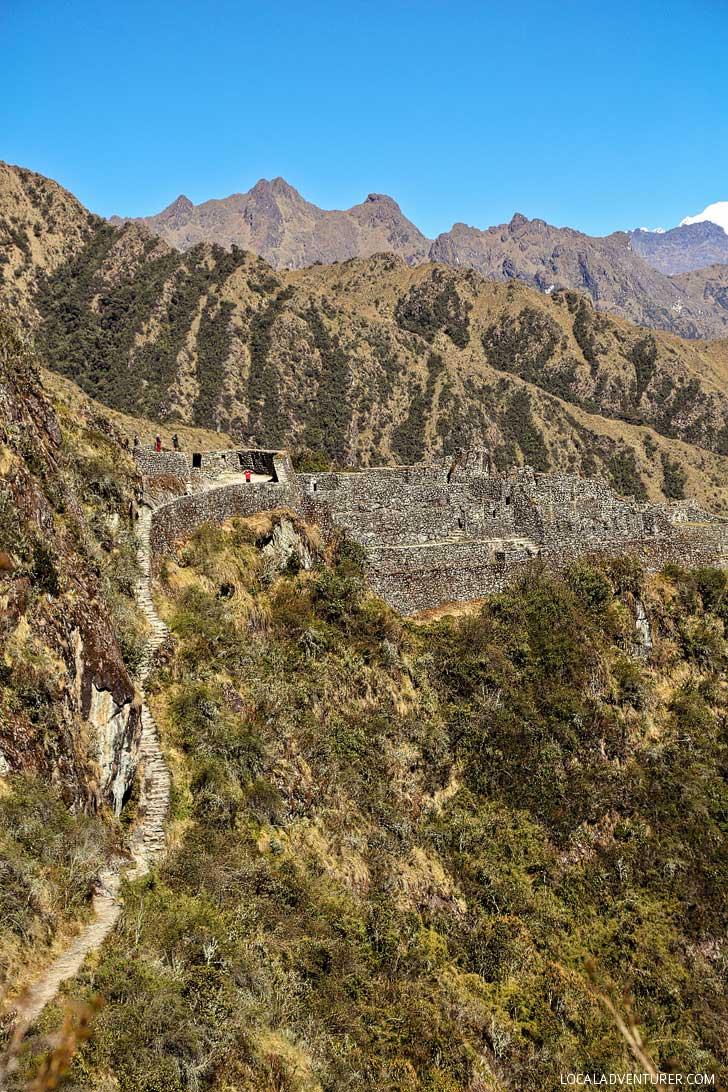
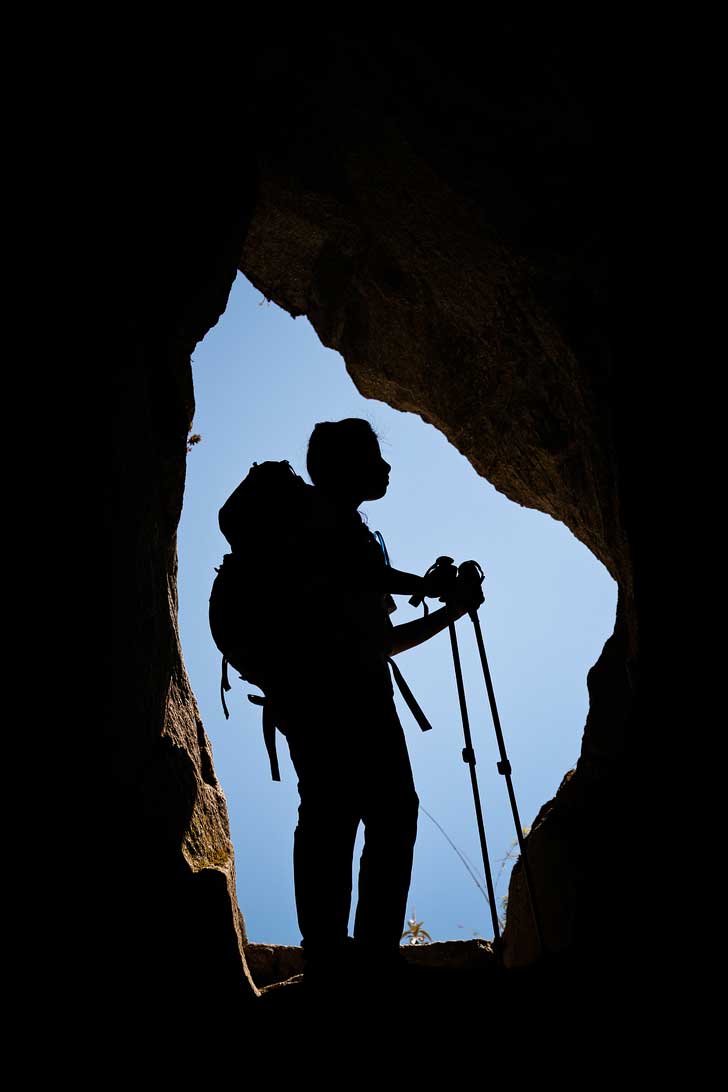
What you see: Runkurakay ruins, Sayacmarca ruins (“Town in a Steep Place”), llamas and alpacas, tunnel of love, Phuyupatamaca ruins (“Cloud-level Town”), Intipata ruins (“Sun Terraces”)
Day 4 of the Inca Trail: Wiñay Huayna – Machu Picchu
Distance: 2.48 miles / 4km
Estimated time: 2 hours
Maximum altitude: 8,923 feet / 2,720m
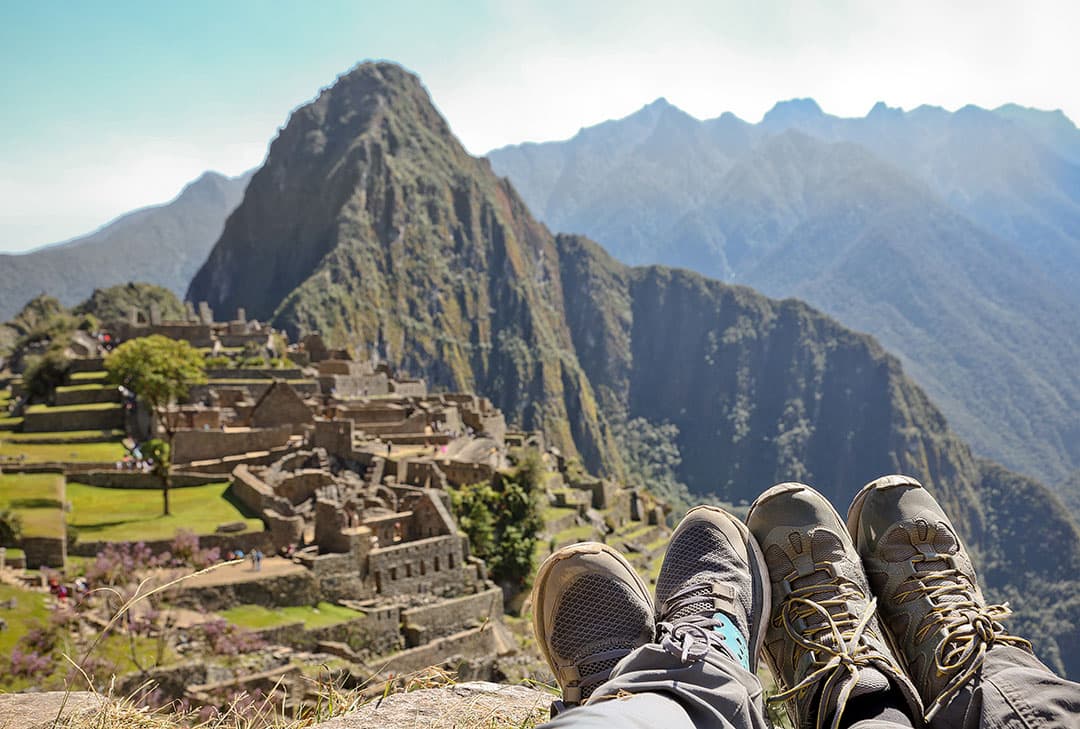
What you see: Intipunku (“the Sun Gate”), Machu Picchu
More Tips for Your 4-Day Hike
- How much cash to bring: Bring cash to pay the remainder of your balance in Cusco. We paid the deposit online with a credit card, but they did not take credit card for the remaining balance. Have 100 USD extra cash on you during the trip for water, showers, and tips. It’s recommended that each person tips 40 USD for the porters and the cook. You also tip the guide separately on the last day.
- Altitude Sickness: If you are worried about altitude sickness, get a prescription for acetazolamide. You can also buy it at the pharmacies over the counter in Peru. In Peru, they will give you coca leaves for altitude sickness, but if you’re taking a drug test at your job anytime soon, steer clear since cocaine is made from coca leaves.
- Warm Showers: There is a “warm” shower available on the first night for 5 soles. Shower at your own risk. The water was still pretty cold and the night is freezing. The other two nights, it’s freezing cold water. I showered or at least washed my hair in the sink, but don’t do it if you don’t feel the need to (I can’t sleep if I don’t wash my hair). The last day after you see Machu Picchu, there’s a warm shower at the restaurant you will eat lunch in.
- Taxi ride: The airport to the main square in Cusco (and most places you would be staying) should only cost about 8-10 soles. First tourist mistake: We mistakenly paid 30-40 because we didn’t do research.
Packing Tips for Your Inca Trail to Machu Picchu Hike
- What to Pack: Find more tips on what to pack for your Machu Picchu hike here.
- Sunblock and Chapstick with SPF: I can’t stress the chapstick enough. Jacob got a severe sunburn on his lips that blistered and were extremely painful. It also looked like herpes.
- Checking in Bags to Explore Machu Picchu: Once at Machu Picchu there is a place to check in your bags. This was included in our tour price.
- Lessons learned: Don’t bring as many snacks as me! Only bring what you are sure you will consume. Also, gummy bears are way too heavy.
- Porters: An extra porter costs $120, and they carry 14 kg (30.86 lbs) for you. Jacob carried his stuff on his back (13.6 kg / 30 lbs), but I shared a porter with another person. The porter carried my sleeping bag, mat, and the extra clothes and toiletries that I did not need on me during the day. I was carrying 9.1 kg (20 lbs), which included my 7 lb camera & lens.
- Water: Water is so heavy, but you want to make sure you have enough! On Day 2, there is a stop to buy water, but from then on, you must carry enough water for the rest of the trip. They recommended 1 L per day (2L total for the last two days), but to be safe, I brought a half liter extra per day. I ended up drinking all of it even though I hated drinking water. 3L was my happy medium, but you will have to find yours. When you get to Machu Picchu, they will sell water, but everything is really expensive (ie. 4-5 USD on a regular bottle of water. Don’t drink the tap! See our favorite travel water bottles here.
See More: Your Essential Inca Trail Packing List – Machu Picchu Hike
Planning Checklist
- Get comprehensive insurance for your trip.
- Download these helpful language apps.
- Arrange a rental car for your trip.
- Get airport lounge access.
- Buy a travel charger to keep your devices charged.
- Get a new backpack for your trip.
- Pack the appropriate shoes for your trip.
- Don’t forget your in-flight essentials.
What is the longest hike you’ve done? Do you have any hikes on your bucket list?
Did you enjoy this post? Pin it for later


SEE More International City Guides
⟡⟡⟡⟡⟡
“Discovery consists not of seeking new lands but in seeing with new eyes” – M. Proust

Esther + Jacob
Esther and Jacob are the founders of Local Adventurer, one of the top 5 travel blogs in the US. They believe that adventure can be found near and far and hope to inspire others to explore locally. They explore a new city in depth every year and currently base themselves in Las Vegas.
Follow on Instagram (E + J), YouTube, TikTok, and Pinterest.

Great post. Also you can do the inca trail in one, two, four and five days. The traditional is of 4 days and runs off between may to September (without raining) . There many alternative option with treks to Machu Pichu
Regards
Elvis
Do you recommend any other tour groups? I am having difficulty finding a space (for two) for May! Your group doesn’t look to have any availability. Thank you!
That’s the only one we have experience with! You can check out OneSeed too but they don’t do Inca Trail. They do some of the other hikes nearby which are supposed to be spectacular.
Amazing thank you so much for sharing your insights. My husband and I will be hiking the salkantay trail in October and I needed these tips for what to wear and how much cash to bring! Love the post!
Thanks for your comment, Millie. Happy trekking!
Which of the tour operators did you guys choose??
We used info cusco. Are you planning a trip there? :)
I just found your blog through your ad on nectar collective – wow. I just passed along this post to my fiancee with the email titled ‘not if but when’… thanks so much for sharing! I’ve always toyed with the idea of doing this hike but your pictures made quite an impact. I look forward to following along in the future! :)
Yay! :) I get so happy when I get comments like yours. You most definitely must go! It’s such an incredible experience and the hike makes it much more worthwhile. :)
Oh my gosh, you guys must be nuts, this sounds so hard! But absolutely worth it I’m sure!! The photos are breathtaking.
Thank you so much! :) I’m not gonna lie… it was reeeeally challenging. I cried on day 2 and wanted to die a LOT on the journey… but in hindsight, I’m so glad I hiked it. You just can’t get the same views and sense of accomplishment when you take the train.
We leave Atlanta TODAY to head to Peru. On Sunday, we begin the 5-day hike. I couldn’t be more terrified. haha. Your writing is helping to calm me! Even though I’m certain I will be the. slowest. person. EVER to attempt the trail, now I know at least that it’s doable for someone who doesn’t like walking. :) Your pictures are magnificent! Thanks for every word you wrote.
You’re welcome! And thank you so much for your kind words. That is sooo exciting. :) It’s definitely mind over body, so you just have to keep telling yourself to push forward. Wishing you the best on your trip!
This was great inspiration! I really can’t wait to do this hike – I’ve been working out like crazy to get in shape for the trip, and from this I can see that I’ll need to keep up with my workouts or risk crying all the way up/down the mountains :(
so glad this was inspiring. There were lots of tears.. and it wasn’t just me! I wish I would have trained myself harder and with a heavy pack.
@catarina – new zealand! tell your kiwi bf to take you next month!
Love these! So sad I couldn’t make it now that I see these pics. Where to next?