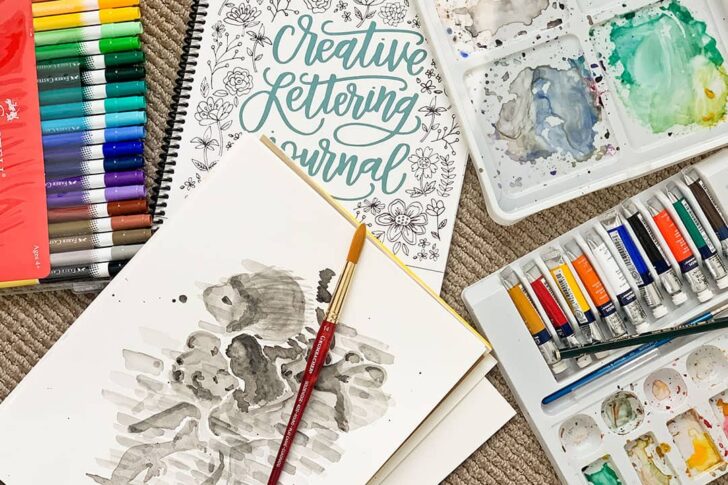
Earlier this year, I started teaching myself how to watercolor using all the beginner youtube tutorials I could find. It’s something I’ve always been in awe of but was too intimidated to try. It turns out it’s not that hard (at least to get started. Going pro is another story), and it’s a more forgiving medium than I imagined. Seriously! Try it!
Even though we all have to stay at home now (crazy times), I plan on taking my watercolors out to paint some beautiful landscapes in our future travels. I can’t wait to take them to our favorite National Parks.
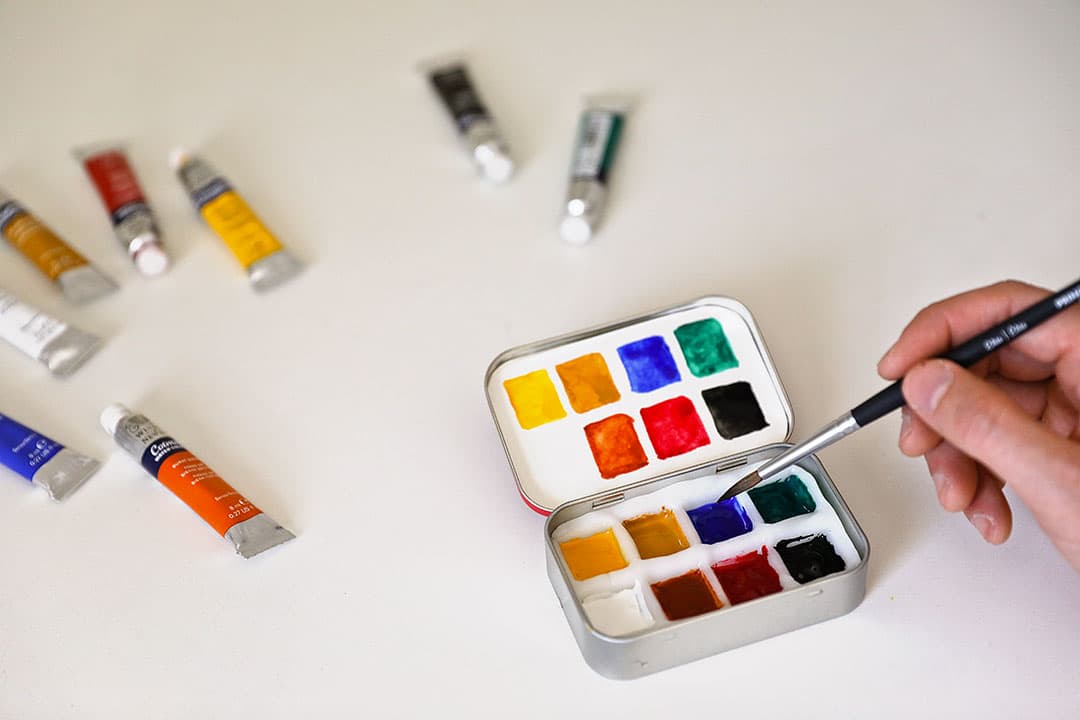
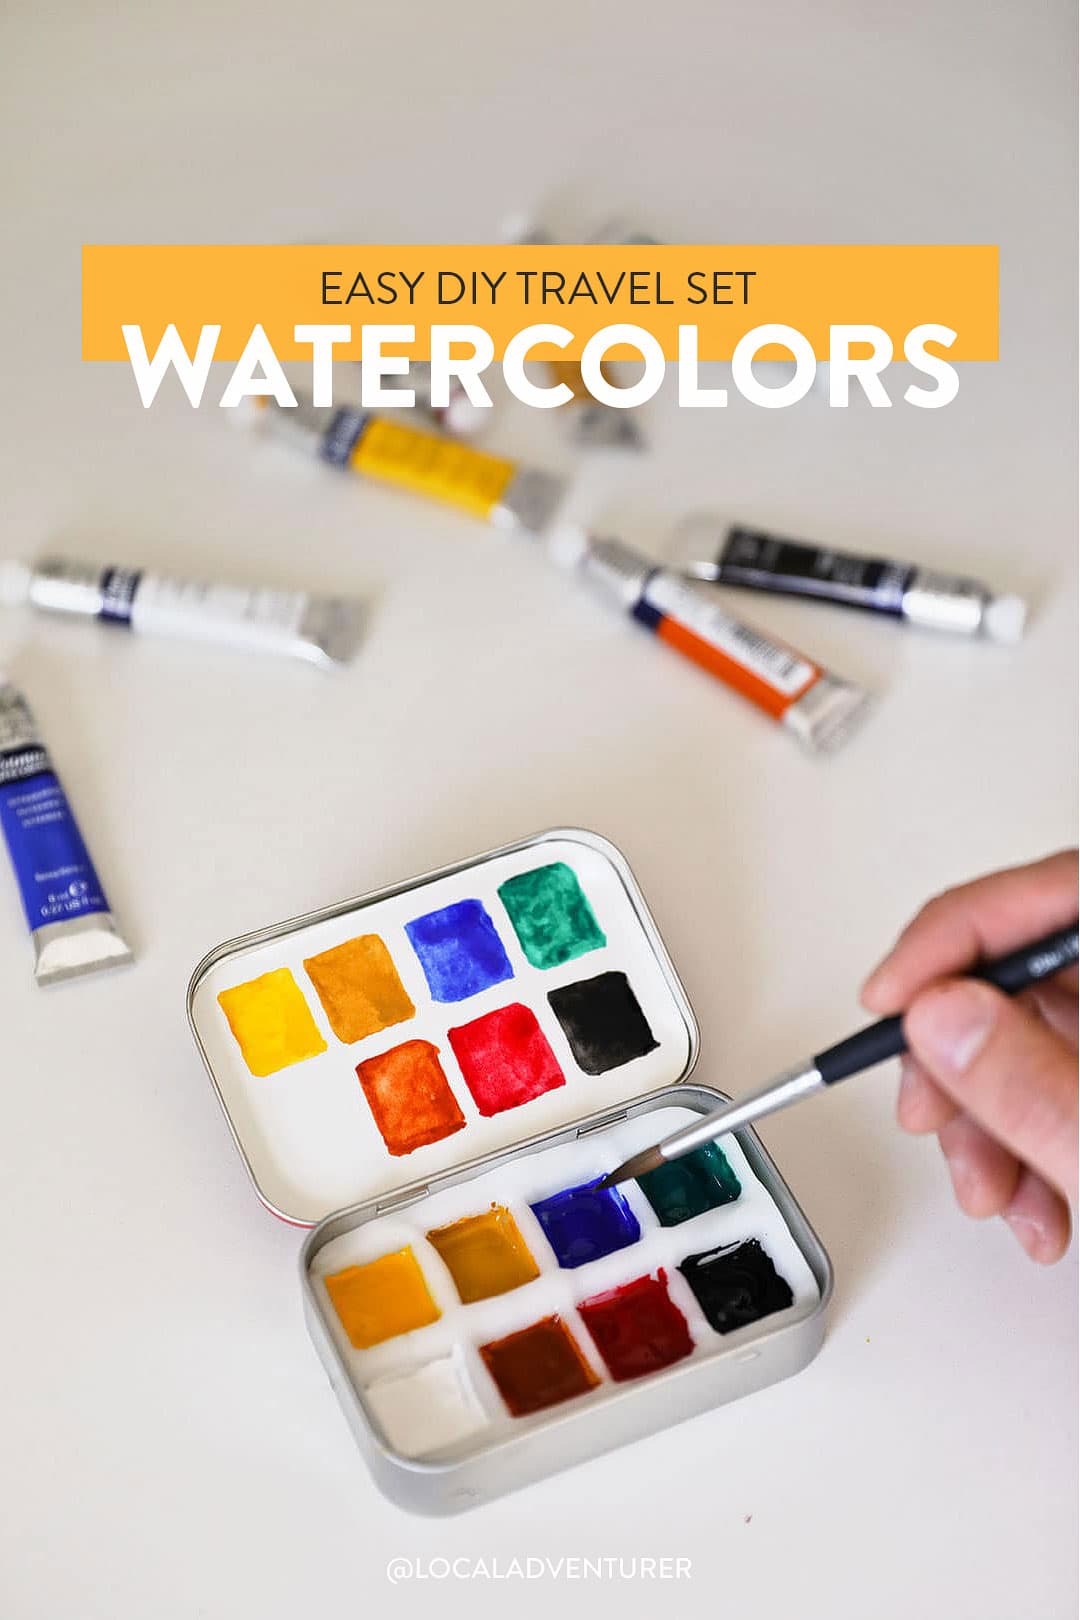
Today we’re sharing a DIY travel watercolor set tutorial so you can take your watercolors with you too.
 Pin
PinThis post may contain affiliate links, where we receive a small commission on sales of the products that are linked at no additional cost to you. All opinions are always our own. Read our full disclosure for more info. Thank you for supporting the brands that make Local Adventurer possible.
Last Updated: April 12, 2020
How to Make A Cute and Easy DIY Travel Watercolor Set
We’ve seen several tutorials on the web, and after experimenting with all the options, we ended up modifying them until we liked how it turned out. We also didn’t want to buy a bunch of random tools we won’t end up using later.
Materials You Need
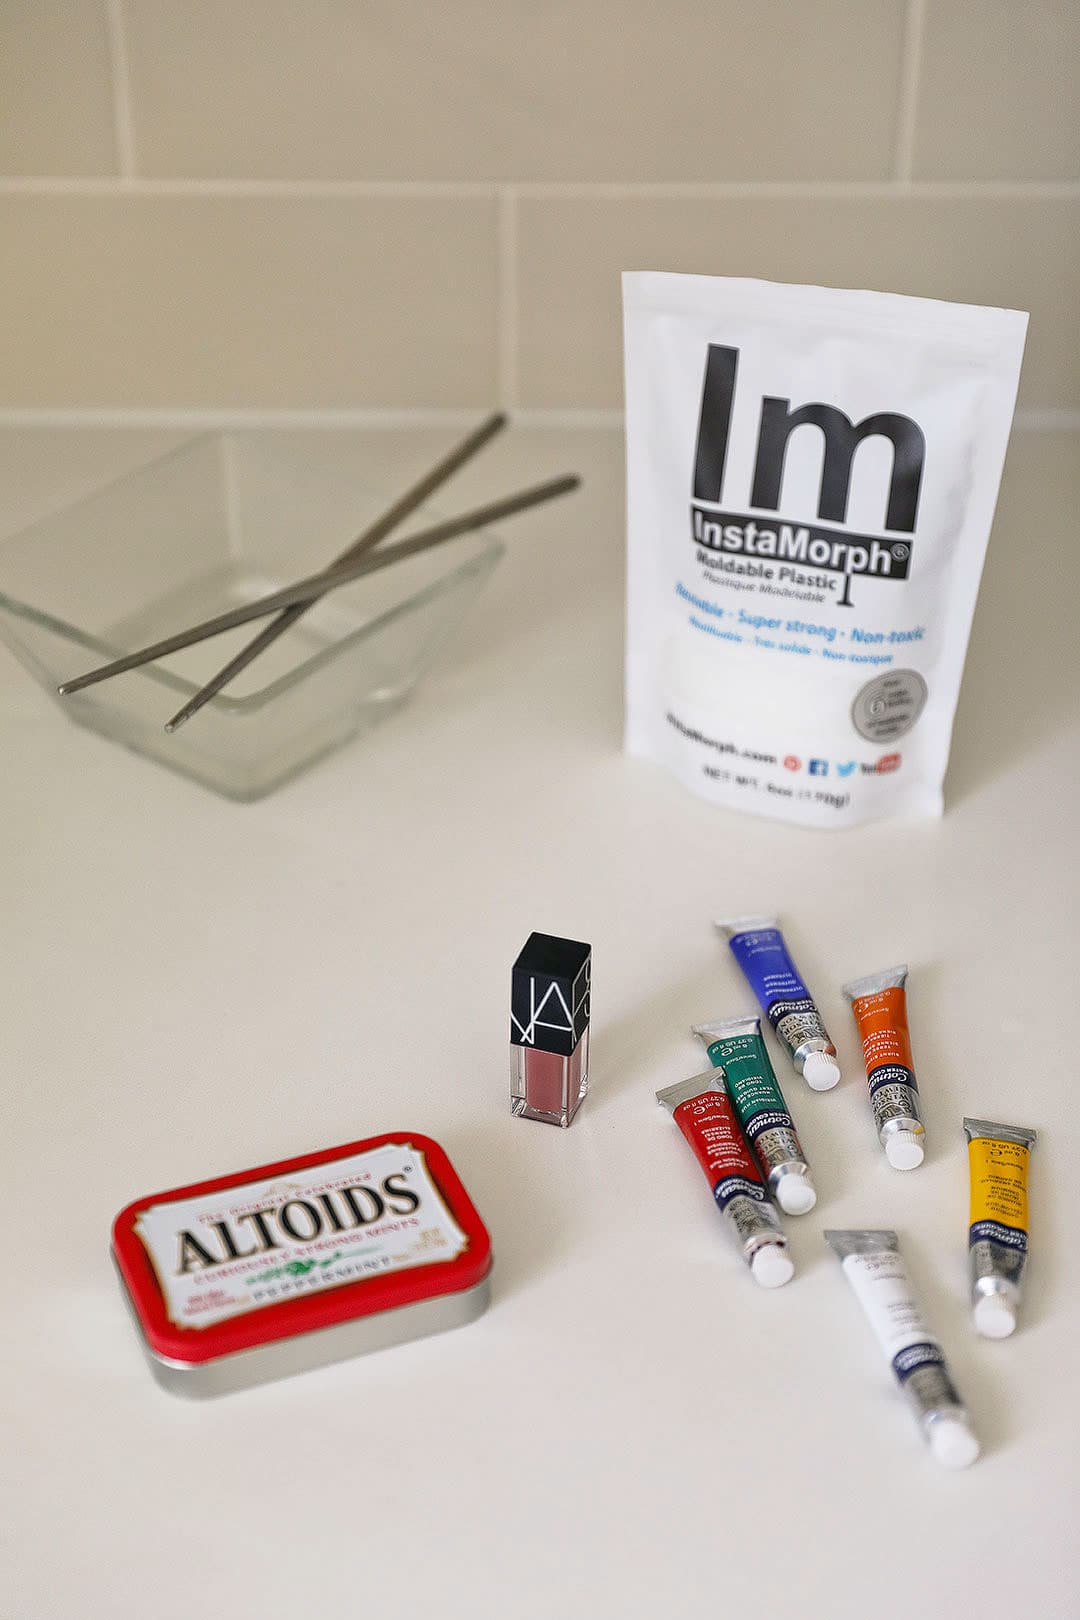
Here is everything you need:
- Altoids Tin (the classic one)
- InstaMorph
- Watercolors (this is a great beginner’s set I use)
- 3/4 inch Square Object to Press (we used lipgloss)
- Large Bowl
- Pot to Boil Water (We used a Cordless Electric Kettle)
- Tongs or Chopsticks (tongs felt too big)
- Paper Towels or Reusable UnPaper Towels (love these Swedish Dishcloths)
 Pin
PinInstructions to Make A Travel Watercolor Set
STEP 1: Empty the Altoids Tin and clean it.
STEP 2: Pour a third of the InstaMorph into a bowl (it’s okay if you pour more. You can reuse it for a future project). Boil water and pour it over the InstaMorph. Let it sit until it turns clear.
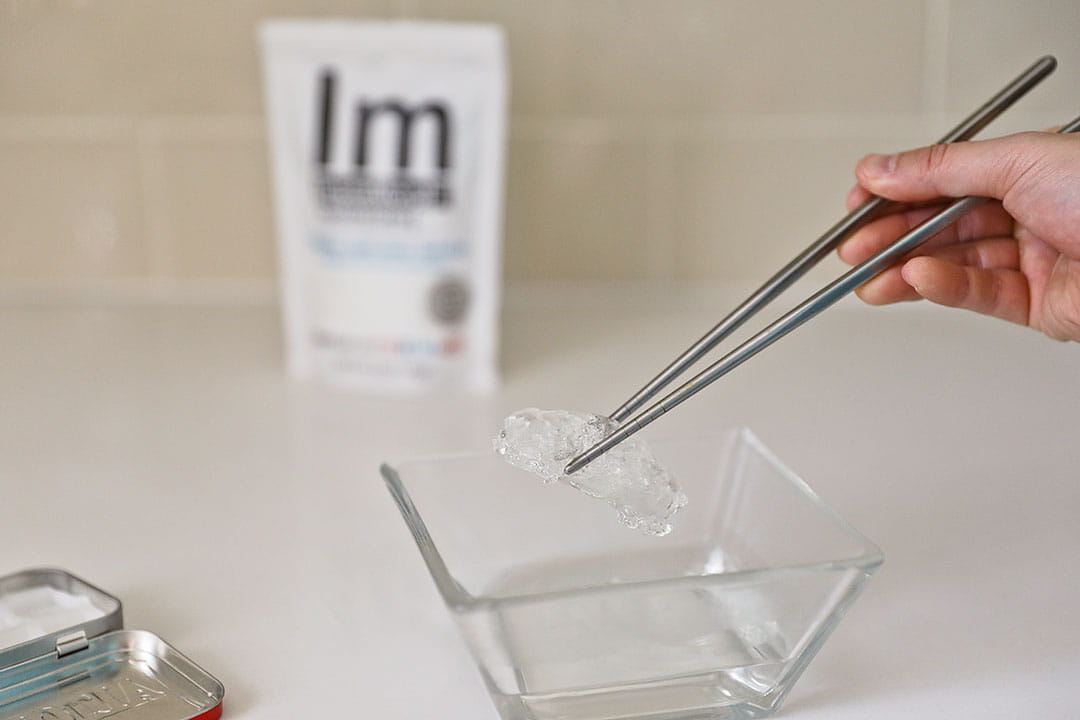
STEP 3: Carefully remove InstaMorph with tongs or chopsticks. After a few seconds out of the hot water, you can handle it with your hands. Don’t burn yourself! Shape it into a rectangle roughly the size of the tin and about half an inch thick.
If the Instamorph starts getting too hard to mold, put it back in hot water to soften it.
 Pin
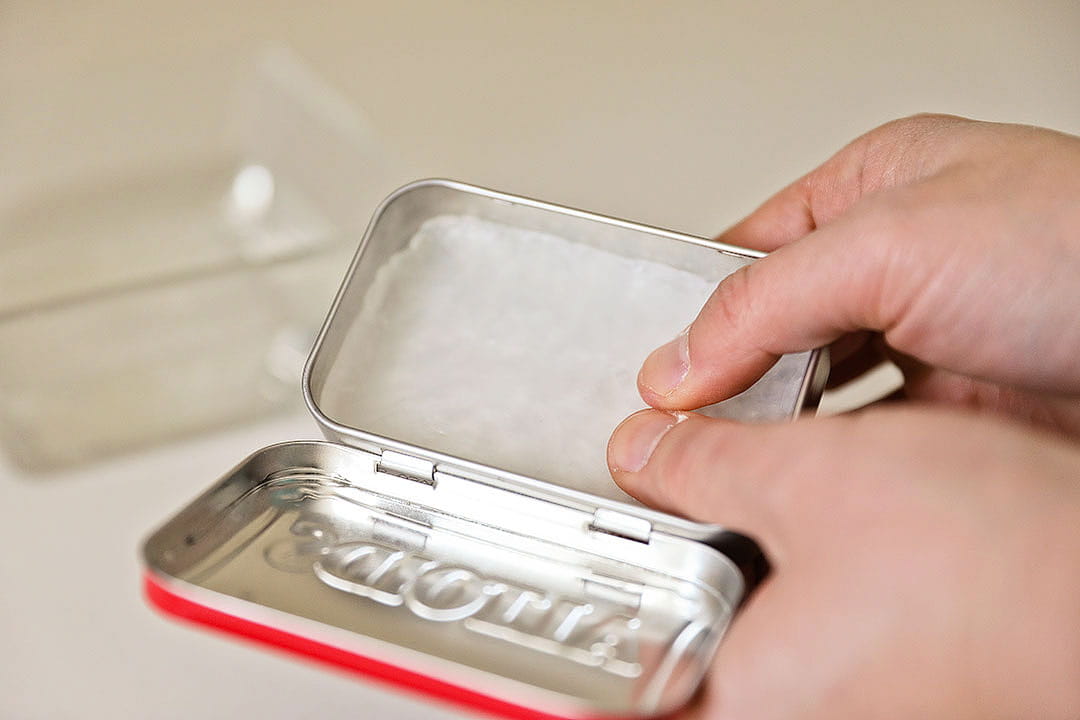
PinStep 4: Press the InstaMorph down into the Altoid Tin covering the entire bottom evenly.
 Pin
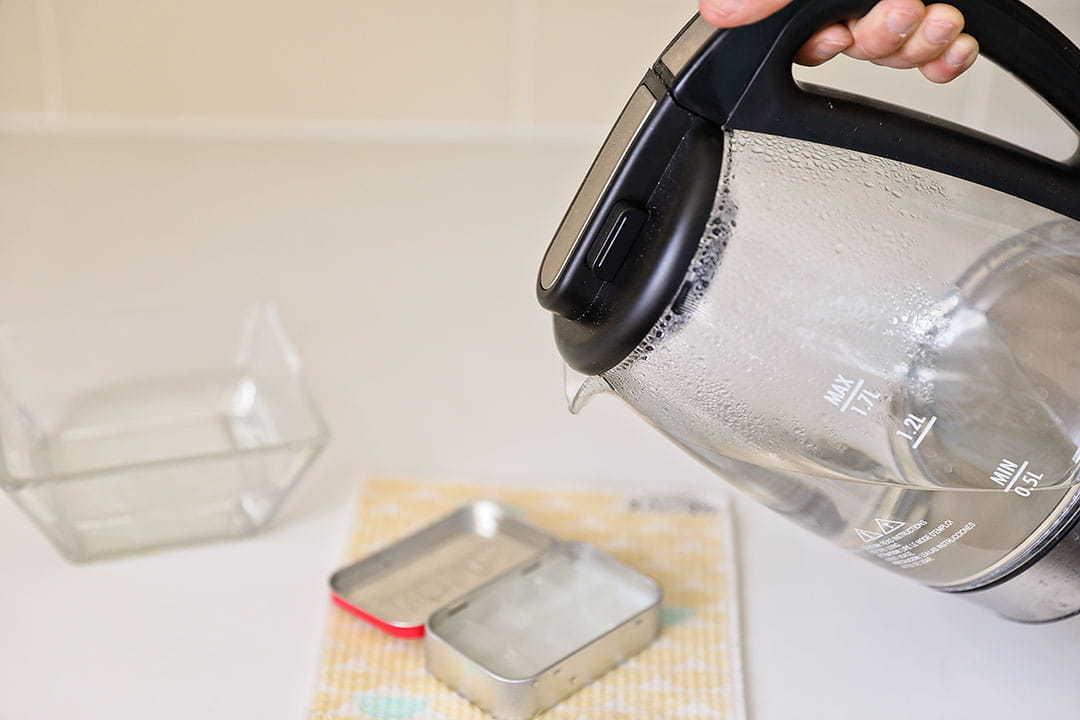
PinStep 5: Place the tin over paper towel, and carefully pour boiling water into the tin. Water will leak through the sides.
 Pin
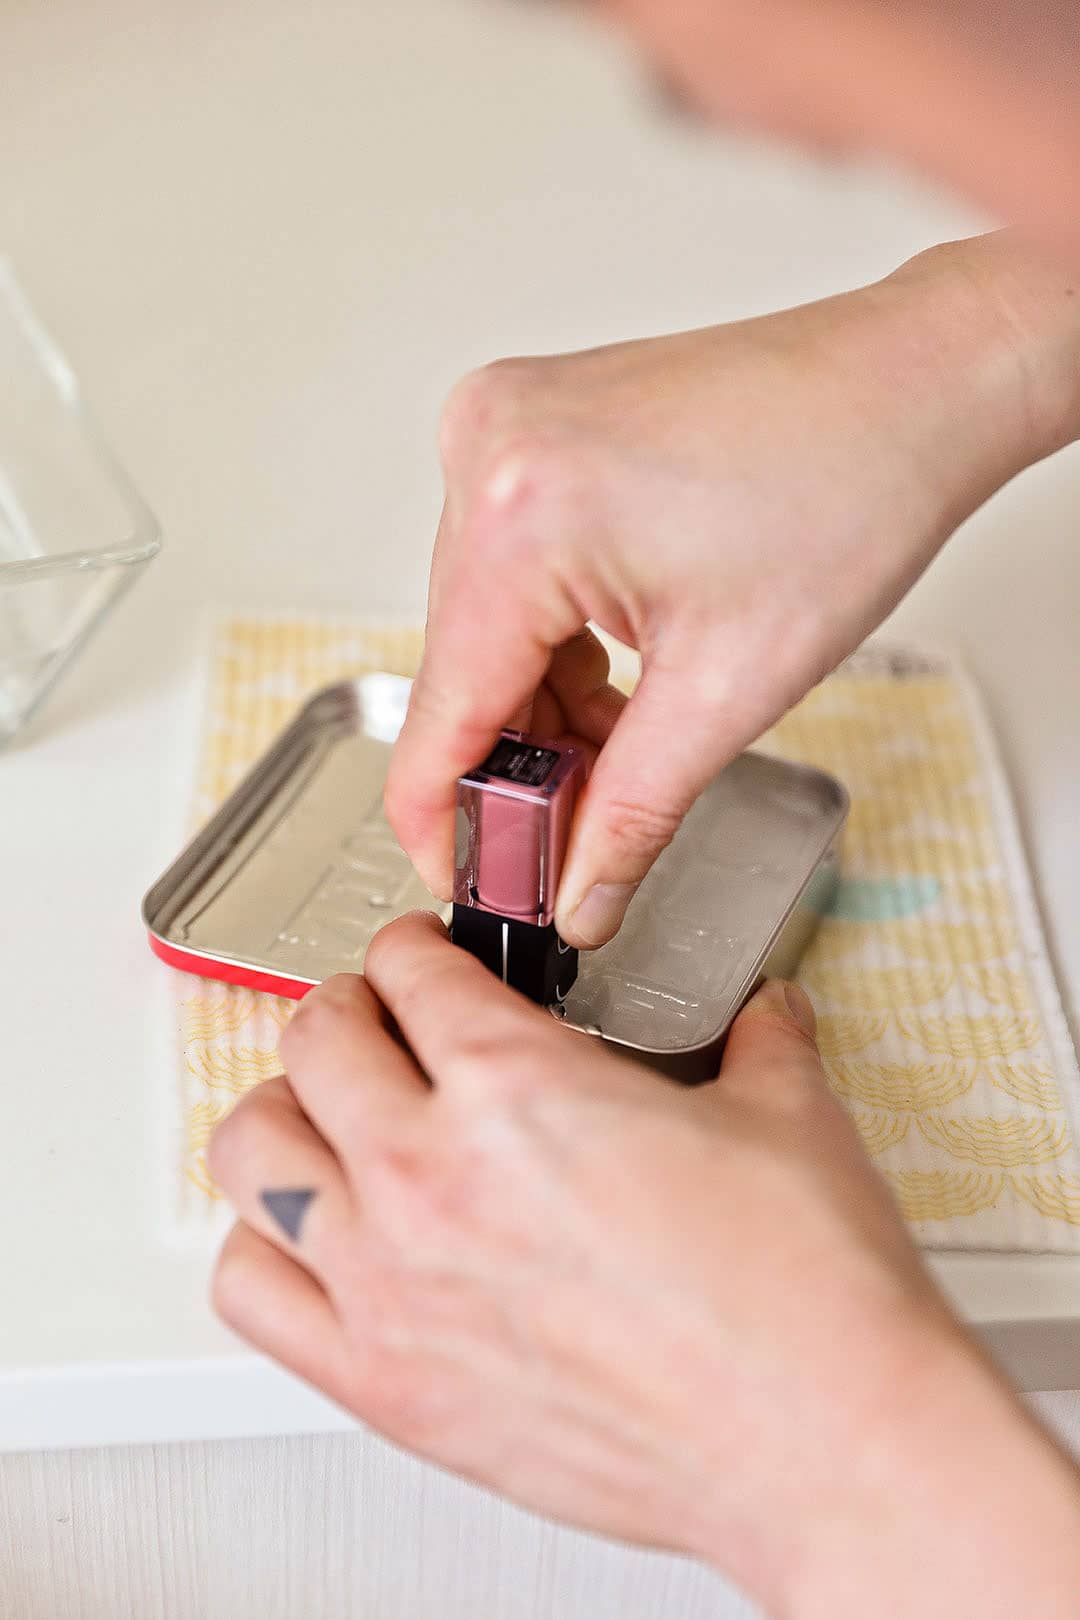
PinStep 6: Using a 0.75 inch (1.9 cm) square-shaped object, press into the InstaMorph to create 8 indentations where the paint will go.
Repeat this step as necessary. If it looks messy, you can try it again. It took us a couple tries, and we had to boil water multiple times to get to how we liked.
Optional: Right now the Intamorph wiggles a bit in the tin. If you want it to stay perfectly still, you can add a line of glue around the edges of the Instamorph to keep it in place.
 Pin
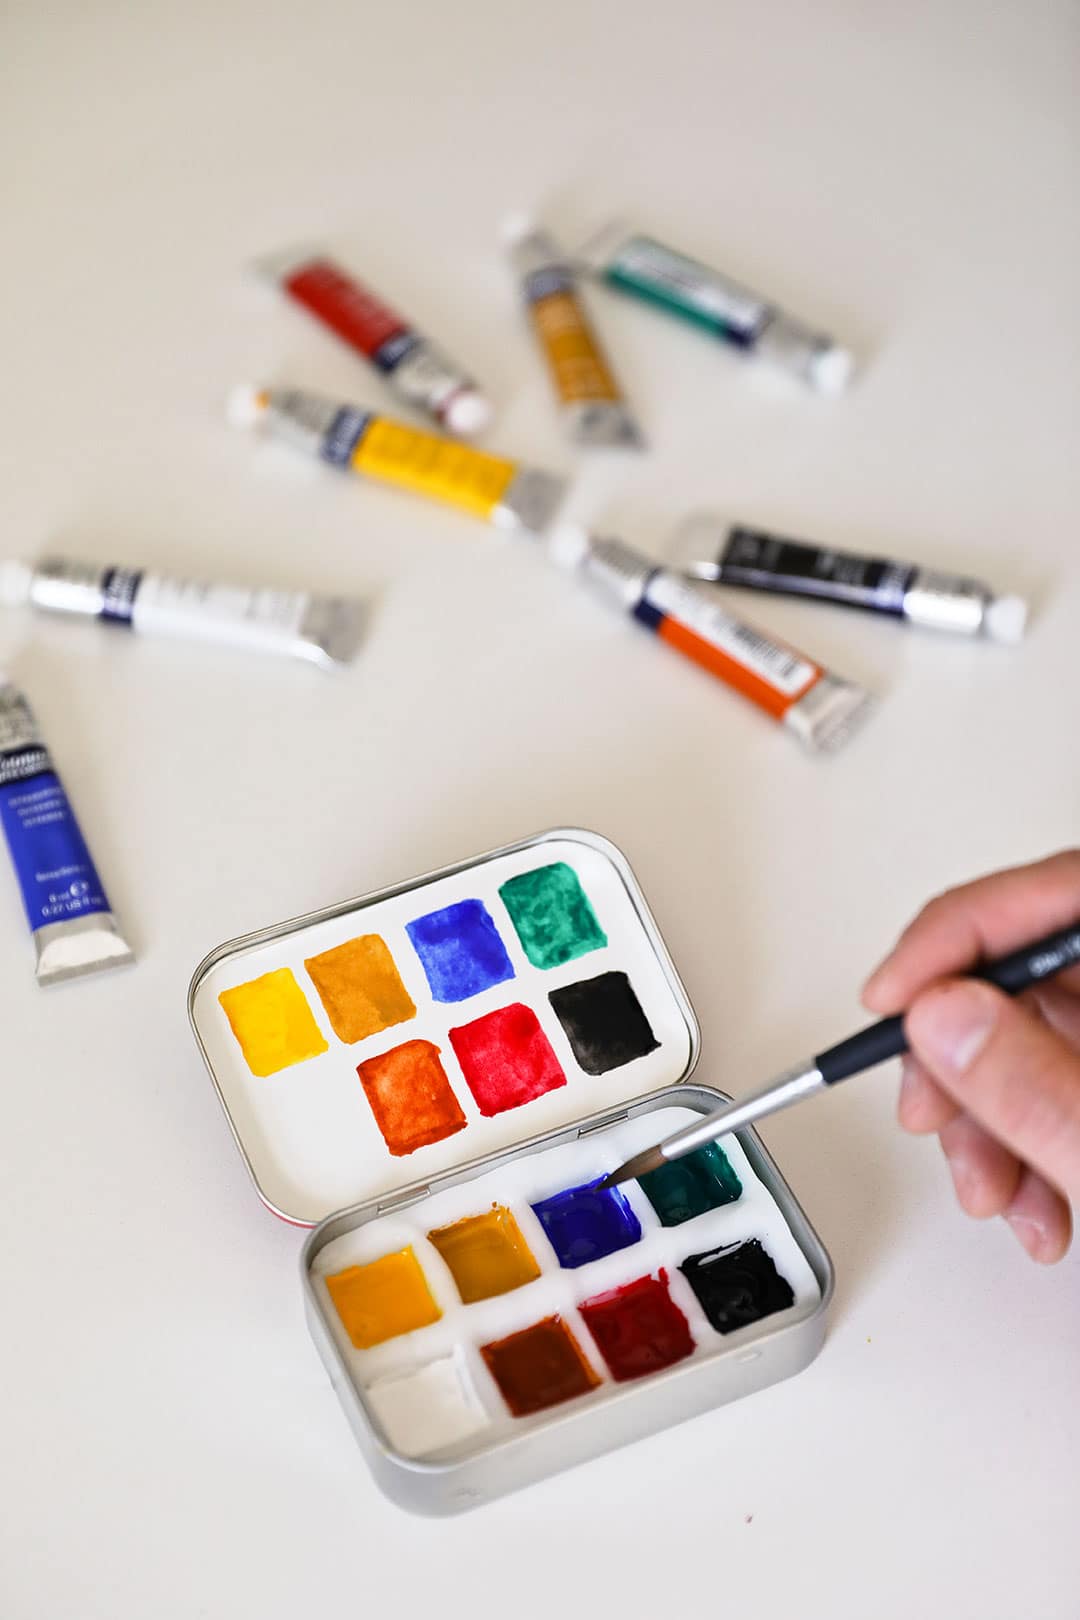
PinStep 7: Put paint into each bowl. These are some great beginner watercolor paints I used.
Optional: I made color labels to cover the Altoids logo using watercolor paper.
 Pin
PinAddress, map
Local Tip / Pro Tip / Note: dsfsdfsd
COMPARE PRICES ON AMAZON AND ___
PHOTO
photo:
More Watercolor DIYs
- DIY Watercolor Paint – you can take it a step further and make your own paint. Check out the tutorial for some easy and fun kids paint or a more natural and professional watercolor version.
- DIY Travel Watercolor Brushes – You can use a fine-tooth saw to cut down the handles and then sand them. If you have nicer brushes, I would keep them as is. I don’t mind traveling with full-size brushes.
- Alternative Travel Watercolor Set Upcycle – This is an even easier DIY and upcycle. You can reuse an old makeup palette instead of throwing it out. You can also buy a cheap eyeshadow palette from the dollar store, but I’m sure we all have at least one eyeshadow palette that’s way past its expiration date.
Pro Tip: This water brush pen is great to use with a travel watercolor set so you don’t have to carry water separately. Although, using this mini mister is pretty genius too.
Basic Tips for Watercolor Painting
Shop
If you’re not much of a DIYer, there are plenty of amazing travel watercolor palettes and tools already on the market. Here are some great options.
- Windsor & Newton Pocket Box (beginners)
- Prima Marketing (beginners)
- Sennelier L’Aquarelle Mini (professional)
- Rembrandt Watercolor Deluxe Set (professional)
- Water Brush Pen
- Isabey Pure Red Sable Pocket Brush for those who still love the feel of a real brush (see other pocket brush reviews)
- Mini Mister – to conveniently carry a small amount of water.
For Travel Painting Inspiration
I couldn’t find any that were strictly watercolor, but follow these artists for some travel painting inspiration:
Did you find this DIY travel watercolor set tutorial useful?
Eventually, I’d love to find a good plastic-free version of this DIY that looks just as clean. We tried the Dentyne gum tray at first, which looked too messy. I’ve seen people use polymer clay and legos, both of which are also plastic. Can you think of any alternatives?
Did you enjoy this post? Pin it for later
 Pin
PinSEE MORE CITY BUCKET LISTS
⟡⟡⟡⟡⟡
“Discovery consists not of seeking new lands but in seeing with new eyes” – M. Proust
 Pin
PinEsther + Jacob
Esther and Jacob are the founders of Local Adventurer, which is one of the top 5 travel blogs in the US. They believe that adventure can be found both near and far and hope to inspire others to explore locally. They explore a new city in depth every year and currently base themselves in Las Vegas.

