
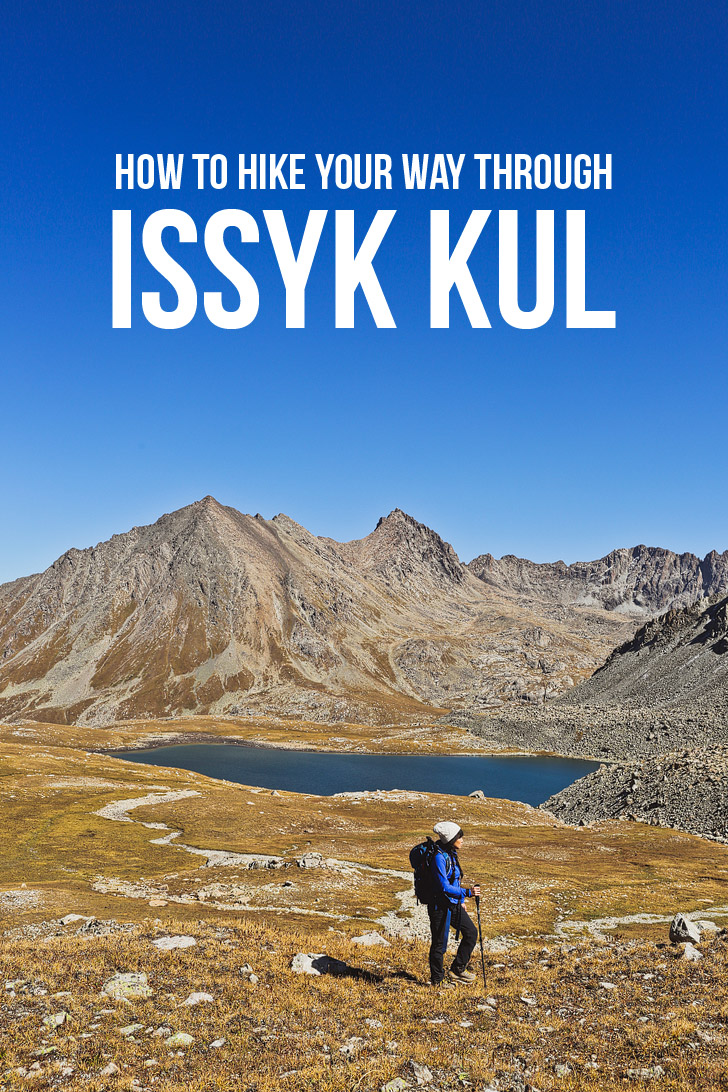
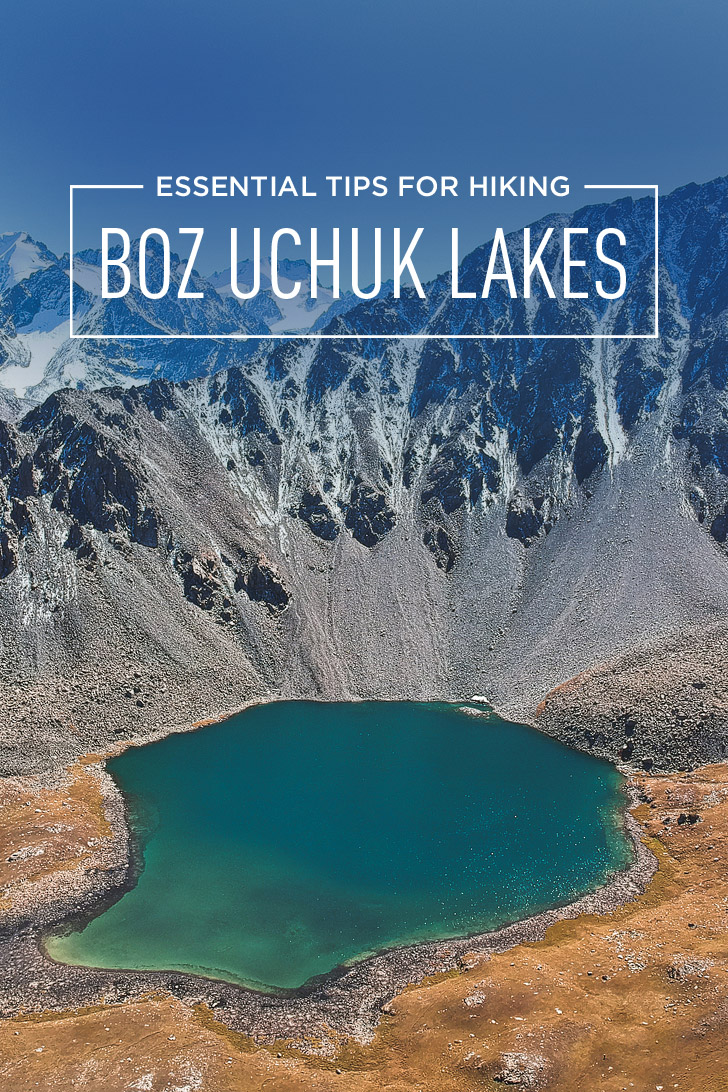
Want to hike to Boz Uchuk Lakes? Here’s everything you need to know.
I put my hands on my knees huffing and puffing each step I took. As I raised my head, I saw that I was close, so I mustered up the rest of my strength to make it over the ridge. Just as I was about to celebrate, I realized it was a false summit. NOOOOO!!!!! I took a seat on a rock a bit defeated, but as I looked back at the amazing views, I had to keep climbing.
This post and trip were made possible by Discover Kyrgyzstan and the support of the American people through USAID (United States Agency for International Development). As always, all opinions are our own and do not reflect the views of USAID or the United States Government. This post may contain affiliate links, where we receive a small commission on sales of the products that are linked at no additional cost to you. Read our full disclosure for more info. Thank you for supporting the brands that make Local Adventurer possible.
Last Updated: November 24, 2025
Your Essential Guide to the Boz Uchuk Lakes Hike
Most people visit Kyrgyzstan to spend time in the mountains. The hikes are spectacular, but it might be a slightly different experience than hiking in the states. During our time in Kyrgyzstan, we got our butts handed to us on a “moderate” hike. Here’s what we learned to help you prepare for your hike.
Best Time to Visit
Most people who visit Kyrgyzstan for hiking, go during the high season, between July and September. The weather is great in higher elevations, the days are longer, and the wildflowers are out. If you prefer visiting during the shoulder seasons, you can go between May and June or September and mid-October. There will be fewer people, but the weather is less predictable and there may be snow in the mountains.
What You Need to Know Before the Hike
Difficulty of Hikes – We initially thought that we would be doing some moderate hiking during our visit. If you’re talking to a local or guide about hiking, think about it like the Thai hot scale. They live in the mountains, so when they say it’s moderate, it’s difficult. What they consider difficult is mountaineering.
Names Along the Trail – Trails are rarely named in Kyrgyzstan. Usually, they describe a trek by calling it the “Starting Point to Ending Point Trek”. Because of that, you may hear different names for similar hikes. In addition, they like to keep it simple by naming features in one area with the same name. For example, Boz-Uchuk Lakes is in Boz-Uchuk Valley, which is right next to Boz-Uchuk Pass and feeds the Boz-Uchuk River. It was surprising to us that they named most the passes but not many of the mountains.
Navigating the Trails – Trails in Kyrgyzstan are not marked and because of all the cattle, there are trails everywhere. We highly suggest hiring a guide. I don’t think we would have found our way through on our own. We hear that hikers commonly get lost, and even on our trek, we had other hikers ask our group for directions. You can contact our guide Daniyar ([email protected]).
Day by Day Breakdown of the Hike + Map
Total Hike: 4 Days
Distance: 25.47 miles / 41 km (+ 10.4km on horse)
Max Elevation: 12795.28 ft / 3900 m
We hiked over 5 passes in 4 days. The trails were tough and moments were so steep that we wanted to give up, but the views around each corner were amazing!
The map below is a rough representation of our hike. It is not a trail for you to follow.
Day 1: Terim-tor Bulak to Boz-Uchuk Lakes
Distance: 5.59 miles / 9 km
Estimated Time: 6 hours
What You See: 1 Pass, Boz Uchuk Lakes, Deep Valleys, Open Meadows
Pass: Boz Uchuk Ashuu (3364 m)
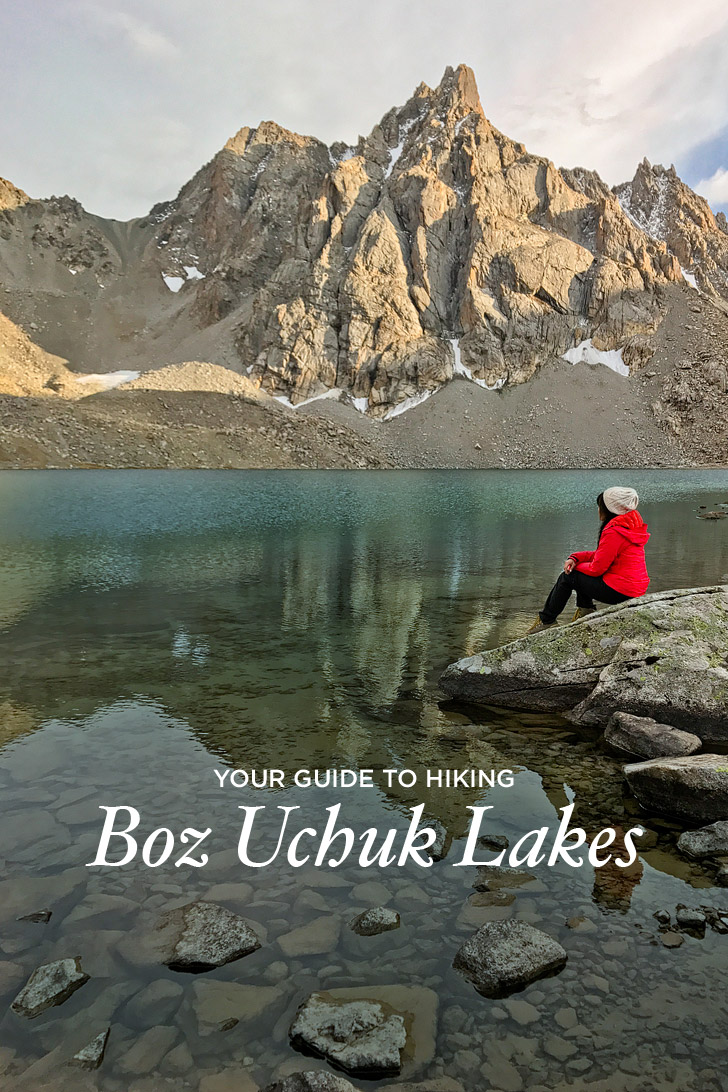
Overnight: Boz Uchuk Lakes
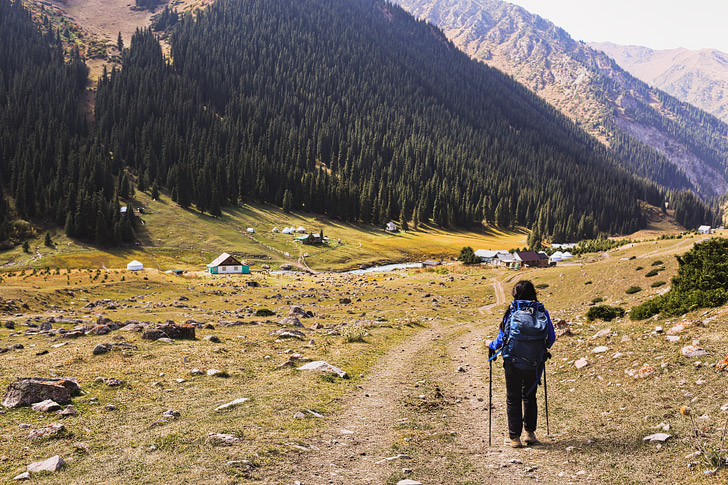
We started our hike by getting dropped off in Turgon Valley (2400 m) where we met our guide, porters, and cook. From there, we hiked over a “small” mountain, then through a slowly inclining valley until we reached our first pass, Boz Uchuk Ashuu. I don’t know if it was the fact that we hadn’t acclimated to higher elevations or if we were just out of shape, but we were struuuuggling.
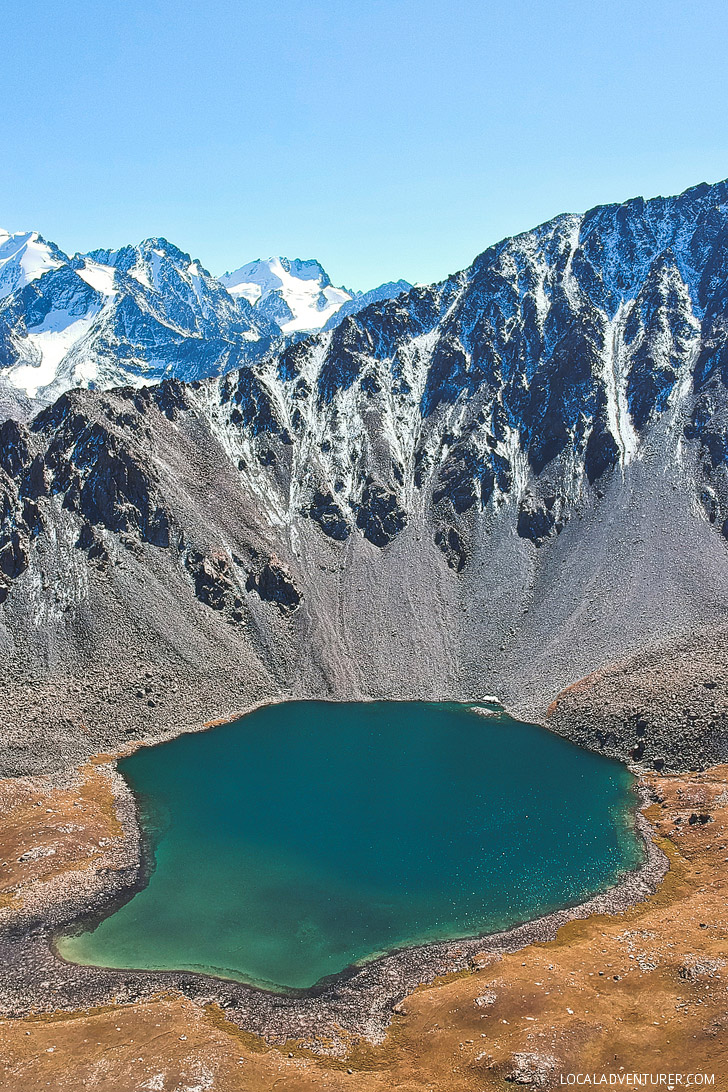
After stopping for lunch, we headed down from the pass. We climbed up and down yet another small mountain, and then could see our first destination in the distance. From where we were standing, there were large boulders along the edge of a steep drop. The lakes were on top of that.
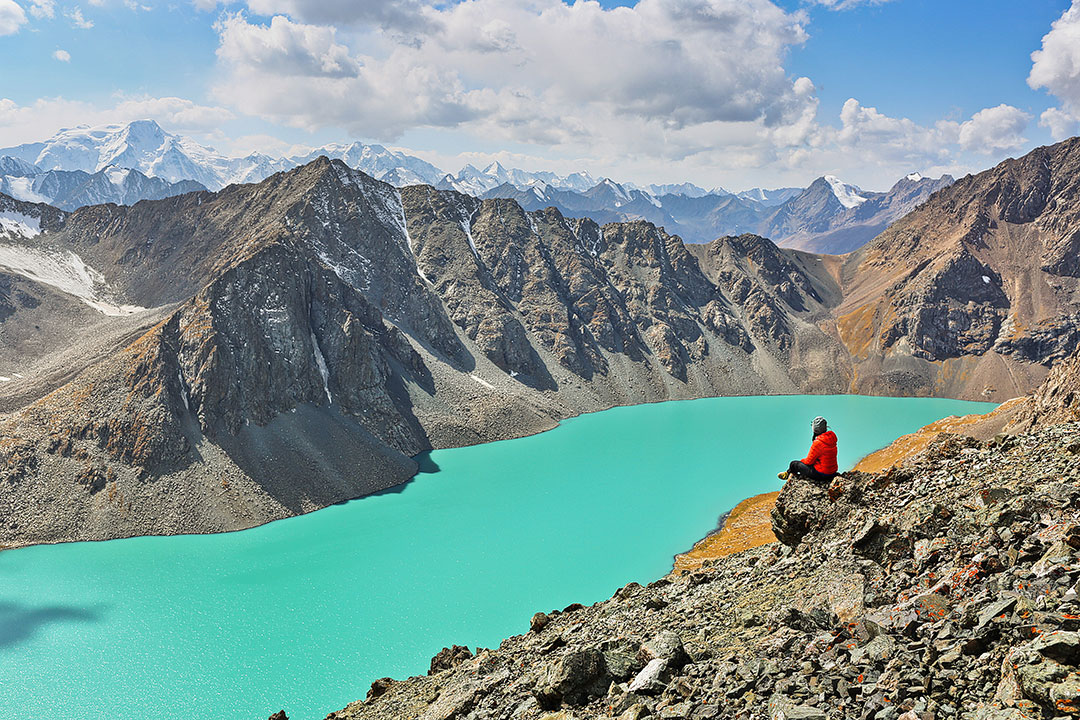
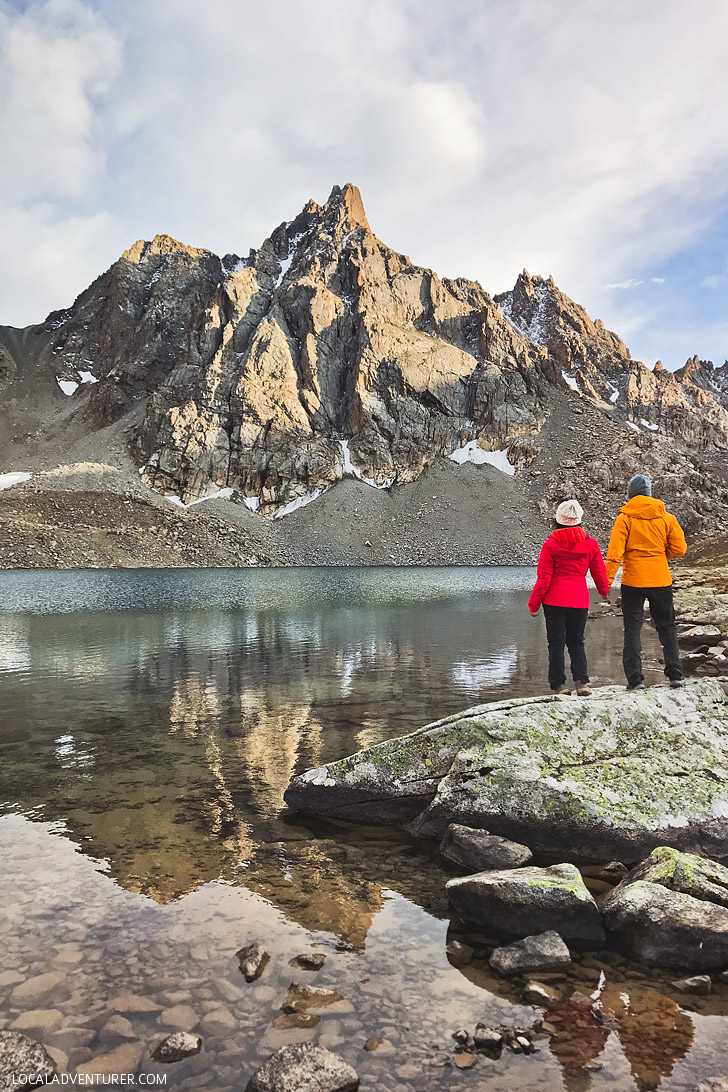
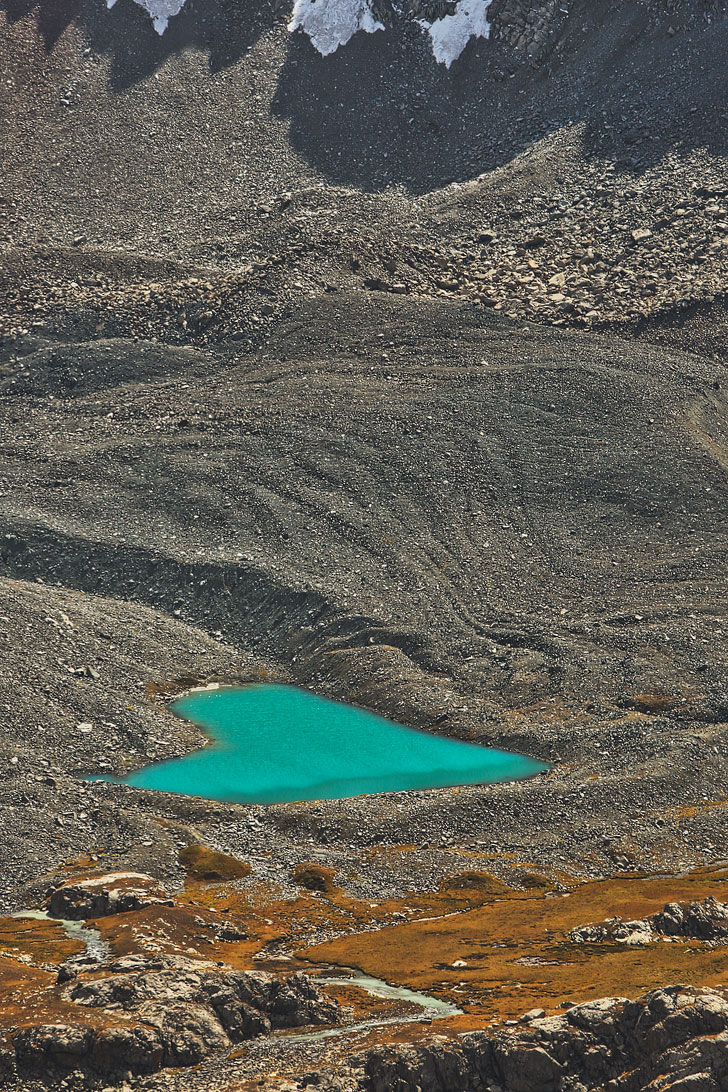
We slowly made our way up, then saw the first of two lakes. Some of the porters had already arrived and started setting up camp. We eagerly dropped our bags and roamed around to take photos. After a short break for tea and snacks, we hiked roughly 100 meters up to the second Boz Uchuk lake. This was our favorite of the two.
After returning to camp, we had dinner, then cozied up for some well-earned rest.
Day 2: Boz-Uchuk Lakes to Ak-su Almaluu Valley
Distance: 10.56 miles / 17 km
Estimated Time: 10 hours
What You See: 2 Passes, Alpine Lakes, Deep Valleys, Glacial Rivers, Open Fields
Passes: Unnamed or “Jyrgyz” Pass (3460m), Aylanysh Pass (3515m)
Overnight: Ak-Su Almaluu Valley
Now that we realized what we were dealing with, we tried to prep ourselves better mentally. We knew we had two passes to cross. After breakfast, we climbed up a bit more from our campsite before dropping into another valley. We climbed up and down a smaller mountain, then across a wide valley before reaching the next incline.
We handled this climb a bit better, but it was still a TON of work. We took each switch back slowly until we made it to the top. This pass is unnamed, but our guide called it Jyrgyz Pass. From this pass, you could see Aylanysh Lakes in the distance.
After snapping a few photos, and grabbing a quick snack, we started to make our way down into the valley. As we started to climb again, we stopped at Aylanysh Lake for lunch. Afterwards, we continued onwards to the next pass. There were a couple of smaller lakes along the way that were beautifully clear. The last incline to Aylanysh Pass was the steepest yet.
We took 10-15 steps, then took a break, then took another 10-15 steps, and so and so forth until we made it to the top. We took a few more photos at the top and started our way down. The backside of this mountain was made of very loose rock. After finishing the steepest part, we stopped at a stream for tea and snacks. We then continued downwards, and it felt like forever until we reached the following site. Every time we reached what I thought was close to the end, we would see an expansive valley just below that we would have to descend into.
Our second night was spent right next to a babbling brook, which made for a peaceful night’s rest.
Day 3: Ak-Su Almaluu Valley to Arashan Hot Springs
Distance: 8.07 miles / 13 km
Estimated Time: 7 hours
What You See: 1 Pass, Valleys, Rocky Mountainsides, Valleys, 1 Pass, Natural Hot Springs
Pass: Ortok Pass (3606 m)
Overnight: Arashan Hot Springs
This was the hardest day for us. Firstly, as you start to tackle the first mountain, you reach a point that looks like the pass. Little did we know, it was a false summit! After making that last push, we thought we were done, so learning that we still had more to go was really demoralizing. After mustering up what strength we could, we continued slowly until we reached the top.
Secondly, we both had some gnarly blisters forming. Every downhill step we took on day three made each one that much worse. We had to go down really slow, but when we finally reached the hot springs, we were rewarded with some relaxation.
Day 4: Arashan Hot Springs to Ala-Kul North Pass →
Distance: 10.4 km by horse + 2 km walk
Pass: Ala-Kul North Pass (3900 m)
Overnight: Arashan Hot Springs
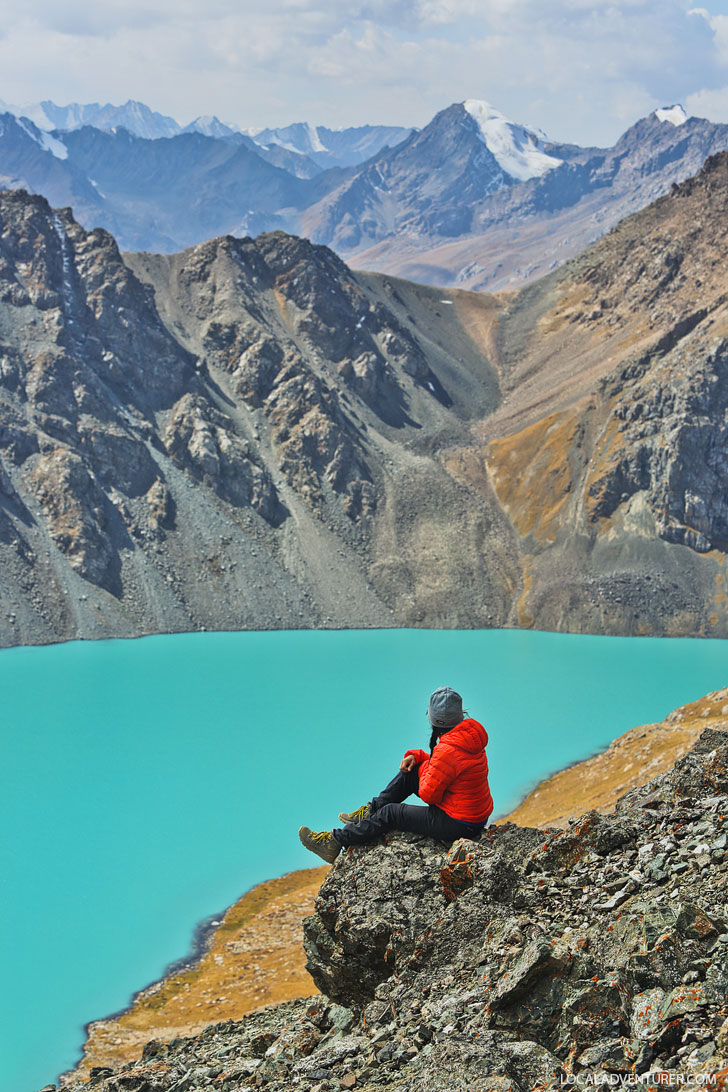
We couldn’t leave without seeing Ala-Kul Lake, so we spent the last day hopping on a horse to save time. We rode to the bottom of the Ala-Kul North Pass and then finished the final portion on foot.
We still hadn’t learned by now, but climbing up to the pass was the steepest and scariest of all. It was extremely steep, loose rocks that felt like you were sliding down every step you took. On the way up, Jacob even got paralyzed for a moment and sat down, thinking he’d fall off the mountain and die.
See More: Heart Lake and Lake Alakol Hike – The Most Popular Trek in Kyrgystan
Porters, Guides, and Tipping
Most guided hikes in Kyrgyzstan are customized to what you want. Things like the number of porters, how many meals you want each day, how far you want to go, and more go into calculating the cost. To give you a rough idea, a guide is usually between 1200-2500 KGS per day.
Tipping is generally part of their salary. Though it’s not required, it is an excellent way to show appreciation for their service. Tourism is so new here that there is no standard for tipping, but here’s what we did:
- Guides: $6 USD per person per day
- Cooks / Porters / Driver: $3 USD per person per day
Be sure to bring small bills when it comes to your cash. You want to be able to easily tip the right amount per guide, porter, and cook.
Altitude Sickness
Anyone can get altitude sickness above 8000 feet / 2438.4 m. Since most of this hike is above that, and you don’t really get a chance to acclimate until you’re up there, try to prevent any chance of it.
You can take Dramamine to help and drink lots of water while on the trail. If you commonly get altitude sickness or really want to play it safe, get a prescription for actual altitude sickness pills from your doctor. Esther felt headaches on the first day, but they subsided after she took some medication. Our guide also brought some altitude medication for us.
small bills when it comes to your cash. You want to be able to easily tip the right amount per guide, porter, and cook.
Toilets & Toilet Paper
When in the backcountry, we’re used to using a trowel to dig a hole and bury our own poop, but after one day of hiking in Kyrgyzstan, we learned that we didn’t have to bother with burying ours since the trails are not heavily trafficked by humans and also there is cattle and livestock poop everywhere.
While in our campsites, we had no issues finding private spots to use the bathroom, but when you’re on the trail, there are a lot of areas that are exposed. We went in the offseason, so there weren’t many people on the trails, but if a lot of people are around, then you need to be comfortable just going when you need to go.
Be sure you bring a small ziplock bag of toilet paper with you wherever you go. We also carried wipes and hand sanitizer.
Eating on the Trail
Assuming you go with a guide and cook, you eat really well on the trail! You can book different numbers of meals on the trail depending on what you want and need.
During our trip, we had a hot breakfast, which usually consisted of eggs and other sweets, bread, and jams. For lunch, we had a packed lunch, which had a sandwich, fruit, chocolate, and juice box. On some days, we took a mid-day break for tea and snacks. We ended the day with an amazing dinner, that usually consisted of a warm traditional meal and plenty of tea and snacks.
Extra snacks you can bring: Built Protein Bars or Honey Stinger Organic Waffle. We like both of these because they are light, easy to eat, and taste good.
If we were to do the hike ourselves, we almost always keep things simple and take Mountain Houses and Jetboil (you will have to buy the gas locally).
Water – How Much to Bring and is it Safe on the Trail?
I started the hike with 2 liters of water and Jacob with 1. The next couple of days, I realized the one liter was enough. Each evening, we would refill with the extra boiled water from the tea kettle.
During our hike, we had tea made from the streams and rivers and all of our dishes were washed in them. Our guide and porters always drank from them with no filters as well.
Since cattle and livestock are raised in the mountains, there is fecal matter everywhere. If you want to play it safe, boil your water or bring a water filter with you (we recommend this one).
Can You Leave any Bags Behind?
If you are going on the same guided trip that we went on, you can coordinate with your guide and leave a bag of clothes and items you don’t need on your hike.
Photography Tips
- Bring a lightweight tripod. Here’s a list of our favorite travel tripods.
- Don’t forget to bring filters with you. We had an ND filter for the waterfalls and Polarizer for the alpine lakes.
What to Pack
Talk to your guide about what they will provide for you. We had the option for them to provide everything we needed, but since we know and feel most comfortable in our own gear, we still brought some of our own.
- Backpack: Find a backpack that fits correctly. Jacob used the Lowepro Whistler Bag (although he should have just brought his regular pack) and I used the Osprey Ace 50 Pack and just didn’t pack it all the way full. Also, be sure they have rain covers.
- Down Jacket: If you go during shoulder season like we did, it will get cold so a down jacket is perfect for warmth without adding too much weight.
- Hiking Pants: I had Columbia convertible pants, and Jacob had the Mountain Hardwear Dragon Pants.
- Waterproof Jacket: You never know when it will rain, especially in the shoulder seasons. Our new Arc’teryx Beta SL Jackets were perfect for this! PRO TIP: Extend the life of your rain gear by washing it with Nikwax.
- Hat, Buff, and/or Balaclava: We both brought beanies that got too hot. We wished we had a cap to shade us from the sun instead. A buff or balaclava paired perfectly when it got cold.
- Waterproof Hiking Boots: Sometimes you’ll be in muddy areas or shallow water. We both love our Danner Mountain 600 hiking boots.
- Down Booties: For those of you who get cold feet, these down booties are game-changers.
- Sleeping Bag: They can provide one for you, but some people like sleeping in their own. We knew we would get some cold nights, so I brought my Feathered Friends Murre Ex 0 Degree Bag. Jacob was okay with using the sleeping bag they provided and his Sea to Summit Liner for extra warmth.
- Sleeping Pad: We used the provided foam sleeping pads but wished we had brought our own. The ones we have are so much more comfortable, give you more cushion, super lightweight, and pack down smaller than many of the others we’ve tried.
- Water Bladder: We love these Platypus Big Zip ones because they are easy to fill and clean. You can also bring a water bottle (these are our favorite travel water bottles), but it’s not as easily accessible.
- Headlamp: Good if you need to go to the bathroom or walk around at night.
- Quick-Dry Towel: I like the cushier travel towels to dry my long hair, and Jacob prefers the light version to save space and weight.
- Personal Toiletries and Meds: Don’t overpack your toiletries, and consider the minimum of what you need. These have been our go-to toiletry bags.
- Ziplock Bags: We each had one for every day and extras to protect passports/phones. You need them to carry out any garbage or used toilet paper.
- Toilet Paper: You must bring your own toilet paper in case you need to use the restroom on the trail. We just rolled up some toilet paper from home and put them in a ziplock bag.
- Trekking Poles: REI Flash Carbon Trekking Poles worked great, were lightweight, and fit in our packs.
- Phone Charger: We each brought one phone charger, and our phones stayed alive the entire time. There wasn’t any service during your hike, so we kept our phones on airplane mode and only used them to take photos and videos. We also kept them in our sleeping bags on cold nights.
Camera Gear
- Camera: We brought our Canon 5D Mark III for photos and Sony RX100 Mark IV for video.
- DJI Drone: If you have a drone, take the opportunity to fly a drone in some amazing landscapes since it’s illegal in most beautiful destinations in the US.
- Camera Straps: We used the BlackRapid Backpack Sling with the Tripod Plate to keep our camera easily accessible.
- Lenses: We stuck with our 35mm for wide shots and 70-200mm for tight shots.
- Tripod: Go for a lightweight one.
- Batteries: Always prepare for the worst-case scenario. We brought one for each day.
- Charger: There is power at the Hot Springs.
Planning Checklist
- Get comprehensive insurance for your trip.
- Download these helpful language apps.
- Arrange a rental car for your trip.
- Get airport lounge access.
- Buy a travel charger to keep your devices charged.
- Get a new backpack for your trip.
- Pack the appropriate shoes for your trip.
- Don’t forget your in-flight essentials.
What is the most beautiful lake you’ve seen?
Did you enjoy this post? Pin it for later
SEE More International City Guides
⟡⟡⟡⟡⟡
“Discovery consists not of seeking new lands but in seeing with new eyes” – M. Proust

Esther + Jacob
Esther and Jacob are the founders of Local Adventurer, one of the top 5 travel blogs in the US. They believe that adventure can be found near and far and hope to inspire others to explore locally. They explore a new city in depth every year and currently base themselves in Las Vegas.
Follow on Instagram (E + J), YouTube, TikTok, and Pinterest.