Want to see the Northern Lights? Here’s what you need to know.
If you’re visiting Iceland during the winter, then you either really love snow and ice or you’re there to see the Northern Lights. We live in San Diego and love the idea of snow (it’s pretty at first), but we’re not fans of cold weather for weeks at a time. Though we would have much preferred Iceland’s summer landscapes, photographing the Northern Lights has been a dream bucket list item of ours. And since Northern Lights will be dimming for the next decade, we had to book a winter trip ASAP.
Even though we did some research prior to our trip, we still didn’t know what to expect when we were trying to hunt them down. Now we know what to look for, and if you’re planning a Northern Lights trip, here are some tips you might find helpful!
This post may contain affiliate links, where we receive a small commission on sales of the products that are linked at no additional cost to you. All opinions are always our own. Read our full disclosure for more info. Thank you for supporting the brands that make Local Adventurer possible.
Last Updated: January 27, 2024
How to See the Northern Lights
I remember watching Brother Bear and still thinking the Northern Lights were made of magic rather than being a scientific phenomenon. It’s more fun thinking of it that way, but it’s actually caused by solar particles colliding with the Earth’s atmosphere and emitting burning gases (oxygen gives you yellow and green and nitrogen gives you blue colors). SCIENCE!
1. Know Where to Book Your Trip
The Northern Lights are most visible at high latitudes because that’s where the Earth’s magnetic field is the strongest. To see the Northern Lights (aurora borealis), you must go to the Arctic Circle – which includes Alaska, northern Canada, Greenland, Iceland, Norway, Sweden, Finland, and Siberia). Likewise, to see the Southern Lights (aurora australis), you go to the Antarctic Circle.
You can book a Northern Lights tour where they take care of the logistics of time and location, but because of the unpredictable nature of the aurora combined with the unpredictable weather in Iceland, we opted out from taking a tour. You can maximize your time when you seek out spots on our own. Our first night, the tour bus left as we were shooting during strong activity
2. Know When to Go
Year: The Northern Lights are always around, but depending on the activity of the sun, it goes through a cycle where it’s brighter and dimmer. 2024 is supposed to be one of the best years in more than 20 years to see the Northern Lights.
Month: Statistically, the best aurora activity is in September and March, but it’s also good during the winter months (October-February) when it’s dark.
Day: There is a 28-day prediction technique. The sun revolves on its axis every 27-28 days, so if you see that there was an active aurora night (such as last Sunday – the day we flew out BOOO!), mark that on your calendars. If the same spot on the sun is active, you will see it again in the next rotation.¹
Hours: The peak hours are from 11pm to 2am, but we’ve seen activity around 9pm. It can happen anytime it’s dark, so we ventured out during sunset.
3. Check the Weather & Activity Charts All the Time
We used this chart for Iceland to plan, but you can google “aurora forecast + your location” to see the activity level and the expected cloud coverage. On this chart, you’re hoping to get white areas near you which means clear skies! Since the weather in Iceland is so unpredictable, the chart is constantly changing, so plan your time accordingly. Some nights we drove out a few hours away where it was predicted to have less cloud coverage, and some nights we thought chances were good ended up changing a few hours later. Also, as with any weather predictions, it’s not 100% accurate. Some nights we left empty handed even though the forecast looked promising, and some nights ended up clearer for much longer than predicted.
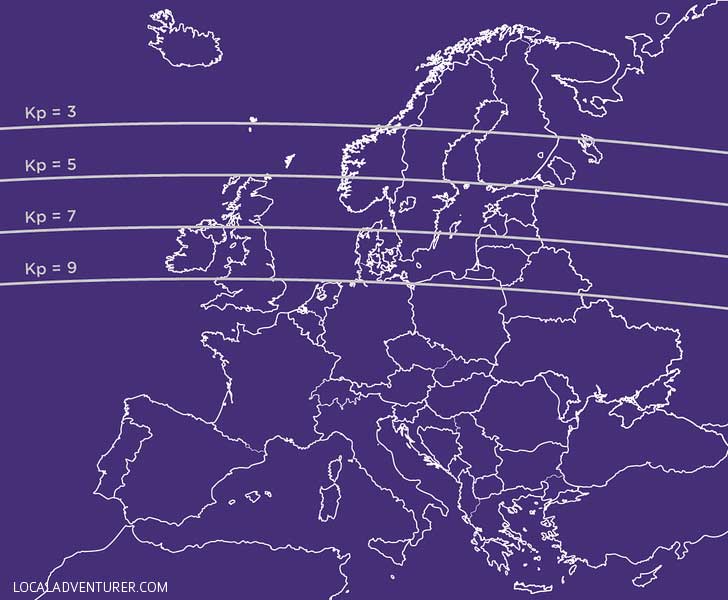
In southern and west Iceland where we were, the Kp aurora activity had to be a 3 or more to see the Northern Lights. It’s not precise since the aurora is so unpredictable, but these maps can be a general guide for how far north you need to be to view them. When it’s Kp 5 or above (a geomagnetic storm), you can even see the Northern Lights at lower latitudes.
4. Go Out to Dark Locations But Scout it Out in the Daytime
If you want the best viewing of the Northern Lights, drive out to the clearest, darkest spots (away from the city lights). Both nights that we saw them, we drove 1.5-2 hours away from our hotel. Also, if you’re planning on photographing them, you may want to scout locations. If you’re going to your spot for the first time, it can turn into quite an adventure trying to find it the dark. Sometimes, you don’t know what you’re stepping in or on or if any moment you might be falling through the ice to your doom.😅 Also, don’t forget your headlamp like we did!
5. Know Which Direction is North
This may sound simple, but just be sure you’re looking at the right part of the sky. We used the direction of the sunset to find the North, but you can also bring a compass with you.
6. If You’re Not Sure, Take a Photo!
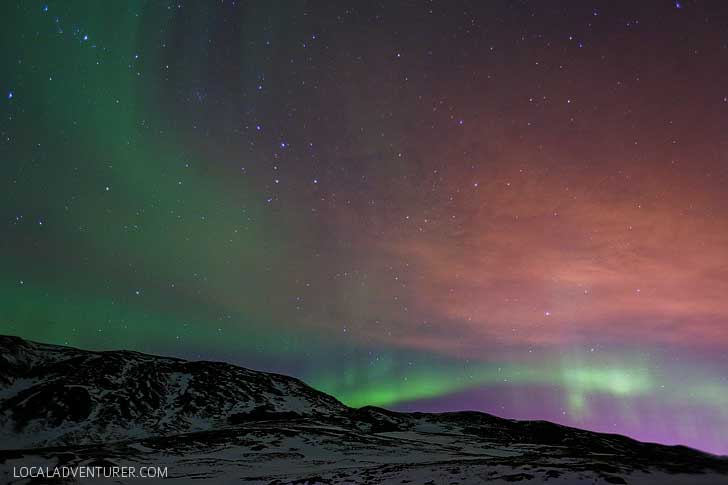
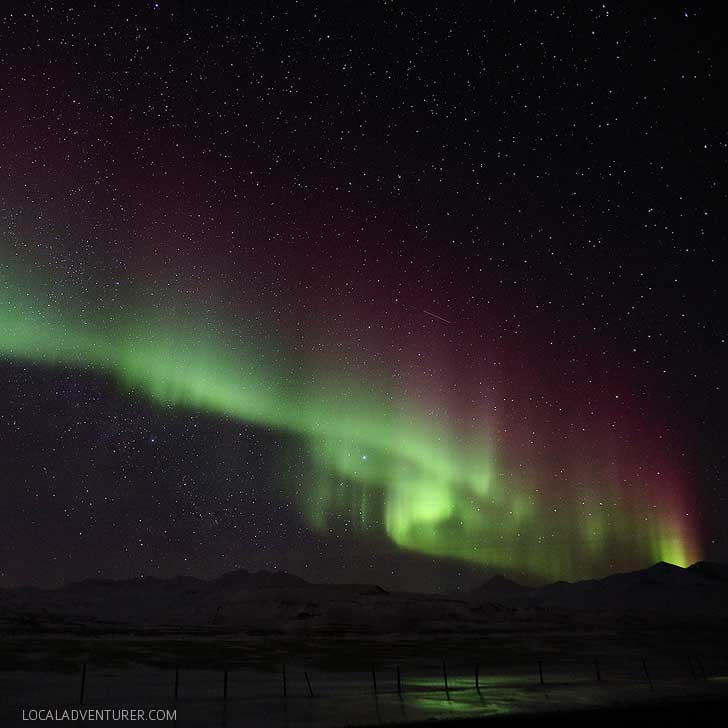
This one’s for you photographers out there. Before our trip, our friends told us how disappointed they were with their Northern Lights experience. When there is low activity, it can be difficult to spot and will look like strange moving clouds or a gray mist. There were times we weren’t sure what we were seeing, but when we took the photo, it was clearly green! If there is high activity, however, there is no way you can miss them. This was one of our first photos with low activity:
7. Stay on the Lookout and be Prepared
I was nervous that a flare might only last a couple of seconds, and I’d miss it, but it lasted much longer than expected. You still should have all your camera settings ready, but you have time to change your focus and adjust.
The first night lasted about an hour where they went in and out, and our second night lasted for 5+ hours. It was still there after our long drive home. Also, keep looking towards the north sky during your drive. You may want to pull over!
8. But Also Be Very Patient (& Bring Some Entertainment)
The wait was the biggest challenge for us. I now have a much deeper respect for landscape and nature photographers. Here, you are sitting for hours and HOURS at a time. The worst part is that you won’t always be rewarded for your patience. Some people wait all week and get nothing.
After you set up your gear, it might also be a good idea to bring something to entertain yourself. While we waited for the clouds to clear up, we watched UP in our car (fave movie ever to put us in an adventurous spirit!).
If you want a specific landmark in the foreground of your photo, you might want to sit tight. We stayed in our ideal photo spots for 3+ hours, and when they dimmed we decided to leave. Too bad we left prematurely because we were greeted with a second, even brighter showing during our drive home. We immediately pulled over to the side of the road.
9. Bring the Right Gear
Bring plenty of layers to stay warm and dry. It also helps to have hand and toe warmers. If you plan to stake out the best spot to shoot, don’t forget to bring something to sit on. You don’t want to sit in the snow for hours. A backpack or something waterproof should suffice. You can see how we layered up from our Iceland winter packing list.
See More: What to Pack for Iceland in the Winter
10. Don’t Wait Until the Last Day
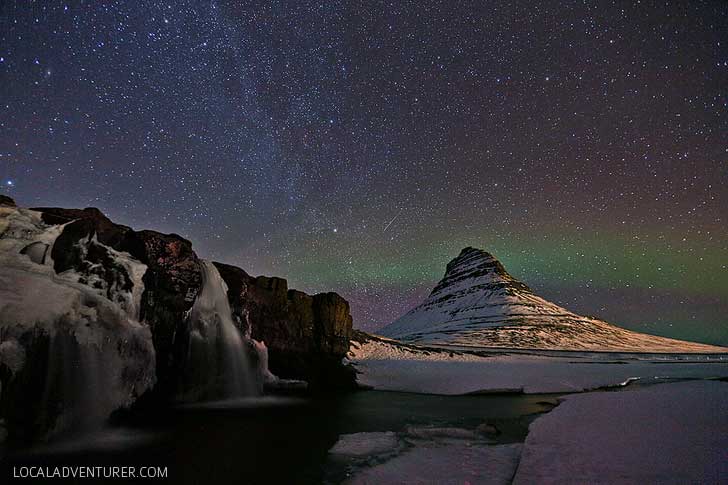
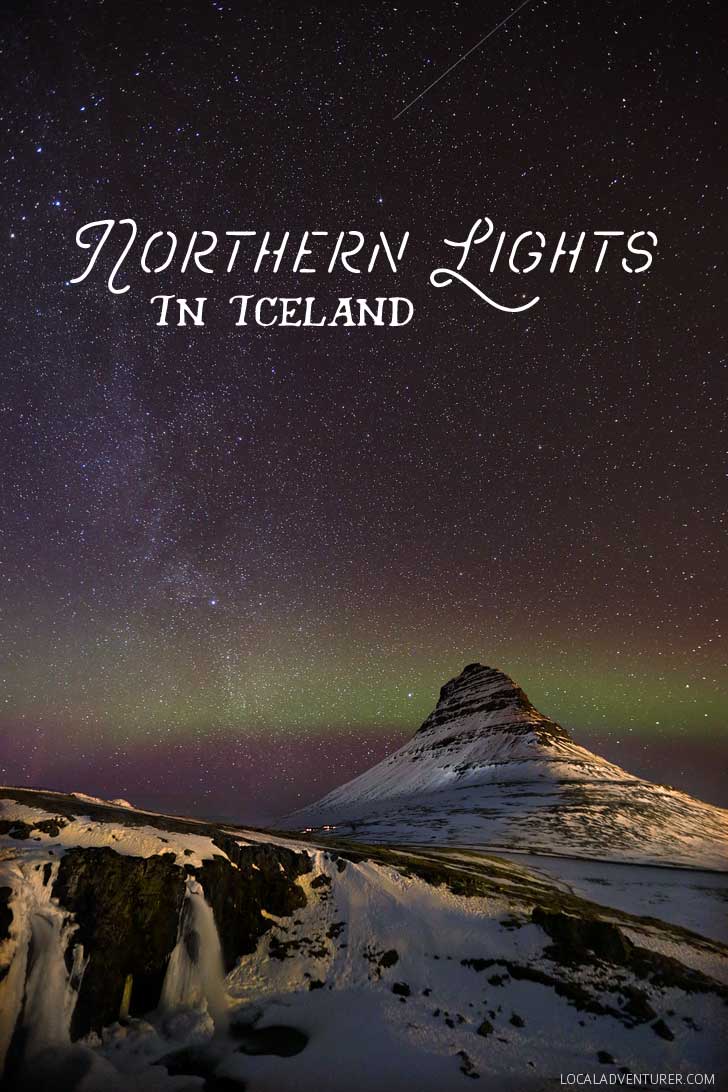
Out of the seven nights, we tried to see the Northern Lights 4 nights, and only 2 were successful. Some of our friends told us they tried all week and didn’t see anything. Check the weather as soon as you arrive, and go gazing every night that you can. After one of our long days out, we made a last-minute decision to drive 4 hours round-trip to Kirkjufell. It was going to be one of the clearest nights. Even though we got back at 2 am, it was worth seeing the lights! Also, if you’re booking a Northern Lights tour, oftentimes tour companies will let you go on another tour if it was a fail.
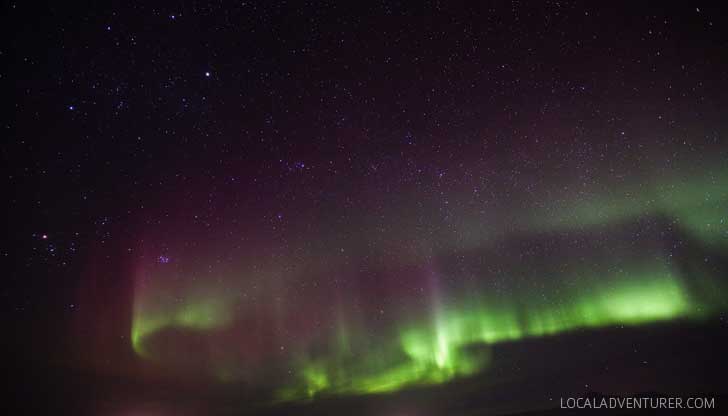
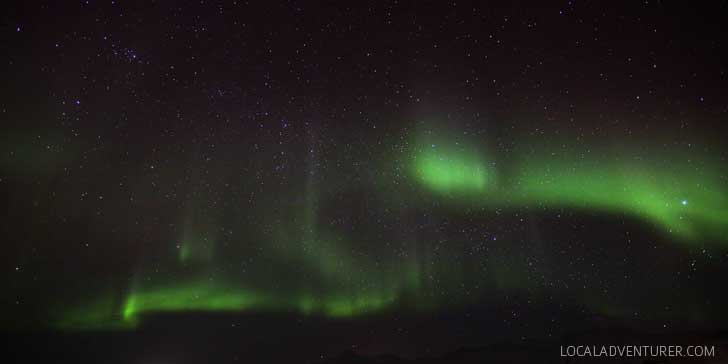
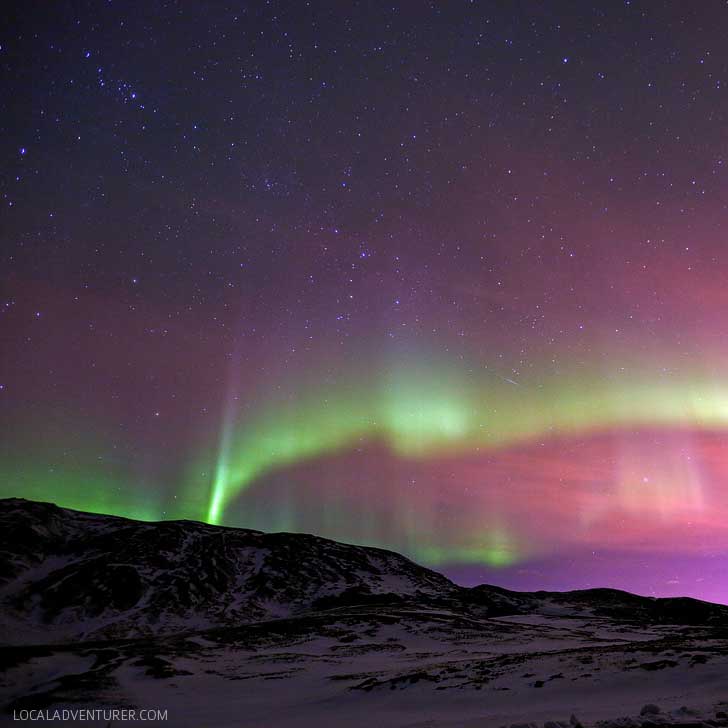
Though we didn’t get to photograph the northern lights in our ideal shooting locations, it was still magical. Of course, the most epic display happened the day we left.
We’re pumped to go back out in 2024/2025! Where shall we go? Norway? Alaska?
Where is your dream destination to see the Northern Lights?
Did you enjoy this post? Pin it for later

SEE More International City Guides
⟡⟡⟡⟡⟡
“Discovery consists not of seeking new lands but in seeing with new eyes” – M. Proust

Esther + Jacob
Esther and Jacob are the founders of Local Adventurer, one of the top 5 travel blogs in the US. They believe that adventure can be found near and far and hope to inspire others to explore locally. They explore a new city in depth every year and currently base themselves in Las Vegas.
Follow on Instagram (E + J), YouTube, TikTok, and Pinterest.
