 Pin
PinThis post may contain affiliate links, where we receive a small commission on sales of the products that are linked at no additional cost to you. All opinions are always our own. Read our full disclosure for more info. Thank you for supporting the brands that make Local Adventurer possible.
Last Updated: June 23, 2020
Materials Needed for Your DIY Cat Teepee
You only need different items to make your own teepee.
- One 4 ft x 6 ft Mexican Blanket or any fabric of like thickness
- Five Dowels (0.625 in x 36 in)
- 1-5 Safety Pins
- 2 ft of twine or leather cord (leather will look nicer, but we used what we had)
Directions For Making your DIY Cat Teepee
We’ve broken down the process into simple to follow steps with photos to help you as well.
Step 1: Set up the Dowels
Start with the twine stretched on the ground. Lay down 2 two dowels side-by-side perpendicularly over the twine, and lay 1 dowel over them parallel to the twine.
Step 2: Tie a Figure 8
Wrap the twine around the dowels in a figure 8 knot (see photos and the diagram below). Tighten the twine and tie a knot to secure them in place.
Step 3: Stand Up Your Frame
Stand the dowels up to create a tent, add the two other dowels, and spread them out evenly.
Step 4: Secure the Frame
Wrap the remaining twine around all 5 dowels (there isn’t any particular knot, just wrap it around until it’s securely in place) tie a double knot at the end.
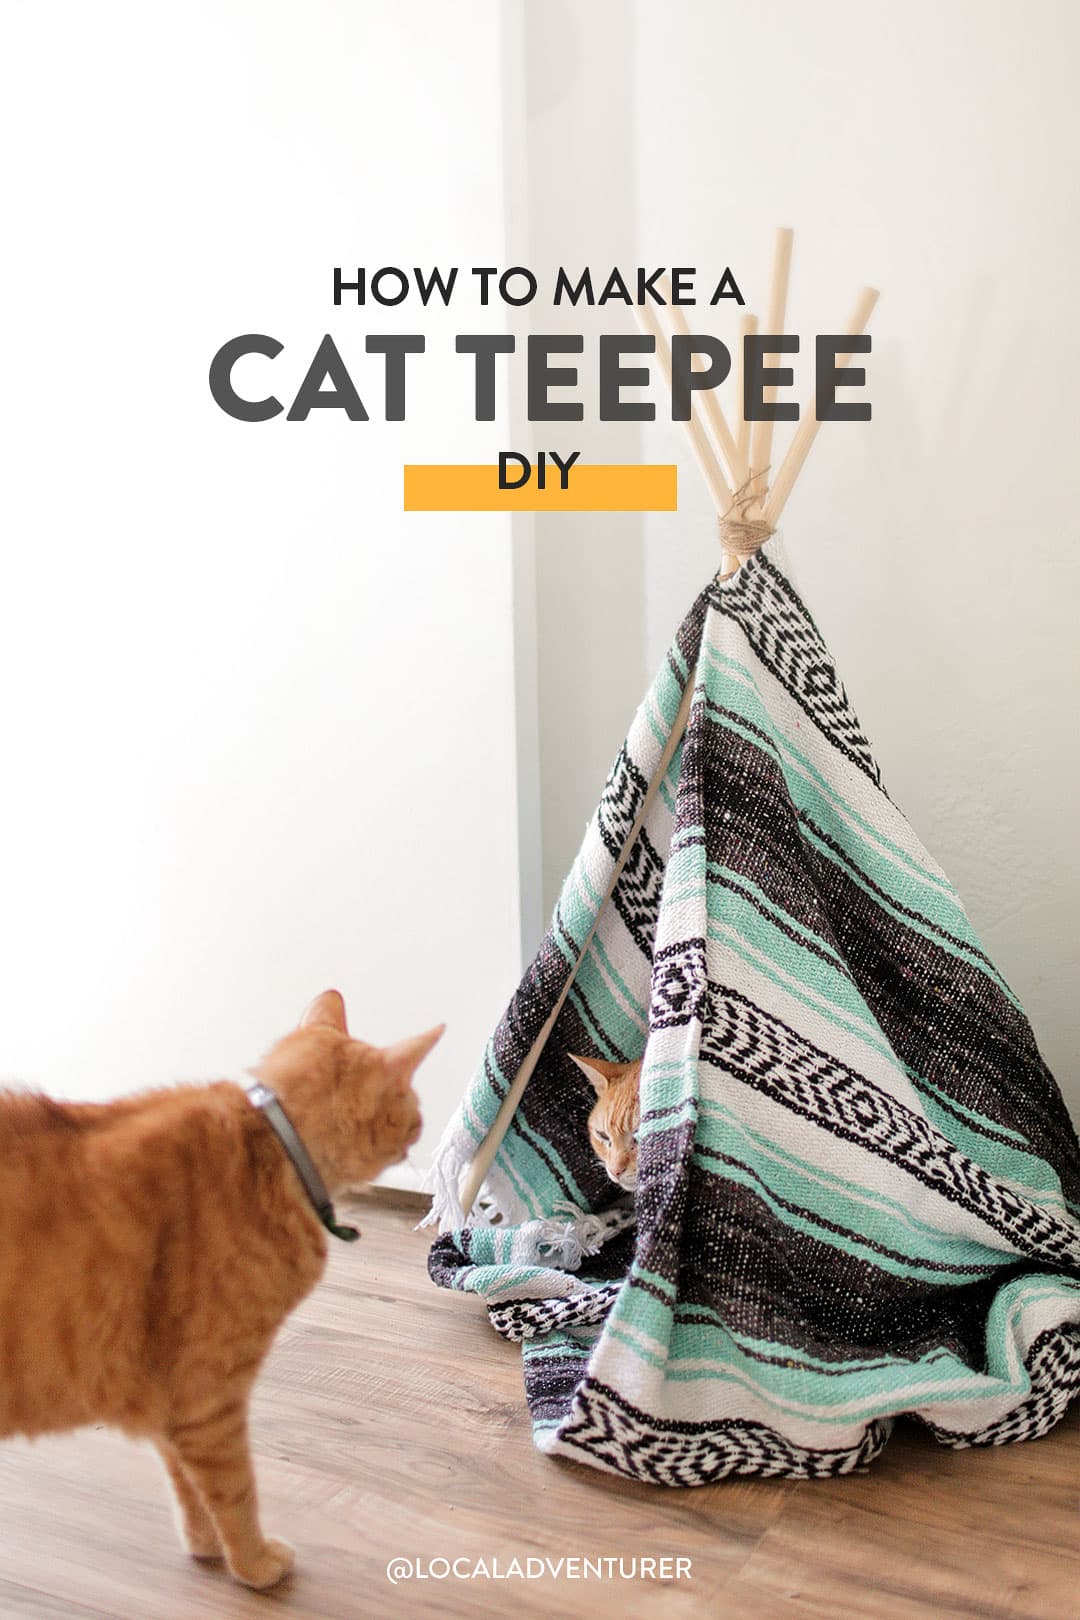
Step 5: Wrap the Blanket
Fold the blanket in half long ways. Wrap it around the structure and tuck the remainder insides as a floor. (Note: Some tutorials will have you cut the blanket into a circle to fit perfectly. We didn’t want to ruin a perfectly good blanket, and I didn’t mind the extra fabric being tucked under.)
Step 6: Secure the Blanket
Safety pin the tip to hold it securely together. You can also add an additional safety pin on the opening to create a flap.
Step 7: Final Touches
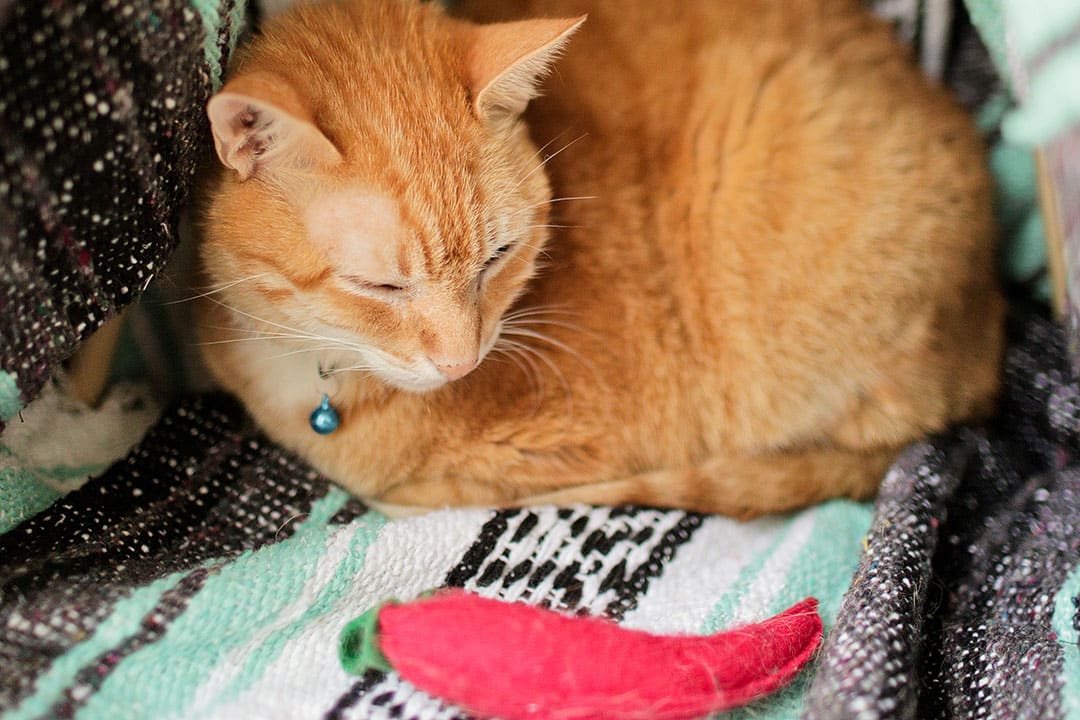
Place it where you want in your home, and add their favorite toys.
More Resources
- 1
- 2
- 3
Any DIY project you’ve been working on lately? Do you have pets?
Did you enjoy this post? Pin it for later
SEE MORE DIY PROJECTS
⟡⟡⟡⟡⟡
“Discovery consists not of seeking new lands but in seeing with new eyes” – M. Proust
 Pin
PinEsther + Jacob
Esther and Jacob are the founders of Local Adventurer, which is one of the top 5 travel blogs in the US. They believe that adventure can be found both near and far and hope to inspire others to explore locally. They explore a new city in depth every year and currently base themselves in Las Vegas.


