We meant to post this portable hangboard DIY a couple years ago while we lived in our tiny NYC studio apartment but what better time than now.
Although we had this set up for a while, since we’ve always lived conveniently close to a gym, we haven’t used it much as we would have liked… until now. It’s been part of our daily routine to keep up some of our finger strength.
 Pin
PinThis post may contain affiliate links, where we receive a small commission on sales of the products that are linked at no additional cost to you. All opinions are always our own. Read our full disclosure for more info. Thank you for supporting the brands that make Local Adventurer possible.
Last Updated: March 30, 2020
Easy Portable Hangboard DIY
We are by no means super handy people, but this is a really easy set up that anyone can make at home. It ends up fitting in most door frames and you can easily put it away when you’re not using it.
This is especially great if you live in an apartment and don’t want to put holes in your walls.
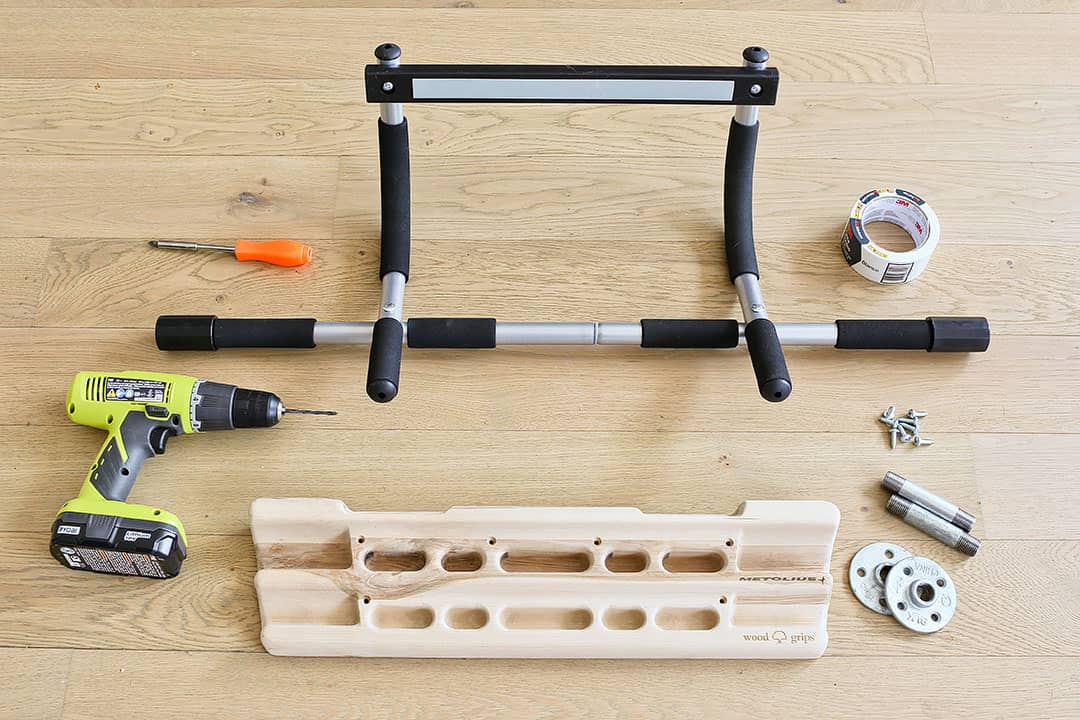
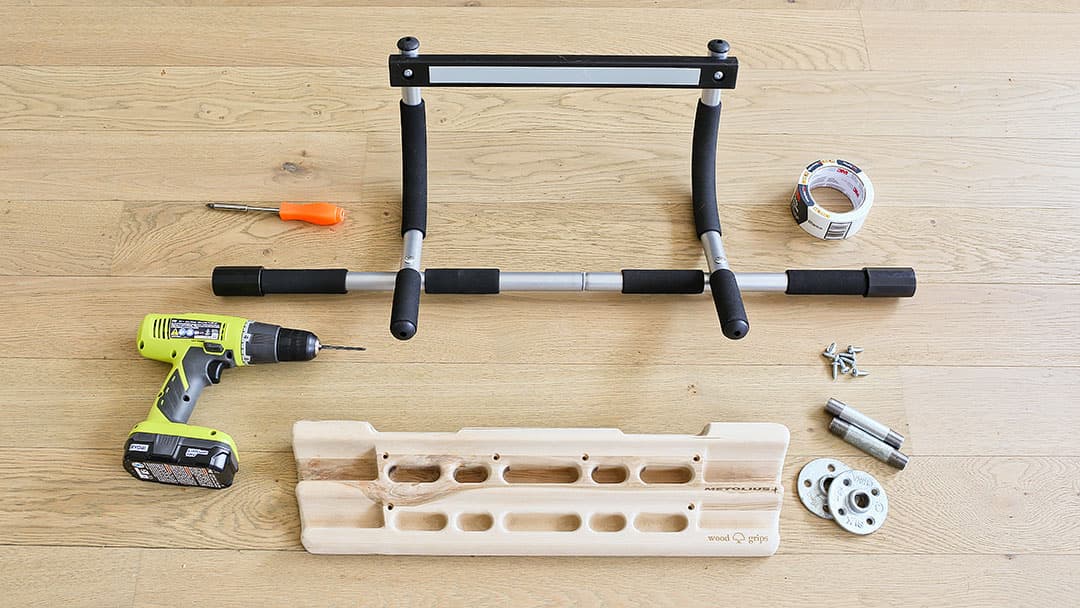
Supplies You Need to Make a Portable Hangboard
- Wooden Hangboard
- Option 2: Rib Hangboard
- Option 3: Plastic Hangboard (requires additional piece of wood to mount)
- Pull Up Bar
- White Duck Tape
- 2x 1/2 Inch Galvanized Flange
- 2x 1/2 Inch x 4 Inch Galvanized Steel Nipples
- 8x Size 14 Screws (roughly 3/4 inch)
- Screwdriver
- Drill
- Pencil
 Pin
PinInstructions
Step 1: Put together the pull-up bar. The instructions included with it are very easy to follow.
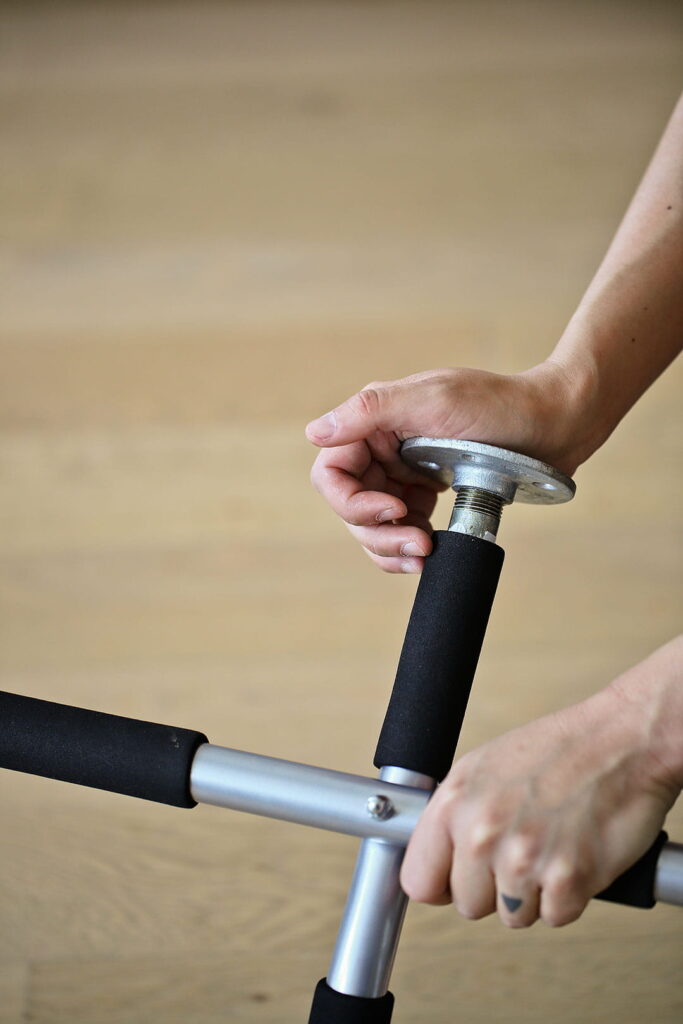
Step 2: Attach each of the 1/2 Inch x 4 Inch Galvanized Steel Nipples to the 1/2 Inch Galvanized Flanges.
Step 3: Remove the caps of the forward-facing bars on the pull-up bar. When you insert the Galvanized Steel Nipples, they will be loose, so use a layer or two of duck tape to make sure that it fits tightly (do it layer by layer to ensure you don’t put too much tape on). It shouldn’t fall out when you shake the bar upside down.
Step 4: Measure and mark where the screws will go on the back of the hangboard. To make sure that the screws don’t poke out, mark a long line where the board is thickest.
Note: If you have a plastic hangboard, you need an additional piece of wood to go between the pull-up bar and the hangboard. This piece of wood is where you would measure all the holes.
 Pin
Pin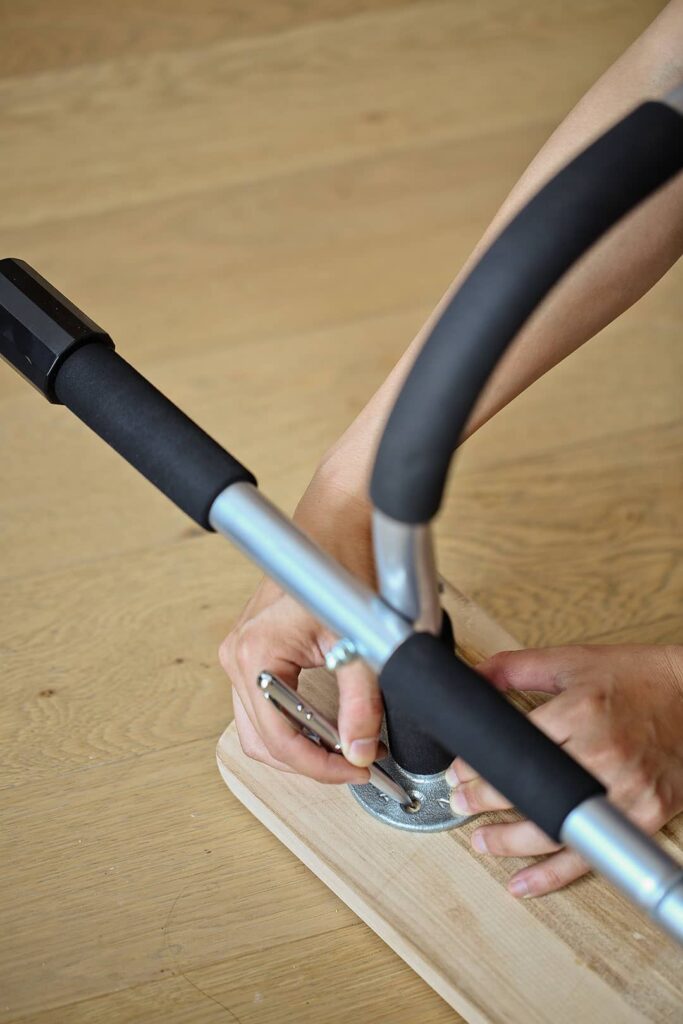 Pin
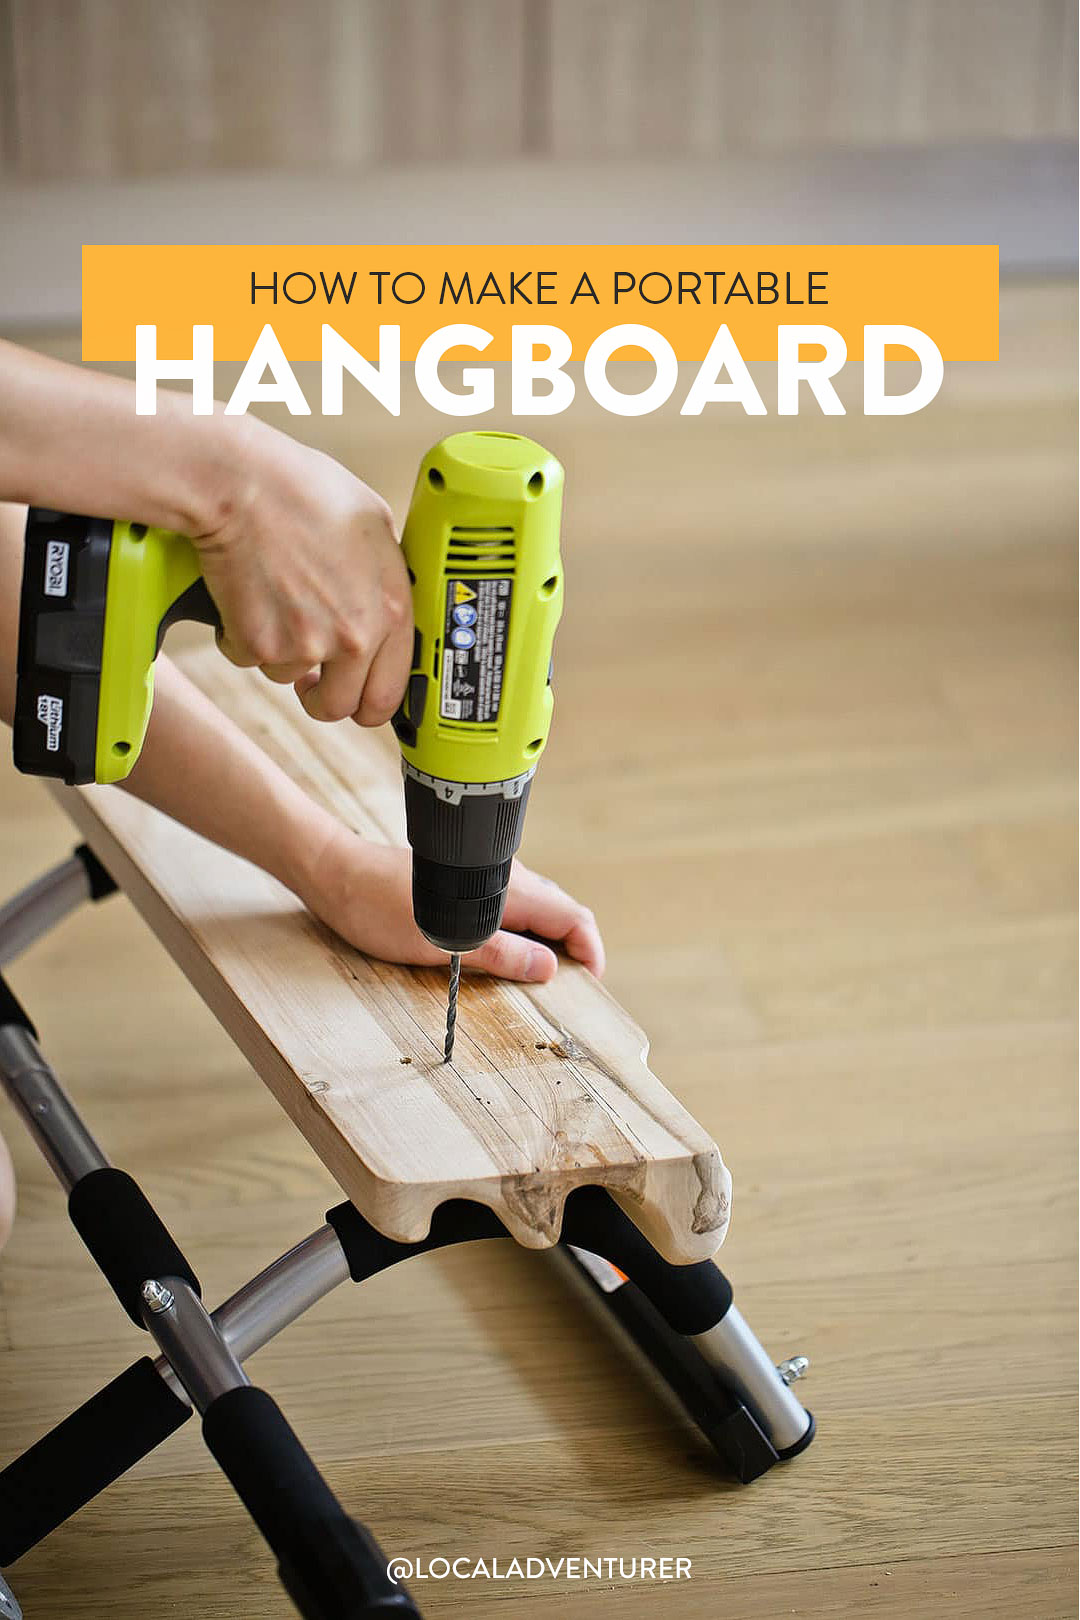
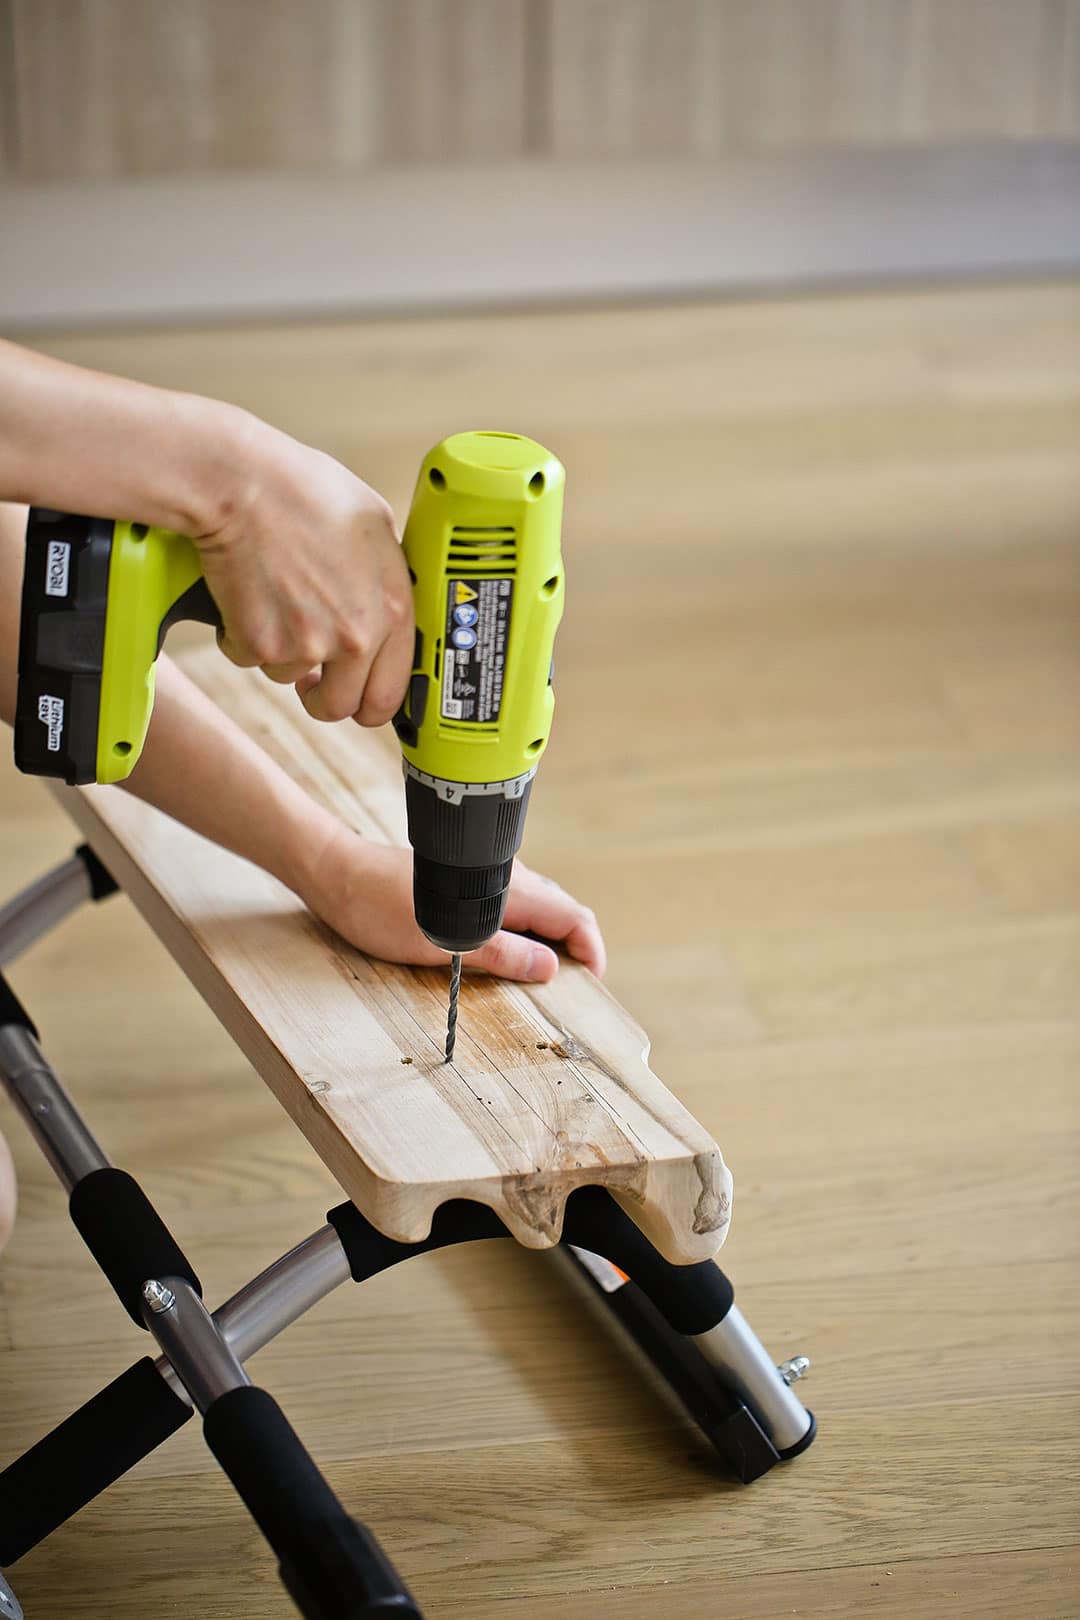
PinStep 5: Drill pilot holes where the screws will go so that the wood doesn’t split. They don’t need to be deep.
Step 6: Screw the hangboard to the pull-up bar and you’re done!
Optional: Wrap the ends of the pull-up bar with white duct tape so they don’t leave black marks on your door frames.
 Pin
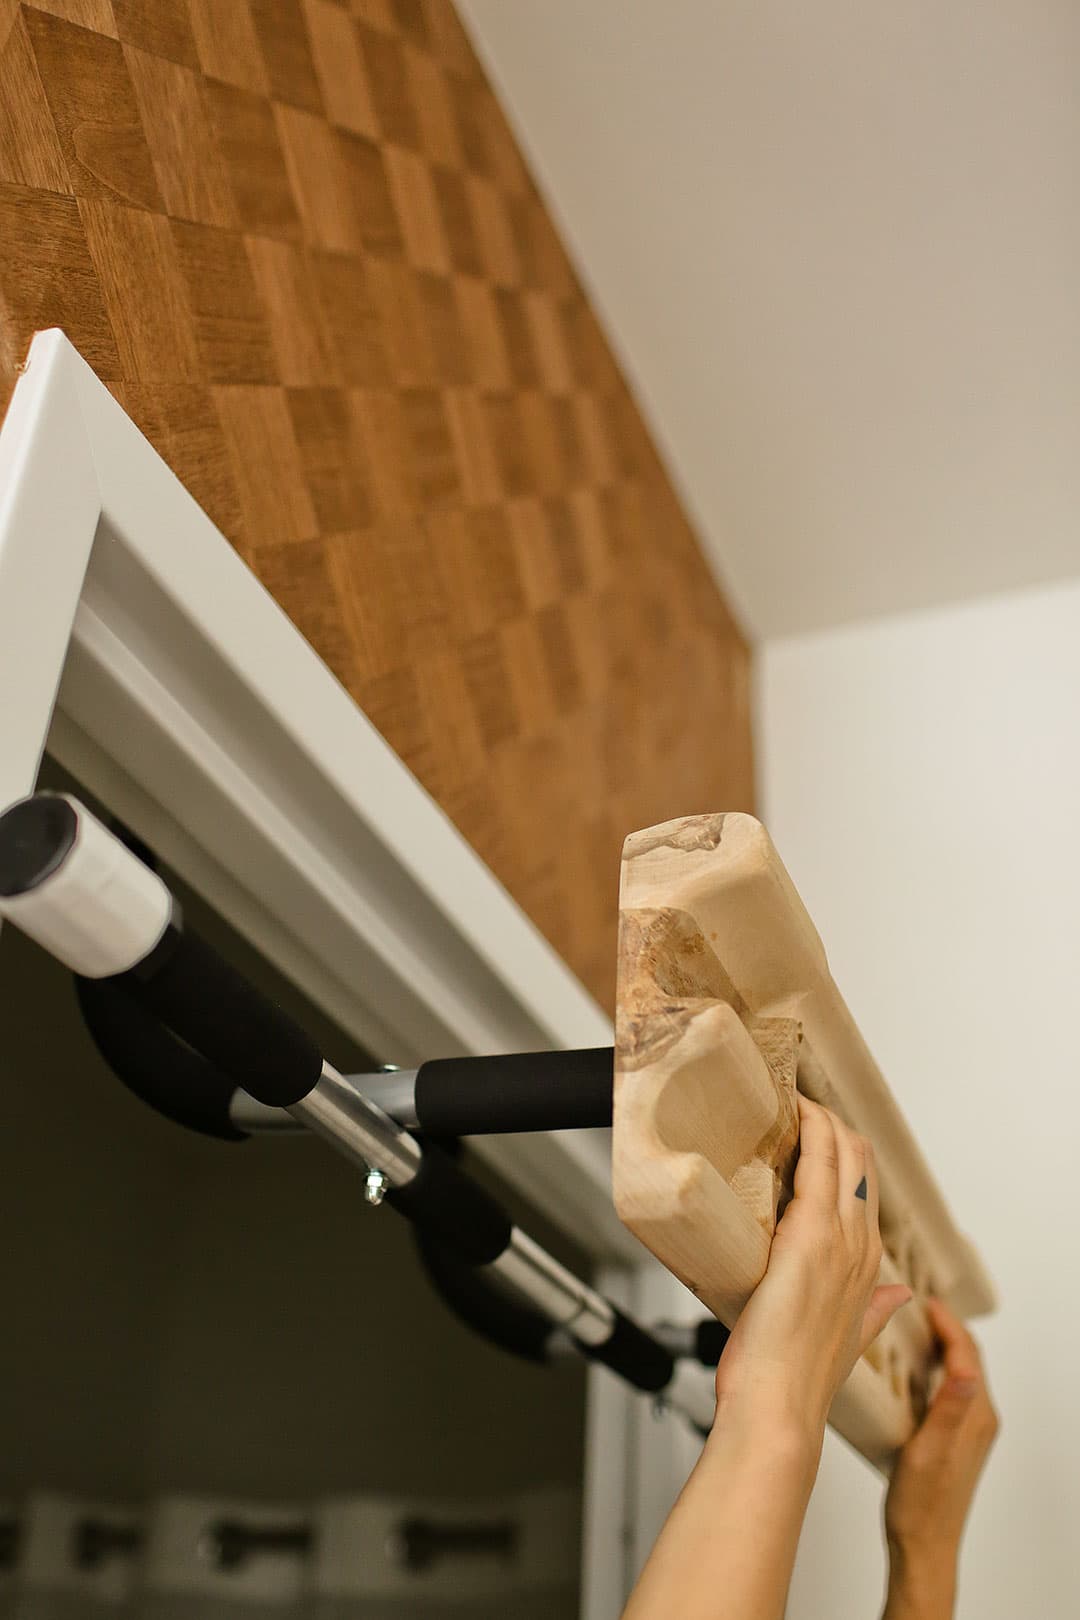
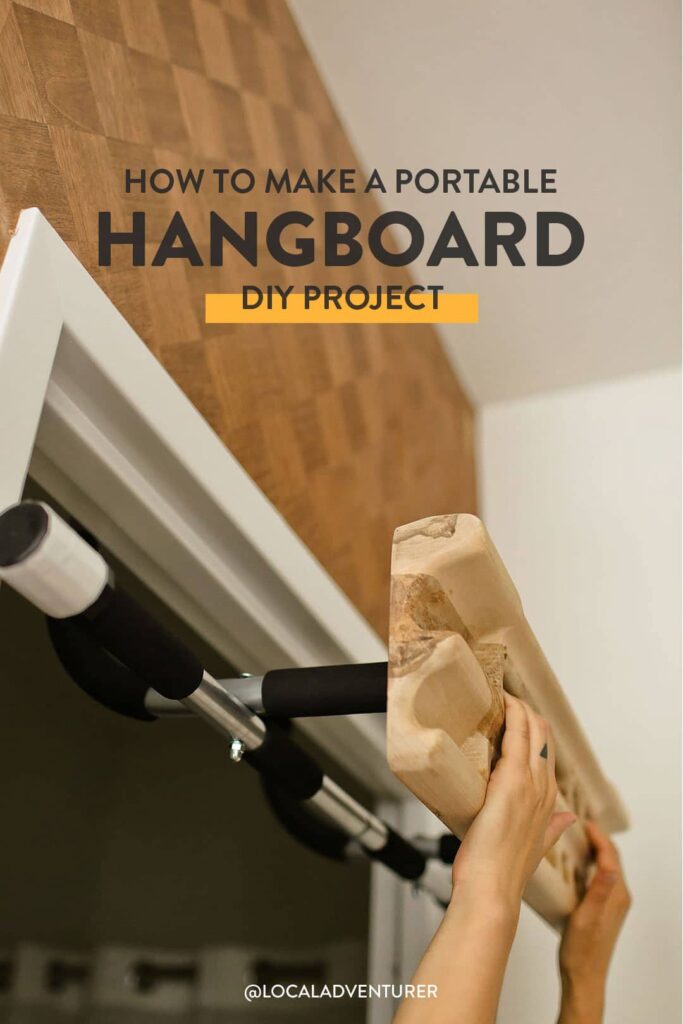
PinOnce you have it built, you can hang it on any door frame in your house and train your fingers. You can even still use the pull-up portion from the reverse side.
 Pin
PinVideo Tutorial for The Portable Hangboard DIY
If you need more visuals, check out the video below.
Basic Finger Strength Exercises
Here are some basic finger strength exercises from our physical therapist, Jennifer from Onsight Movement.
Before You Begin: A hangboard is a tool used by those with some rock climbing experience already under their belt (at least 1-2 years of rock climbing is recommended).
It takes time for the tendons in our fingers to adapt to this type of exercise, and our finger tendons are strengthened over time as consistent stress is placed upon them. If you are new, consider using modifications as described below to avoid injuring yourself.
To see if you’re ready, try hanging on a large 4-finger edge with good form, using both arms for at least 10-15 seconds. If you are unable to hang onto the largest edge for this timeframe, start with a pull-up bar or jugs until you are ready to progress.
Make sure you hang with good form by engaging your upper body, gazing straight ahead, and maintaining a slight bend in your elbows. Remember to warm up properly prior to beginning this routine.
Now that you’ve figured out where to start, here are a few simple ways to use a hangboard at home:
1. Repeaters
Hang on a 4-finger pocket for 7 seconds, rest 3 seconds. Repeat x5 reps. Rest 2-3 minutes and repeat this sequence for 3 sets.
If you are new to climbing or using a hangboard for the first time, hang on jugs or a bar for 10 seconds, rest 1 minute.
Repeat x3. Perform this x2 per week. Progress by using a smaller hold type.
2. Hangs To Failure
Start with the jugs or a bar if you are a beginner, or a large 4-finger pocket if you have experience. Hold your position for as long as possible, ideally failing within about 30 seconds.
If you’re able to hang on way longer than 30 seconds, increase the difficulty of the hold by choosing a smaller one.
Rest 2-3 minutes, and repeat x3.
3. One-Arm Pulls
During this exercise, you’ll be keeping your feet on the ground. Select the jug or bar for beginners, and a 4-finger pocket if you have experience. Using one arm, ramp up slowly and pull as hard as possible over a 5 second period. Rest a moment, and perform the other side. While pulling, your elbow should be at a 90-120 degree angle.
Performing one on each side is one set. Perform 3 sets total, resting 2-3 minutes between attempts. If you are able to lift yourself off the ground completely, you can increase the difficulty by choosing a smaller edge size.
Pro Tip: Standing on a bathroom scale while performing this exercise will give you a good estimate of your one-arm peak force, as well as a way for you to measure progress!
About Jennifer
Jennifer is a physical therapist, college professor, and rock climber in Las Vegas, Nevada. She is a graduate of the University of Maryland School of Medicine with a Doctorate degree in Physical Therapy.
Jennifer is the owner of Onsight Movement, a physical therapy practice located in Las Vegas, Nevada dedicated to treating rock climbers. She also serves as an Adjunct Faculty at the College of Southern Nevada teaching Anatomy & Physiology.
Jennifer is a member of the American Physical Therapy Association’s Orthopedic Section and holds a certification in Dry Needling from the American Academy of Manipulative Therapy. When not practicing physical therapy, Jennifer can be found climbing in Red Rocks or the surrounding areas and spending time with her fiance, Dylan.
Disclaimer: This website does not provide medical advice and does not direct that you undertake any specific exercise or training/rehabilitation regimen. Consult with a professional before undertaking any information found on this website.
More Resources
- How to Build a Home Climbing Wall
- Easy to Install Bouldering Panels (use code: “localadventurer” for 5% off your order)
Do you have a portable hangboard setup? How have you been training during this time?
Did you enjoy this post? Pin it for later
 Pin
Pin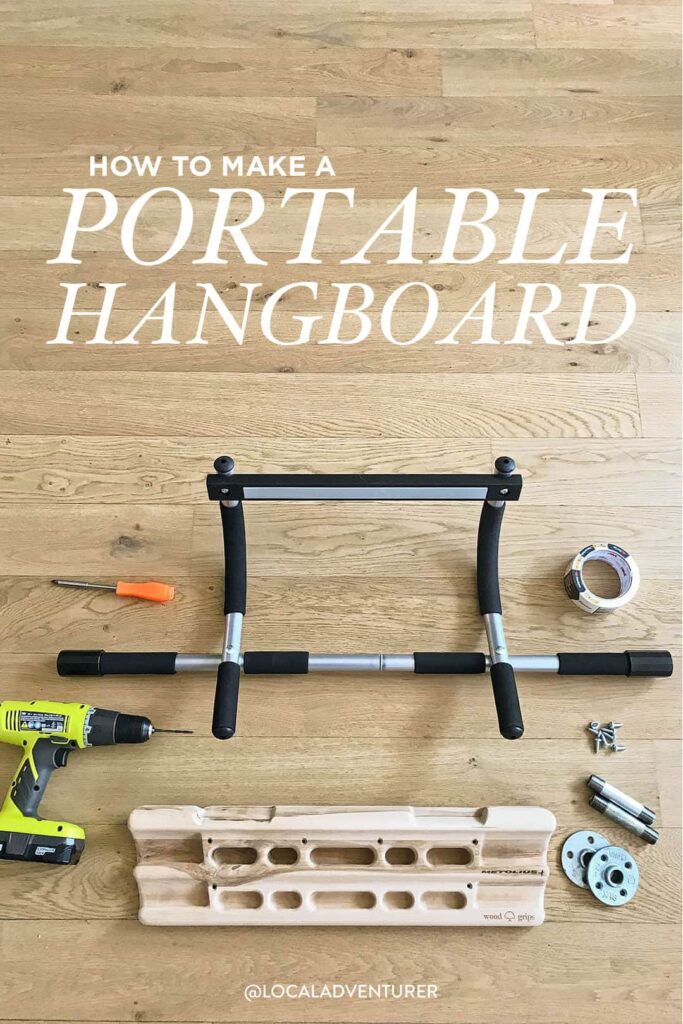 Pin
Pin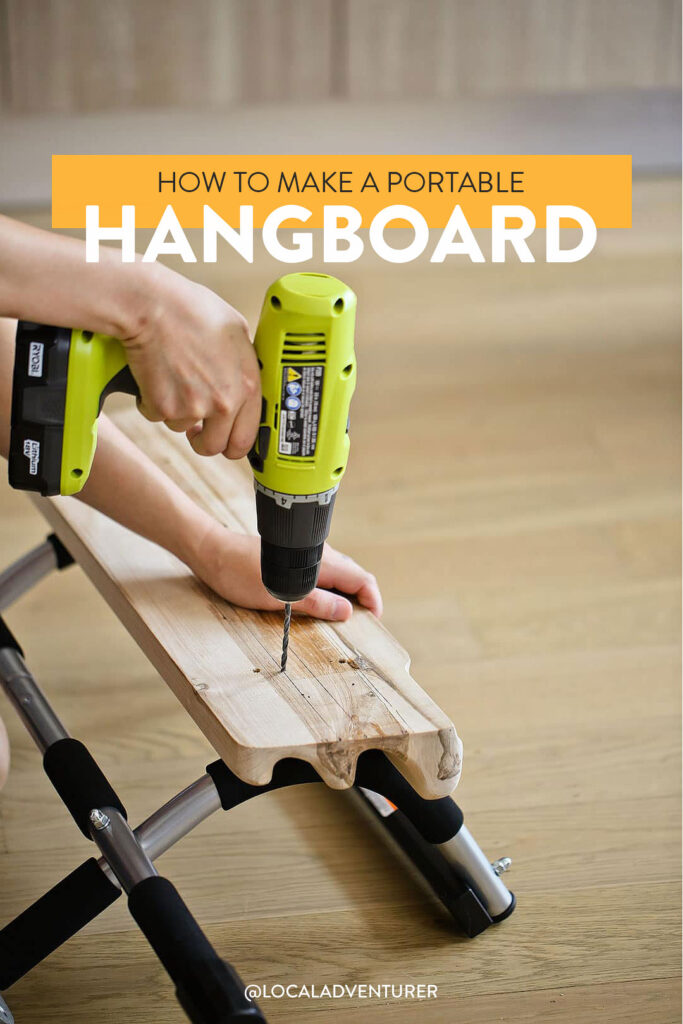 Pin
Pin Pin
PinEsther + Jacob
Esther and Jacob are the founders of Local Adventurer, which is one of the top 5 travel blogs in the US. They believe that adventure can be found both near and far and hope to inspire others to explore locally. They explore a new city in depth every year and currently base themselves in Las Vegas.

