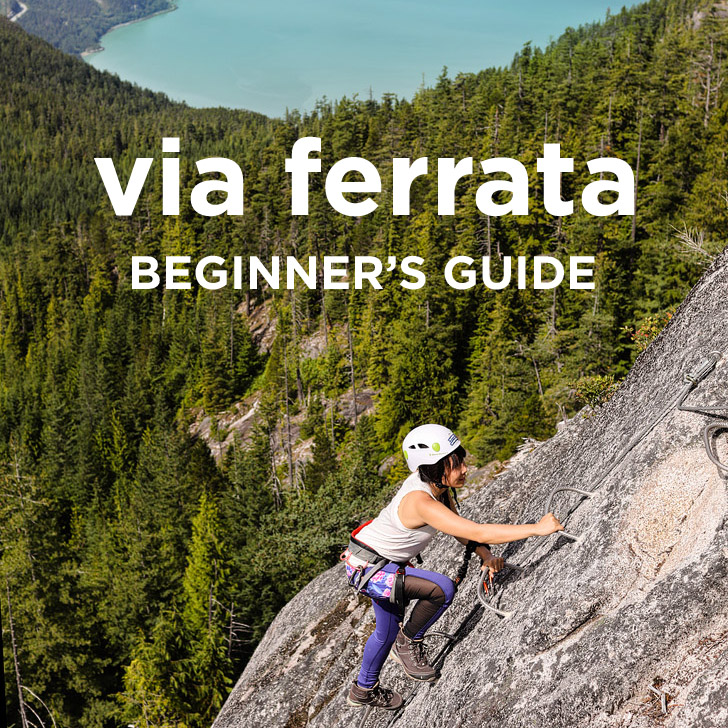
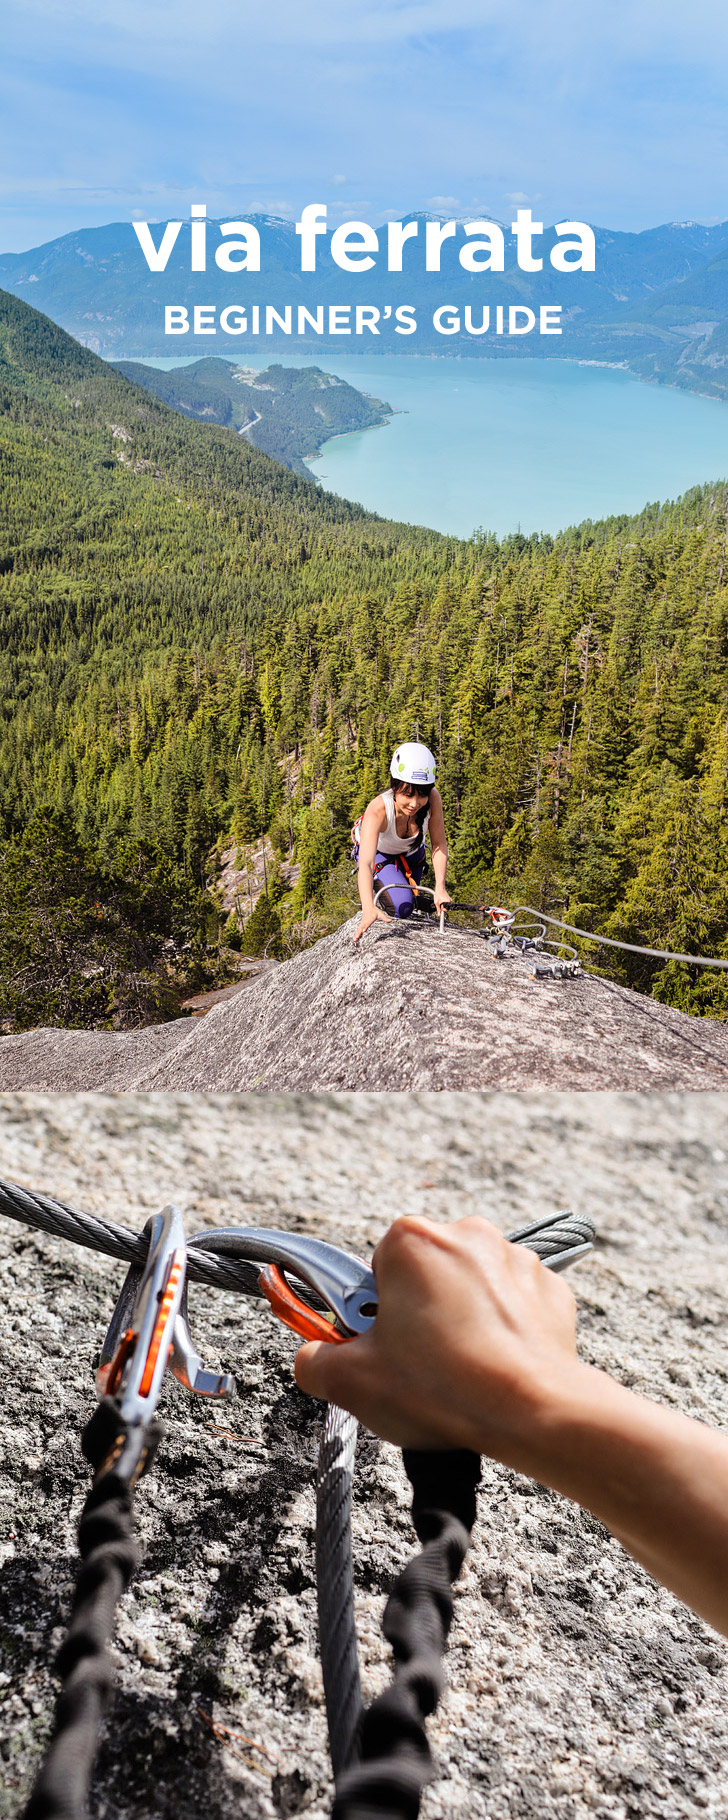
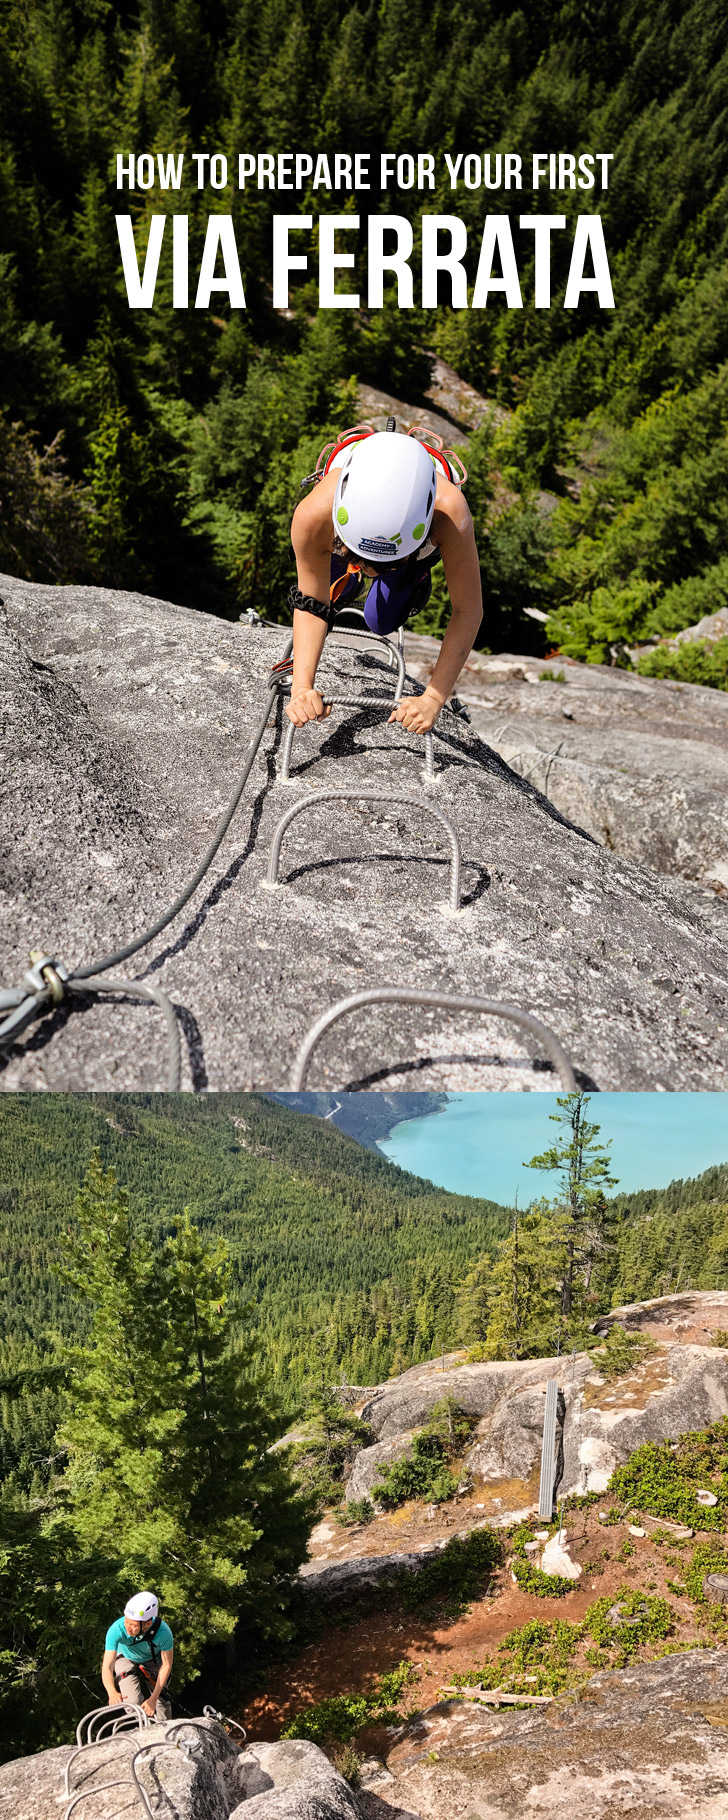
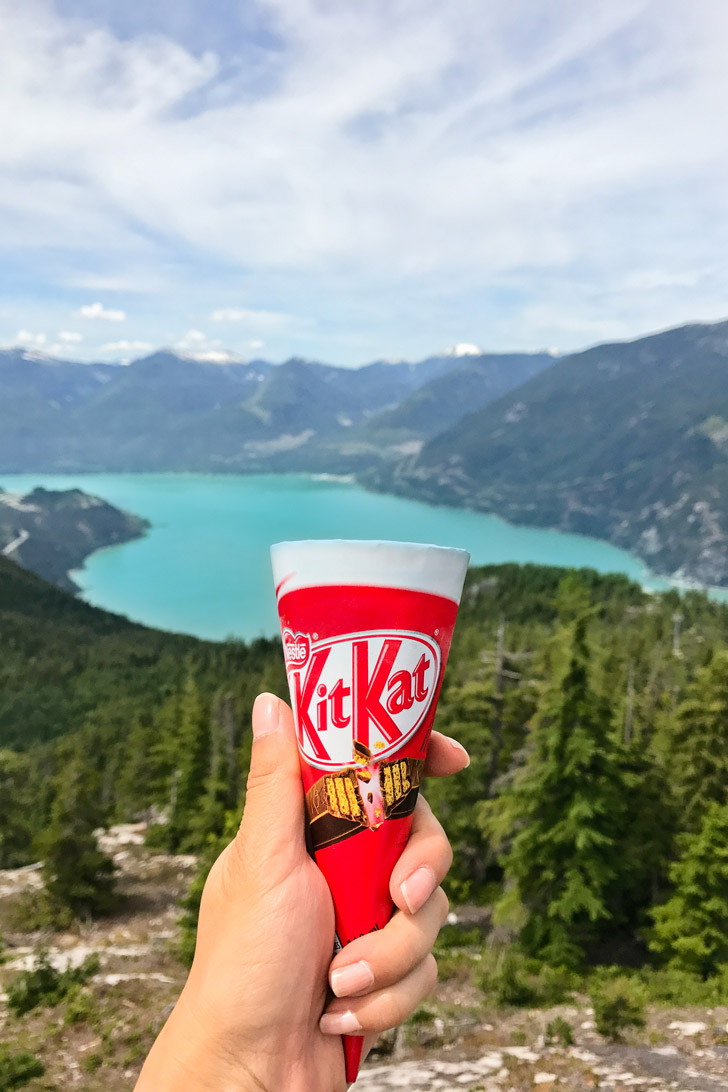
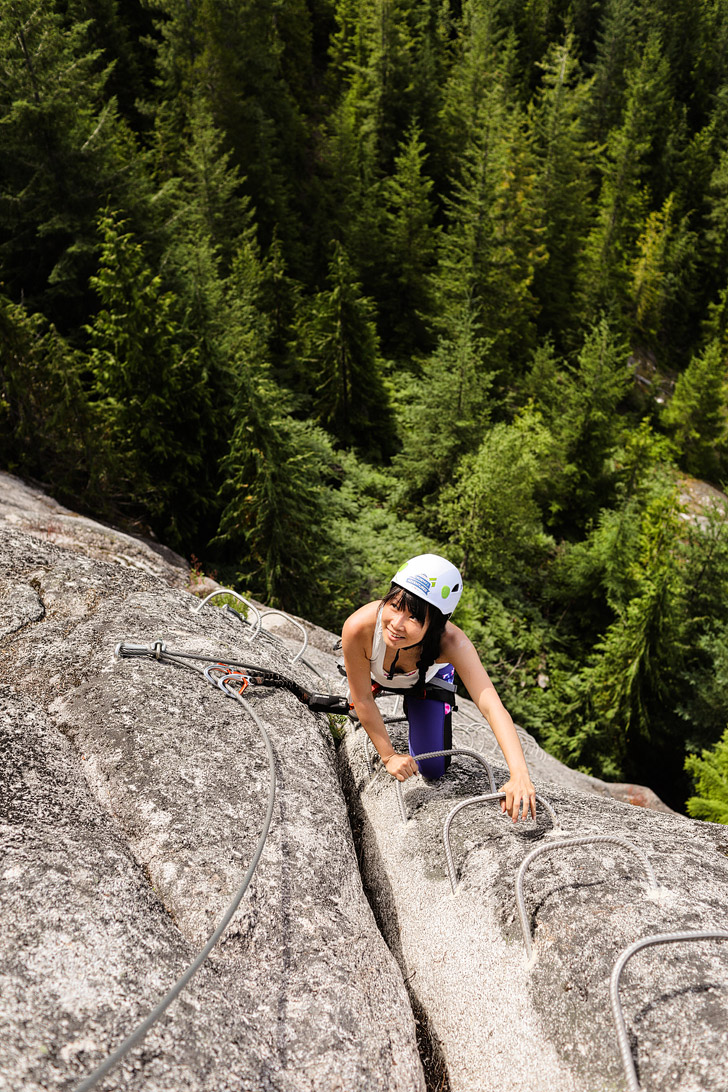
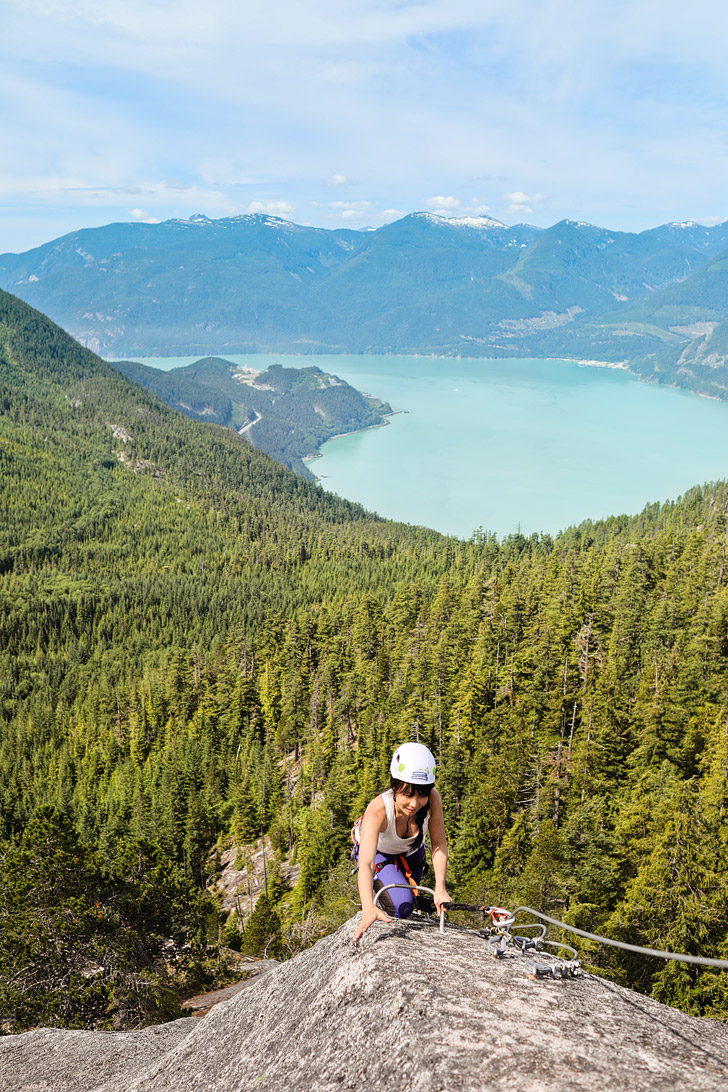
We turned the corner and saw what looked like giant staples along the vertical granite. My eyes went wide at the thought of climbing the rungs, but as the kids in our group started going up one-by-one, I knew there was only one way out. After a few deep breaths, I moved my clips onto the steel cable and began my ascent.
Thank you Tourism Squamish for hosting our first Via Ferrata. This post contains affiliate links where we receive a small commission on sales of the products that are linked at no additional cost to you. As always, all opinions are our own. Read our full disclosure for more info. Thank you for supporting the brands that make Local Adventurer possible.
ESSENTIAL VIA FERRATA TIPS FOR BEGINNERS
WHAT WE COVER [ CLICK LINKS TO SKIP AHEAD ]
WHAT IS A VIA FERRATA?
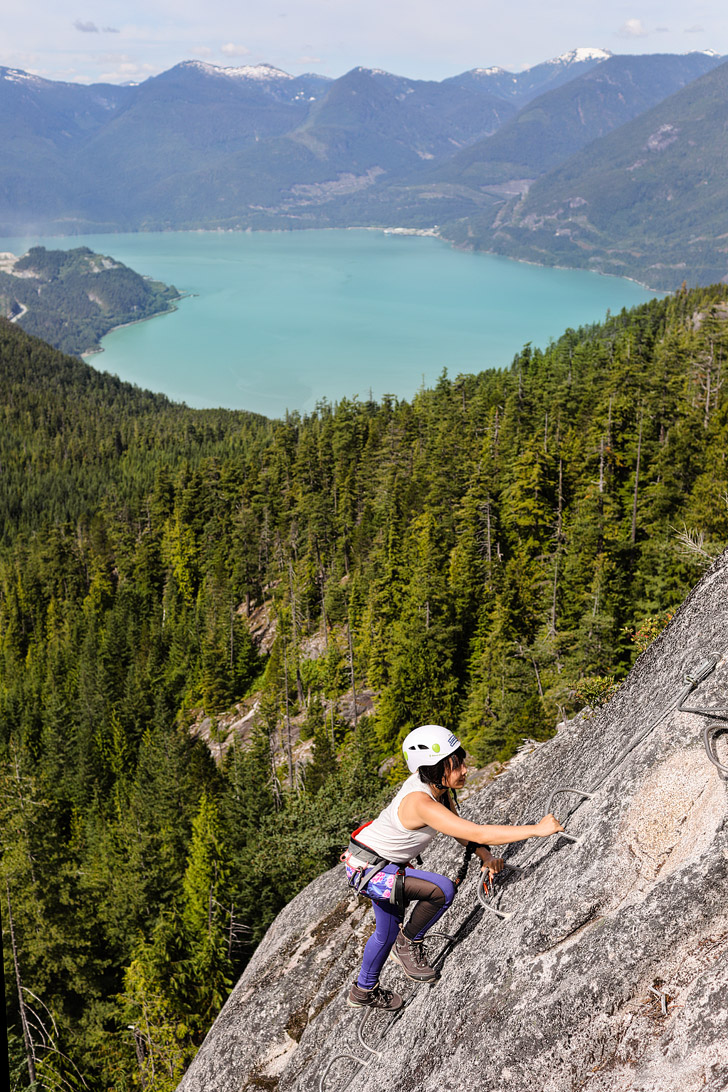
Via Ferrata is Italian for “Iron Way,” and is an outdoor adventure that takes you up sheer rock walls, bridges, and catwalks while you are assisted by metal rungs and a specialized cable system. The activity is somewhere between scrambling and rock climbing.
It dates back to the nineteenth century but is most known for World War I. They were built in the Dolomite mountain region of Italy to help troops get across. Fast forward to today, there are more than a thousand around the world.
CONTROVERSY + WHY DO IT?
Like trad vs sport climbing in the past, there has been controversy around via Ferrata. It primarily revolves around the environmental impact and installing metal rungs on beautiful landscapes.
For hikers, via Ferrata is a thrilling way to spend time outdoors, get a workout, and get amazing views you can’t access just by hiking. It doesn’t require technical skills (other than a moderate fitness level). Almost anyone can do it, and it’s a great way to push through any fear of heights. Climbers, on the other hand, tend to believe you should learn the skill and don’t want the place crowded with tourists who don’t know what they’re doing.
After our first via Ferrata, we still prefer climbing, but we always like trying new things and would love to explore some harder via Ferrata routes. It’s a tough dilemma. We’re glad that the current routes allow people access to the outdoors, but we can also see why building new ones would be upsetting to the outdoor community. Isn’t that always the battle with tourism, education, and conservation? Some will champion the conservation of nature while others will trash the place.
YOUR SETUP AND TECHNIQUE
If you go with a guide, they teach you everything you need to know. We always recommend going with a guide if it’s your first time.
For those who just need a refresher:
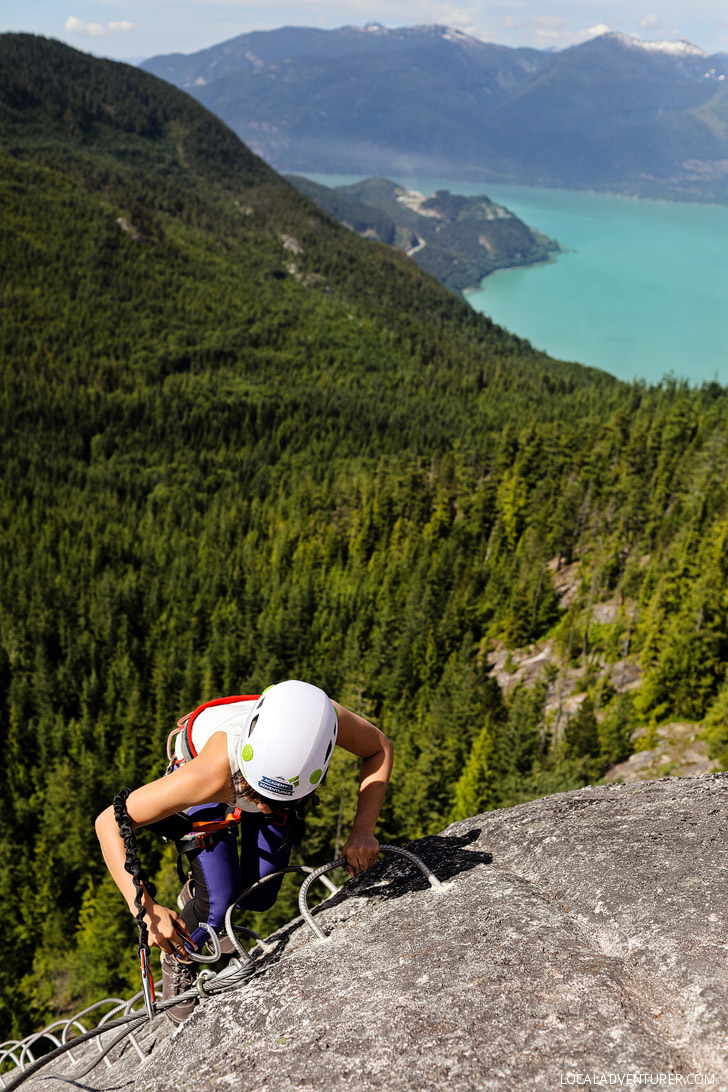
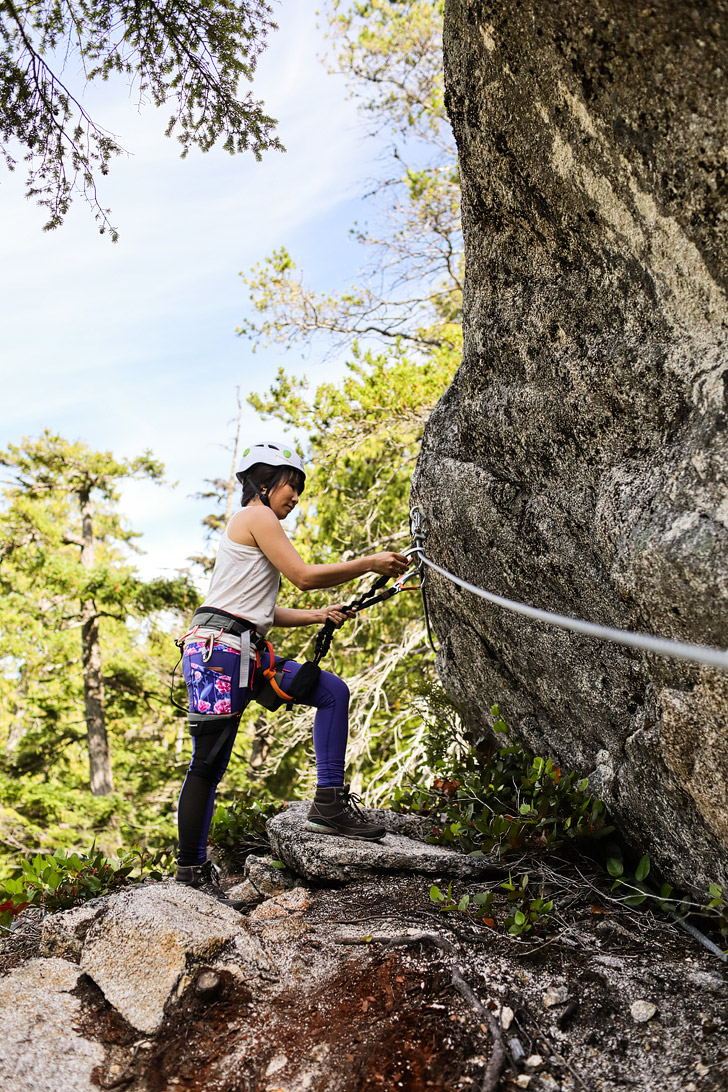
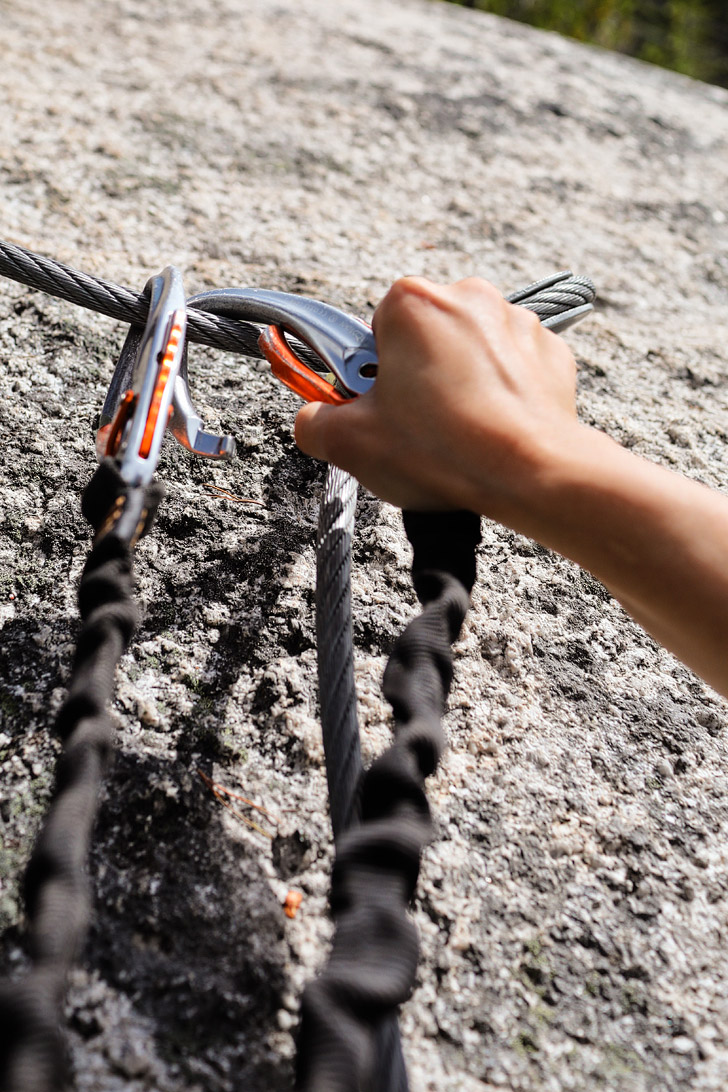
- Secure your anchoring cable with both carabiners.
- Have At Least One Carabiner Attached at All Times. A good way to ensure you do this is by only using one hand to move carabiners. That way you don’t get ahead of yourself and unhook both by accident.
- “Walk the Dog” – Some phrases our guide taught us to make it easier to remember. This means you should hold your lanyard near the cable at all times. This prevents the carabiner from rubbing up against the rock and making sure you don’t get tangled.
- “Hold Your Purse” when you’re going up, by putting the lanyard over your arm like a purse, so it doesn’t get stuck below you.
- Use Your Legs – For those who are afraid of heights (like us), it’s easy to hang on tight with your hands. Use a firm grip, but don’t hold on so tight that you strain your arms. With any climbing, you want to use your legs rather than arm strength.
- Lastly, a good general rule of thumb is that there shouldn’t be more than one person between two pins. Some of the guided via ferratas do not enforce this since their equipment is new and regulated, but it’s good etiquette and better for safety.
- Via Ferrata does have grading which varies in different countries. They are mostly used as a general guideline, and you can read more about them here.
WHAT TO PACK – YOUR VIA FERRATA KIT
Use the proper gear that has been tested since your life depends on it.
- Climbing Harness – We LOVE our Arc’teryx ones. They’re so comfortable that sometimes I forget I have it on. If you want a more affordable one, go with this one. Try them on at REI to make sure they fit.
- Carabiner x2 – Do not just use any carabiner! They have ones made specifically for via ferrata or climbing that have been thoroughly tested. Some lanyards will come with them.
- Helmet – This climbing helmet is great because it allows you to circulate air when you need it.
- Via Ferrata Lanyards
- Full Via Ferrata Sets – You can also purchase full sets with all the above.
- Gloves – We didn’t need gloves for ours but they might have made it much more comfortable. Our hands were black from the cables and rungs after.
- Layers are best! Even though it may be hot at the bottom of the gondola, it can be much windier up top. A packable puffy jacket or light shell jacket is ideal. During our trip, it was warm without much wind, so we went in tees.
- Sturdy Shoes (His + Hers) – ones with good traction and ankle support. I’d love to try approach shoes on my next via ferrata.
- Ice Axe and Crampons – if you go early or late in the season.
- Sun Protection – Sunscreen, sunglasses, and hat (our guide wore his under his helmet).
- Camera (See photography tips below)
Note: With the Squamish Via Ferrata, you have to use their harness, helmets, and kit for liability so no need to bring your own. There are lock boxes to leave your personal belongings.
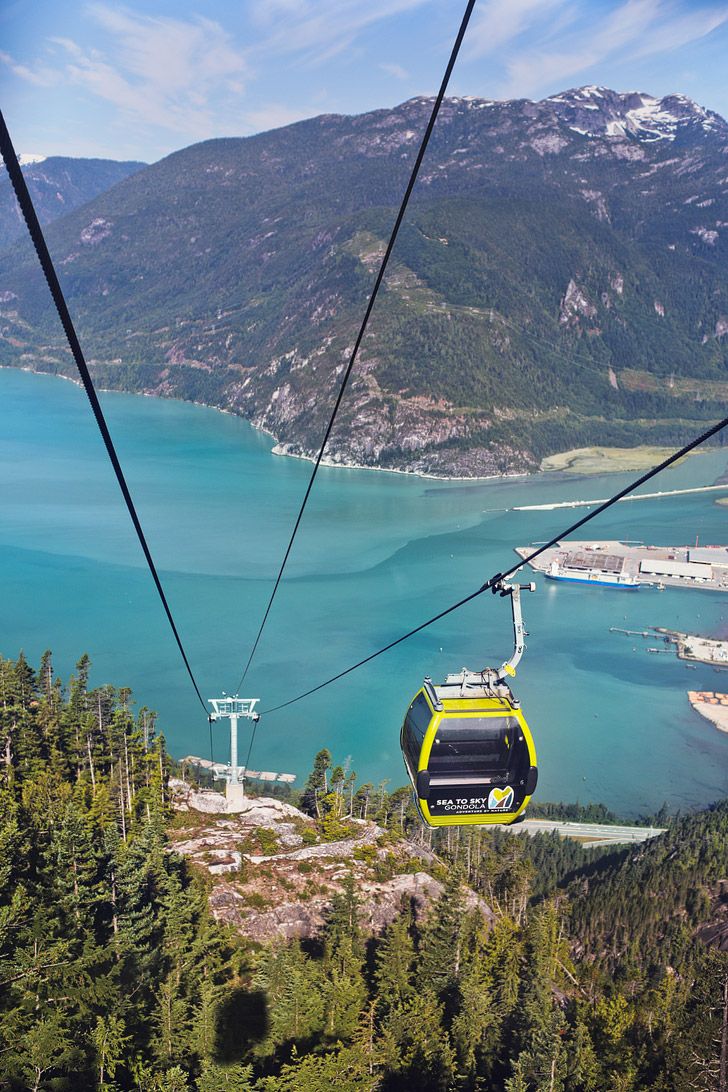
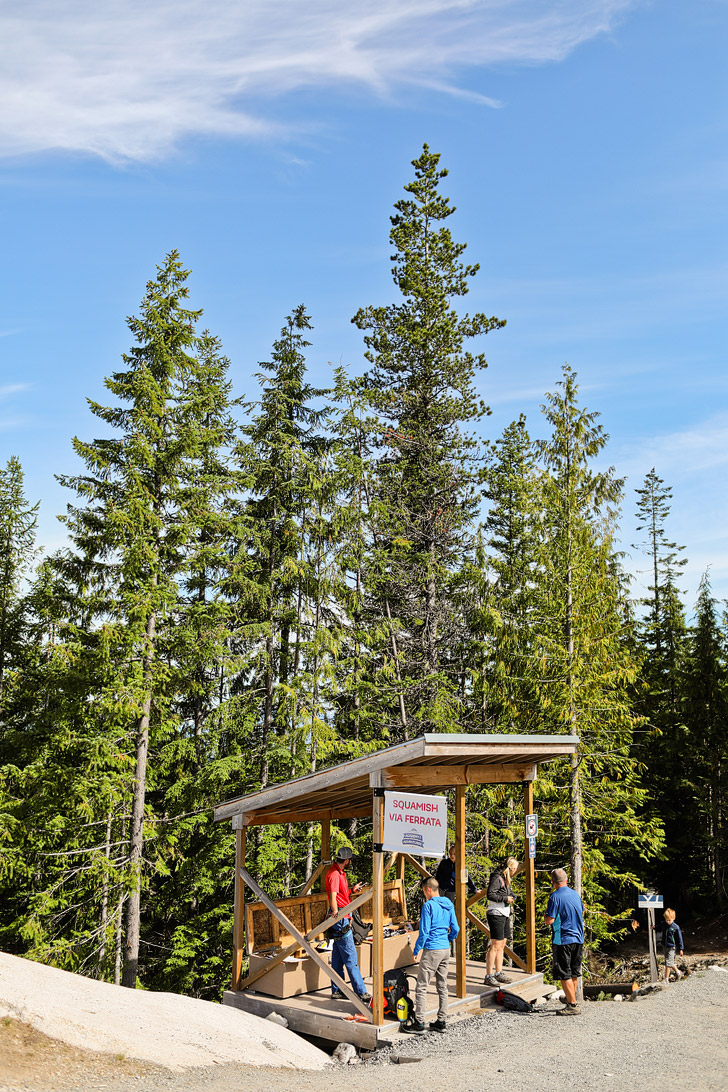
THE SQUAMISH VIA FERRATA
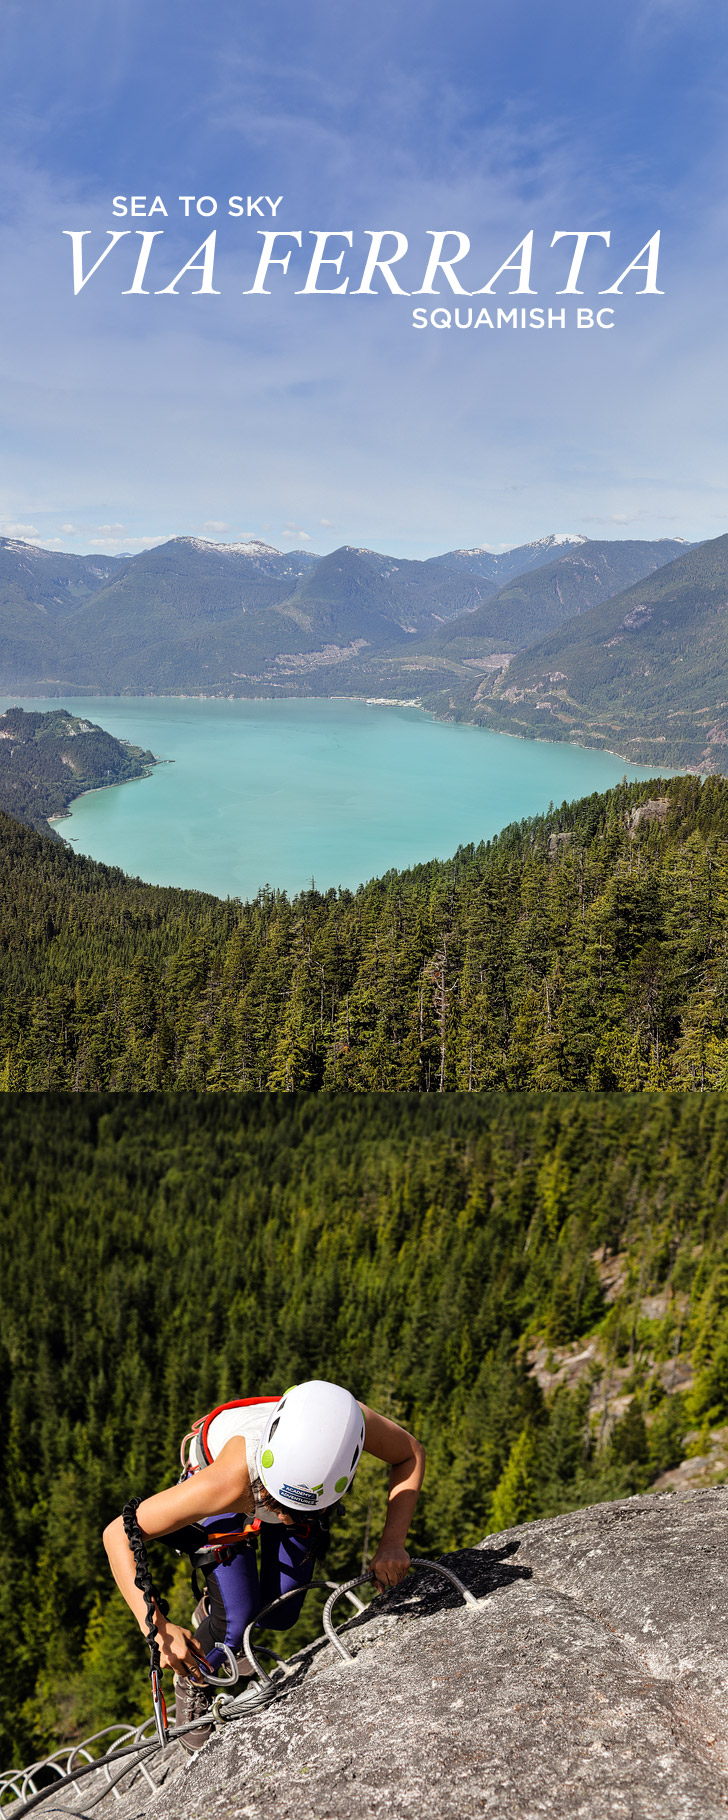
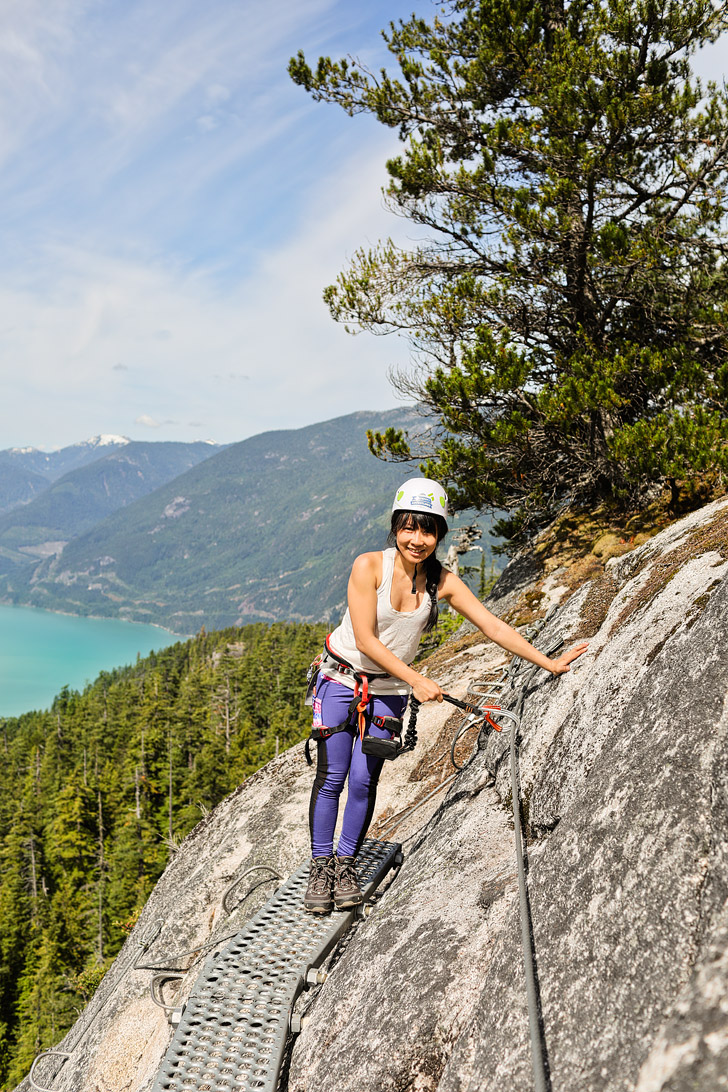
The Squamish Via Ferrata is the perfect introductory via ferrata. The route doesn’t have an official grade, is straight forward, and is done by children as young as 8. First, you have a short orientation, get fitted in your gear, and then take a short hike through the trees to the Flight Deck. The guide demonstrates how the clip system works, and finally, you’re on your way!
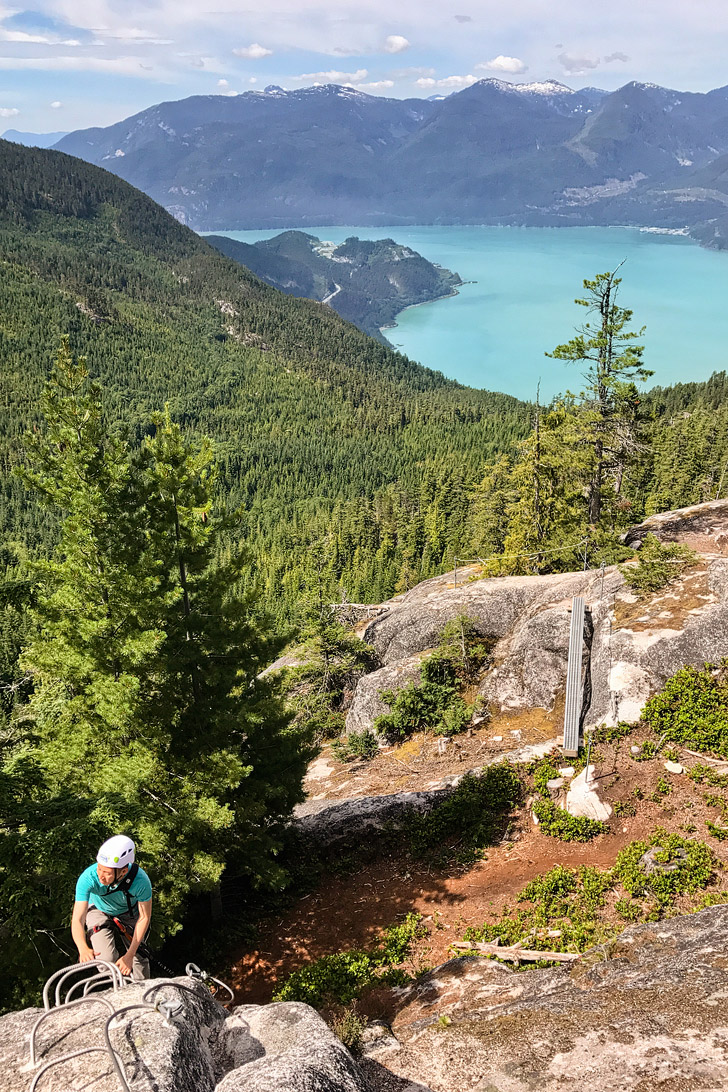
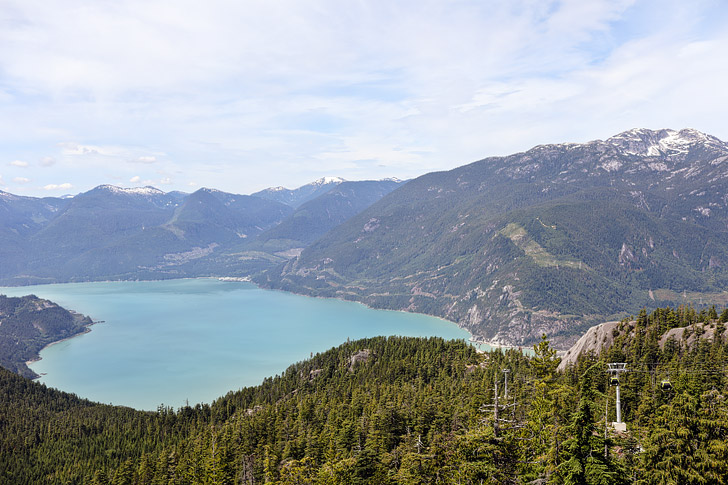
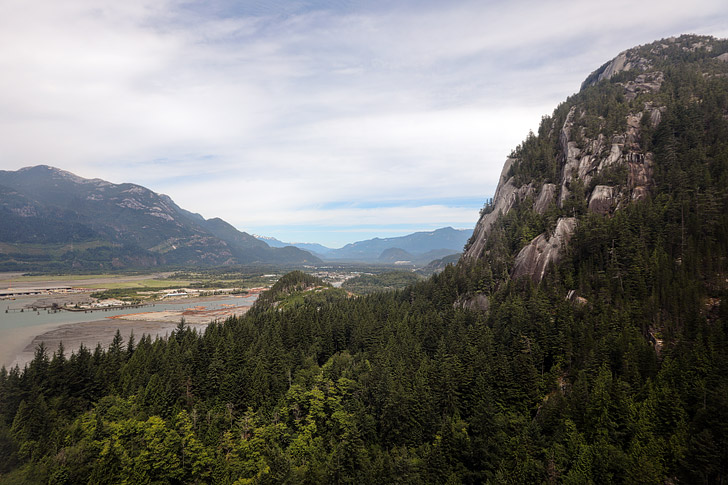
On this Via Ferrata, you climb rungs, cross catwalks, dance across a small bridge, and enjoy amazing views of Howe Sound and the nearby peaks. This experience lasts roughly 1.5 hours and is a great one for beginners. We’re both afraid of heights, but this one had minimal exposure.
DIRECTIONS
The main meeting point is just to the left after exiting the Gondola at the top. You will want to meet 15 minutes before the tour start time at the Harnessing Deck.
The Sea to Sky Gondola is 2km south of Squamish. It’s on the northbound side of the highway, so if you’re staying in town, you’ll need to drive past it and u-turn back up.
Address: 36800 BC-99, Squamish, BC V0N 3G0, Canada
BEST TIME TO VISIT
Summer is the best time in Squamish. You get clear, sunny days, but it is also more crowded. Shoulder season is late Spring or early Fall, where can still get the best of both worlds.
ESSENTIAL TIPS FOR YOUR SQUAMISH VIA FERRATA
- The Squamish Via Ferrata is closed during the winter. Call ahead to find out the current season’s dates.
- The Gondola ticket is not included in the price of the Via Ferrata, but you can purchase it as a bundle. If you don’t want to take the gondola, you can do the sea to sky summit hike.
- It is possible to turn around, but generally, it’s scarier to climb back down than up.
- If you’re afraid of heights and think your pace might be slow, they recommend booking a private tour to avoid awkward situations with other paying clients.
- Families with young children should also consider booking a private tour (per our guide’s recommendation), so that the guide can pay more attention to the kids.
- Check the current views on their webcam.
- Plan the rest of your visit at the top of the Sea to Sky Gondola with their Interactive Map.
- The Whistler Via Ferrata is 4 hours long and more exposed if you’re looking for one that’s more challenging. Book both the Whistler Via Ferrata and the Squamish one as a package to save money if you’re planning on doing both.
PHOTOGRAPHY TIPS
- You won’t have a whole lot of time to shoot since the group has to stay together. Ask your guide for the best photo spots, since they are the most familiar with the route. That way you don’t waste your time shooting the less photogenic sections.
- Since you have to stay together as a group, you will be in pretty close proximity to everyone. Take a wide lens with you. We shot everything with our 35mm (on a full frame). A GoPro or iPhone should work fine too.
- I like to stay in the back of the group not to feel rushed and also to grab photos of views behind me. If you want photos of you taken, it might be best to stay in the very front.
- You will need both hands during portions of the hike, so be sure you have a strap that stays secure! We used this BlackRapid strap and it worked well.
- If you’re shooting with a phone, this wrist strap is a great way to secure it. A GoPro on a wrist strap works well too.
- You can bring a backpack, but it’s easier not having to worry about one. You can leave it in their lock box.
WHAT’S NEARBY
- Downtown Squamish (2.8 miles / 7 minutes)
- The Squamish Spit (6.5 miles / 16 minutes)
- Capilano Suspension Bridge (37.6 miles / 46 minutes)
- Glacier Air – Airplane Tours (8.4 miles / 14 minutes)
- Vancouver, BC (41.5 miles / 1 hour 11 minutes)
- Whistler, BC (38.1 miles / 45 minutes)
MORE RESOURCES
- Amazing Via Ferratas of North America
- World’s 10 Best Via Ferrata Routes
- Squamish/Whistler Map
- Lonely Planet British Columbia
DID YOU ENJOY THE POST? PIN IT FOR LATER

SEE MORE OUTDOOR GUIDES
⟡⟡⟡⟡⟡
15 INCREDIBLE THINGS TO DO IN SQUAMISH BC
BEST BEGINNER CLIMBS IN SAN DIEGO COUNTY
FACING MY FEAR OF HEIGHTS AT SMITH ROCK
10 ROCK CLIMBING TIPS FOR BEGINNERS
15 GAMES + EXERCISES TO IMPROVE ROCK CLIMBING
“Discovery consists not of seeking new lands but in seeing with new eyes” – M. Proust

ESTHER + JACOB
Esther and Jacob are the founders of Local Adventurer, which is one of the top 50 travel blogs in the world. They believe that adventure can be found both near and far and hope to inspire others to explore locally. They move to a new city every year and currently live in Portland, Oregon.

