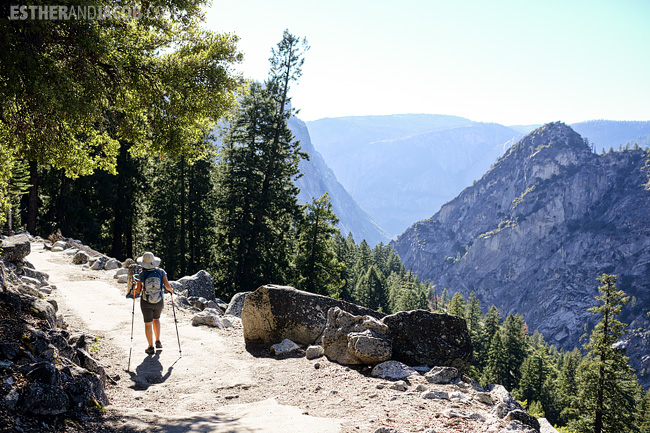
Although Half Dome is just a day hike, it’s a beast of a day hike and not one to be taken lightly. The hike is 16.1 miles and typically takes 10-12 hours. Unprepared hikers have had to be rescued, and others have even died on Half Dome. As a popular bucket list hike, the views are absolutely worth the time and energy it takes. Here’s a packing guide to help you prep for your hike.
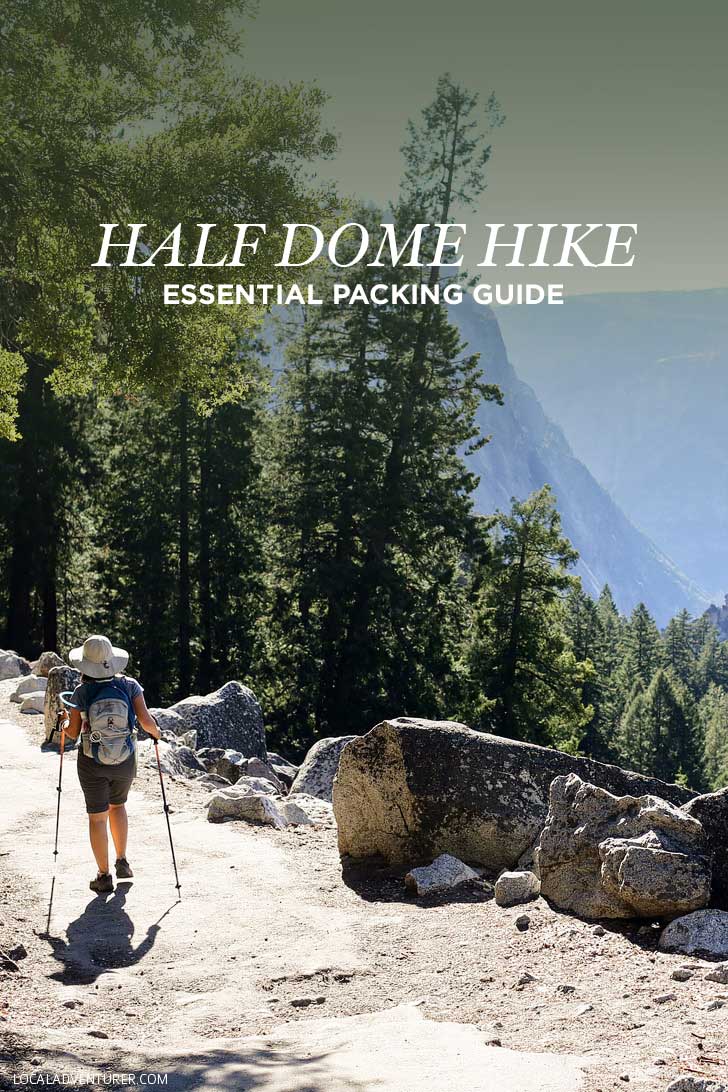
WHAT TO PACK FOR HALF DOME
- Permit – Before planning on hiking Half Dome, you need to get a permit. Check out our guide on the permit process. Once you obtain it, be sure you print it and bring it along with you.
- 3L of Water – Water is a must for this hike, especially if you do it in the summer. We both brought 3L of water and drank all of it. We love these 3L bladders because they’re easy to fill and clean, and we never have issues with leaking. If you like having other beverages or flavored powder mix or drops, we usually like bringing along these smaller soft bottles, so that you can roll them up and pack them away when you’re done. See all our favorite travel water bottles here.
- Backpack – We’ve seen people do this hike with just a water bottle, a small day pack, and a full backpack. You want to find a backpack that is comfortable, gives you support, and can carry the weight of your water, snacks, and whatever else you bring. Ideally, you pack as little as possible! Our best backpacks are our Osprey packs so we brought that. Even though it’s a large pack, when it’s not filled, it’s not overbearing, it compresses down, and it provides more support than a regular day pack. If you need to buy a pack, I recommend just going a bit larger so you can use it for overnight hikes in the future!
- Sunblock – Bring sunblock and don’t forget to reapply as needed. The hike has both covered and exposed areas. You are completely exposed at the top. We’re the worst about reapplying mid-hike and usually end up sunburnt, but we’re trying to be better about it.
- Sun Hat and Sunglasses – both keep you protected from the sun!
- Head Lamp – Most people start the hike before sunrise with the plan to get back before sunset. Since you’ll be starting in the dark, bring a headlamp. It’s also great in case your hike takes longer than planned and you’re stuck on the trail after dark.
- Work Gloves – The last portion of the climb up to Half Dome is made up of chains. Since you’ll be on the chains for a while, depending on how crowded it is, gloves will help keep your hands protected. Don’t get fingerless gloves like me, because I definitely got blisters.
- Hiking Poles – Before we started doing longer hikes, we thought hiking poles were just for older folks. We had no idea how much of a difference they make. It helps take a load off your legs, and in the later miles of the hike, you will absolutely notice the difference. When you’re on the cables, be sure to securely put them away.
- Extra Pair of Socks (optional) – It feels so much better to have a fresh pair on the way down.
- Layered Clothing – This is key so that you can keep warm or cool dependent on your situation. We love the Patagonia Capilenes for layering because they’re effective and lightweight. When you start the hike bright and early, it will most like be much cooler. After the sun comes up and you start moving, it will get hot. Then when you’re at the top of Half Dome, the temperature will drop again and it’s usually windier.
- Food – It’s estimated that you’ll burn through 2000+ calories on this hike. Bring snacks and food that will keep you fueled and that’s light and easy to eat. We typically use a mix of Soylent (usually for breakfast so we can lighten our load quick), kind bars, dried fruits, and energy chews.
- First Aid Kit – Though we never bring one, it’s always good practice to have a first aid kit with you on any hike. Be sure to also add some moleskin or blister first aid to your kit.
- Tissue / Toilet Paper – Bring some tissue or toilet paper with you in case you need to go to the restroom. There are three chances for bathrooms on the hike. The first is flush toilets at the Vernal Fall footbridge. The second are the primitive toilets at the top of Nevada Fall. The last is another primitive toilet in the Little Yosemite Valley. Other than that, you may just need to water the plants. Remember, you need to pack out any garbage, including toilet paper.
- Trash Bag – There is no trash service on the trail so you need to carry our all your trash. Bring some extra bags if you’re grossed out about carrying your own toilet paper too.
- Rain Gear (depending on weather) – Be sure to check weather up to the day of your hike, if it looks like it might rain, a rain coat will be useful. We like this (HIS + HERS) lightweight and packable one.
- Via-Ferrata Gear Setup (optional) – For those of you guys who want to take extra precaution, you can clip in during the climb up the chains. A Via-Ferrata set up is the safest way to go. However, it can slow you down, and we preferred not clipping in.
- Camera Gear – Don’t forget your camera to capture all the amazing photos. If you want to take any long exposure photos (to make the waterfalls silky smooth), be sure to bring a tripod, ND filter, and trigger.
What to Wear
- Sturdy Shoes with Good Traction – It’s a long hike that is hard on your feet and ankles. Find good hiking shoes that give you support and are broken in (don’t try them out for the first time on this hike). There are portions of the hike that are slick from the waterfall mist and you will be climbing a steep slope at the end, so good traction is helpful. These are our current hiking shoes we love: his + hers.
- Hiking Pants (His + Hers) – They are never the prettiest, but for the sake of functionality, we like that the bottom half of the pants can zip off to make into shorts when it gets hot. I’ll wear leggings if there isn’t much variation in temperature.
- Dry Wick Tee – So far these tees have had the best fit for me, and these work great for Jacob.
That’s it! I hope you have an amazing time climbing Half Dome. If you tag #localadventurer on your hike, we’d love to share them!
Is there anything else you would have brought? Anything you would have left behind?

ESTHER + JACOB
Esther and Jacob are the founders of Local Adventurer, which is one of the top 50 travel blogs in the world. They believe that adventure can be found both near and far and hope to inspire others to explore locally. They move to a new city every year and currently live in Portland, Oregon.
![]()
![]()
![]()
![]()
![]()
![]()